A Step-By-Step Guide To Build a Product Rendering Portfolio That Attracts Clients in Blender
Learn the step-by-step system to mastering lighting, materials and composition in Blender, for intermediate artists who know the basics but can't figure out why their renders don't look realistic, and want to build a portfolio that attracts real clients.
What do our students say?
2440+ HAPPY DESIGNERS
Introduction to Blender
Start learning the basics of Blender's interface and tools. Throughout this course, we will set up the foundation for creating realistic renders.
- Learn how to navigate Blender.
- Get set with the basic modelling tools
- Learn how to apply image textures to your models.

COURSE TWO
Package Visualisation
- Learn how to model simple shapes
- Create embossing and debossing
- Create stunning packaging renders

Learn the basics of modelling simple shapes using hard surface modelling.

Learn how to curve objects easily using modifiers.

Create metallic materials by mixing multiple materials.

NEW Blender 5.0 Update!
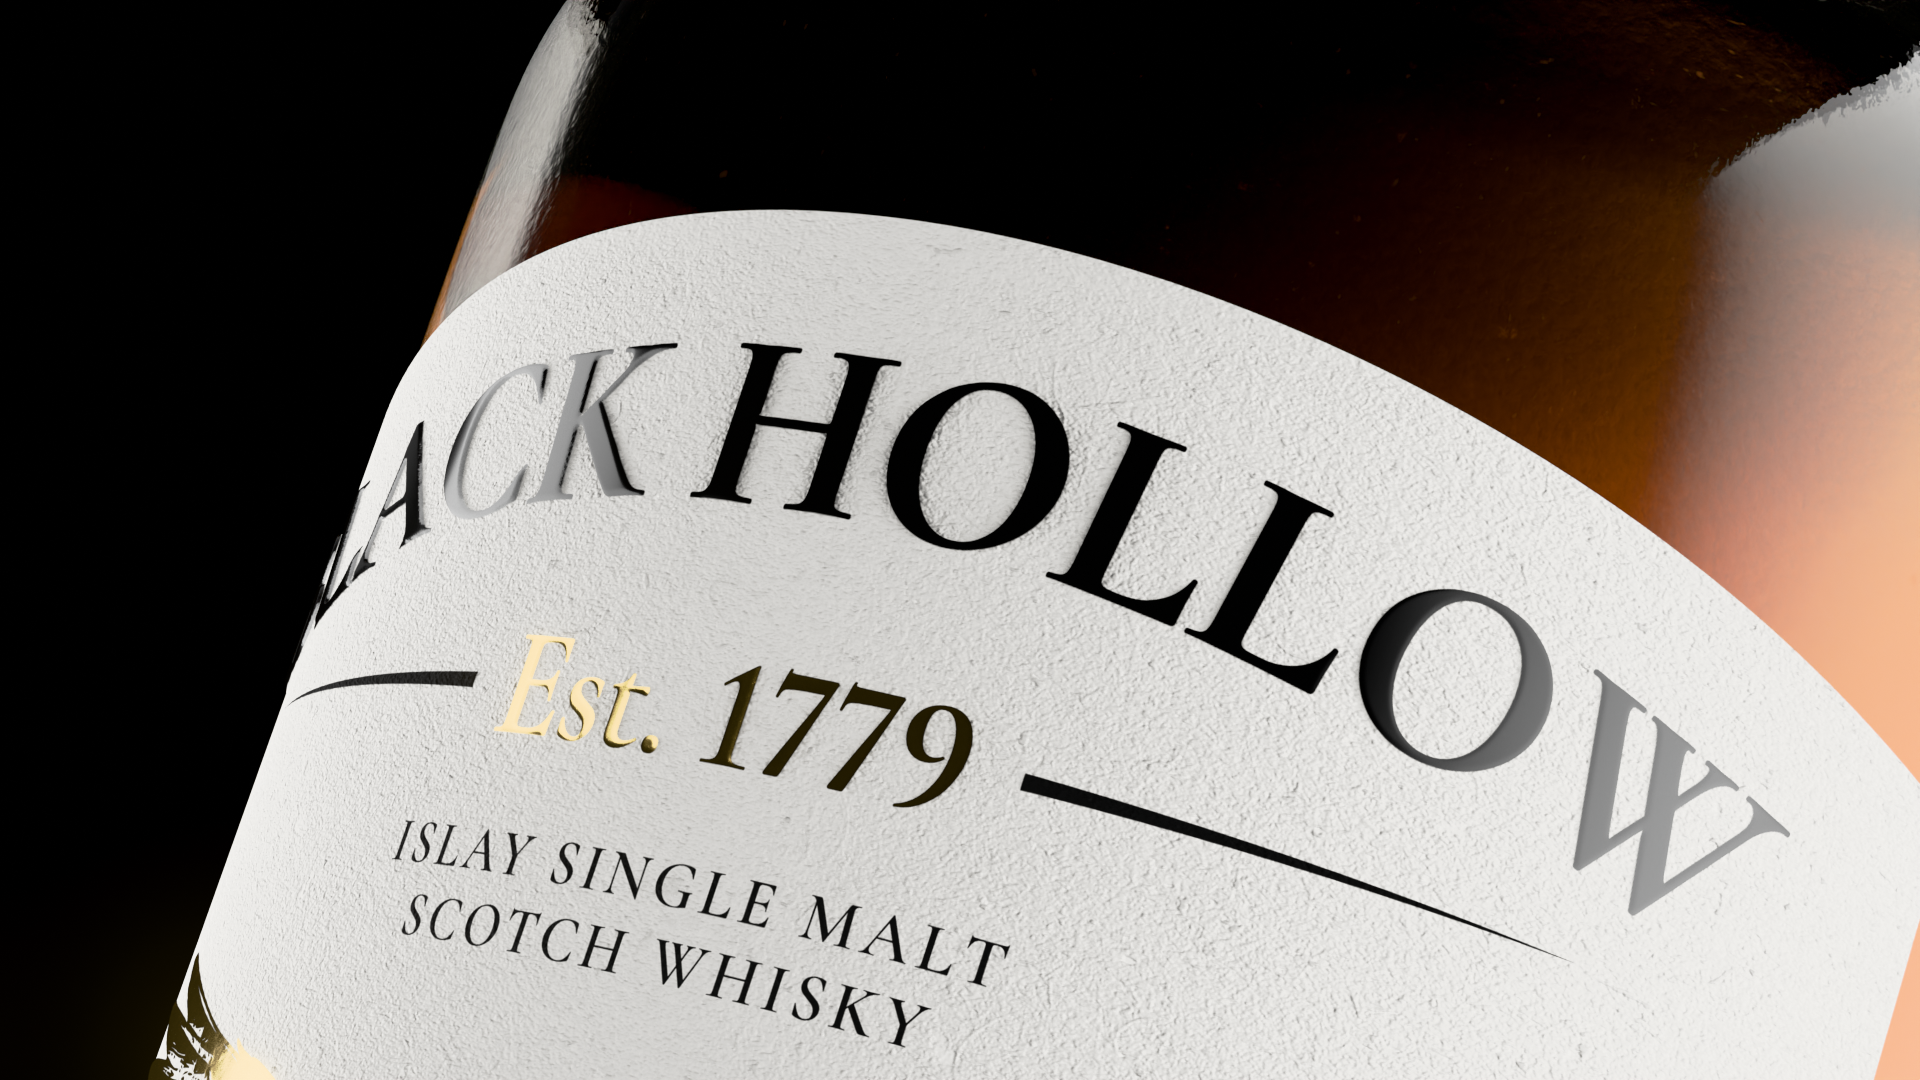
Beverage Rendering
-
Learn how to use sub-division modelling workflow
-
Build upon your skills to and create multi-layered materials.
-
Learn how to create intricate details.
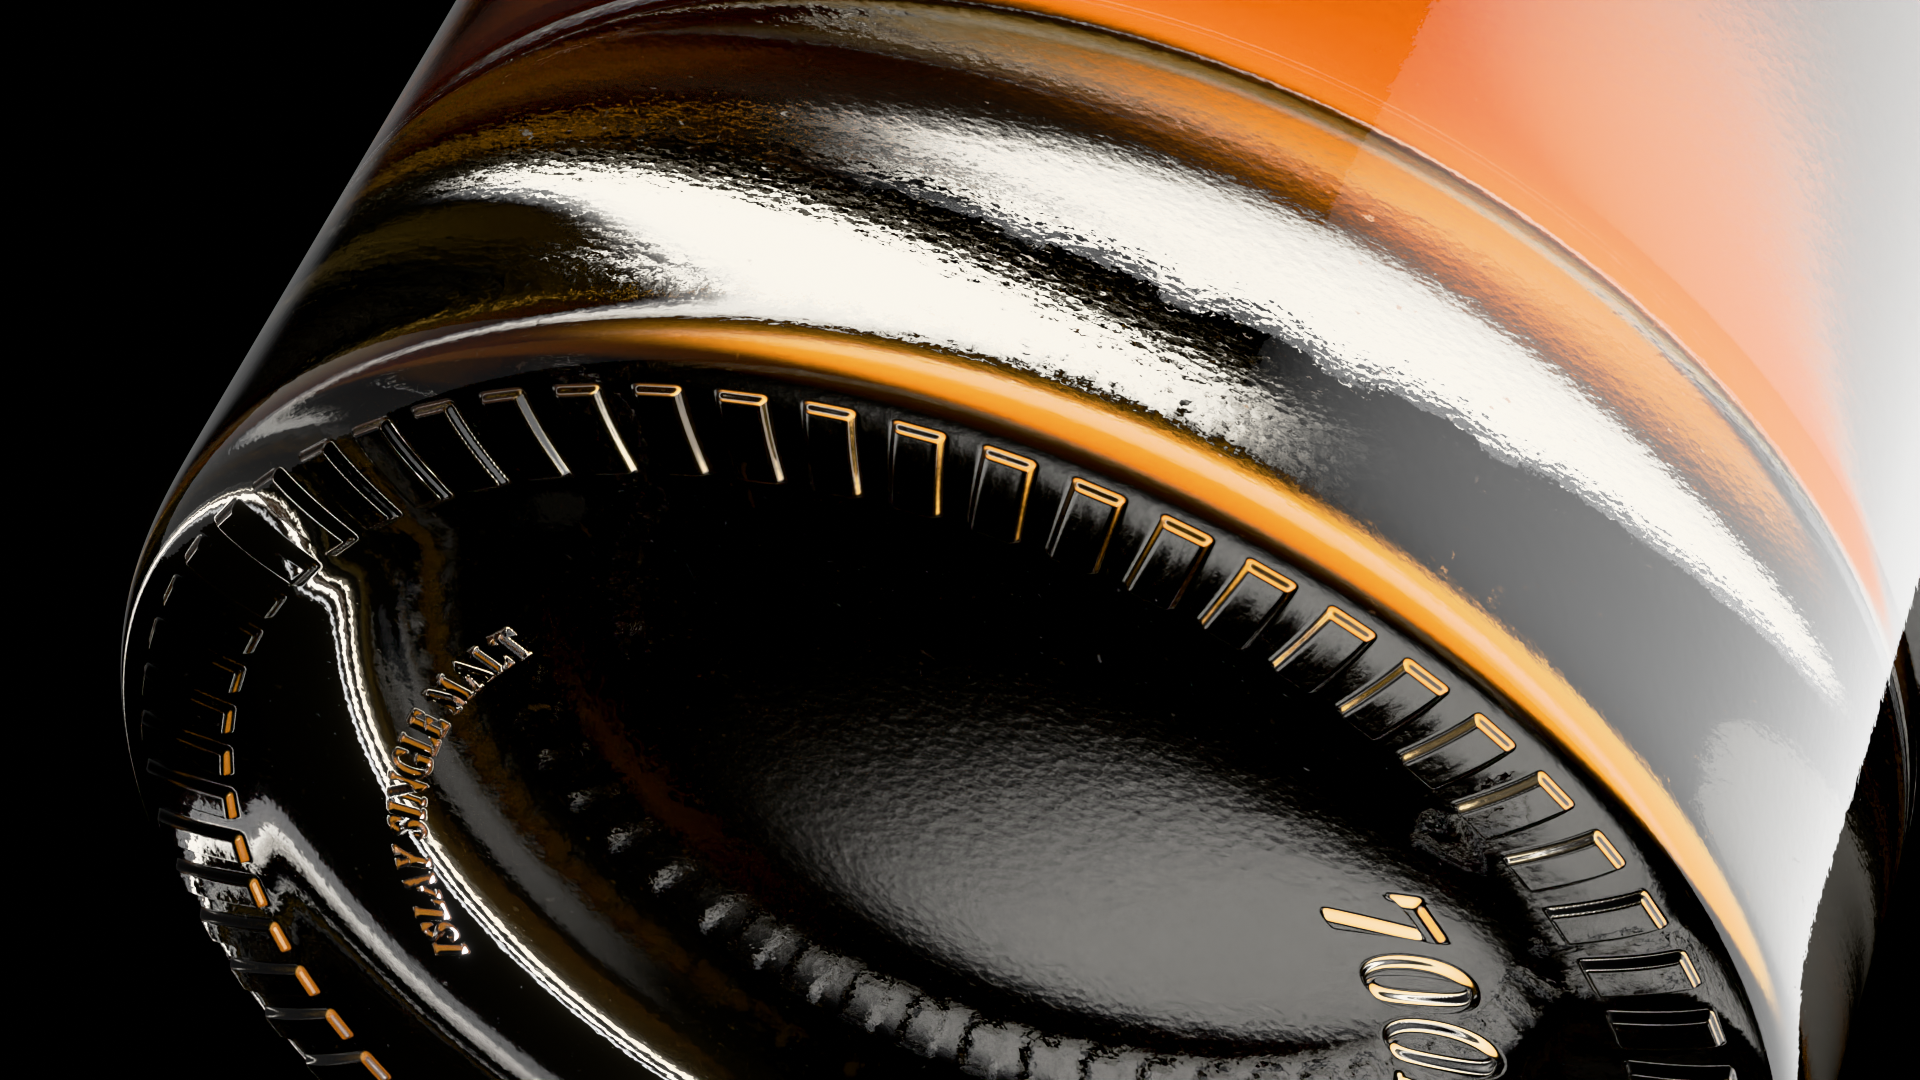
Learn how to create details using displacment.
Use textured lighting to create a gradual falloff.

Create a realistic lighting setup for your wine renders.
Bonus Courses

Project: 001. Wine Bottle
Course Duration: 1h +
Lessons: 13 Lessons
Type: On-demand video
BONUS

Project: 002. Wine Bottle
Course Duration: 1h +
Lessons: 5 Lessons
Type: On-demand video
BONUS

Project: 003. Wine Bottle
Course Duration: 40m +
Lessons: 4 Lessons
Type: On-demand video
BONUS

COURSE FOUR
Vol 4: The Art of Lighting
- Learn the basics of how light works in Blender
- Create multiple lighting setups
- Learn how to composite using Blenders Compositor

Light cosmetic products.

Learn the basics of how light works in Blender.

Learn how to use light linking with Blender's latest version.

COURSE FIVE
Modelling Essentials
This course will dive into the fundamentals of modelling, building on what we already know. This course is designed to expand your skillset so you have the ability to model anything.

Learn clean topology with subdivision modelling.

Add geometry nodes and animation to your skillset to create arrays and condensation.

Run away with two more projects to add to your portfolio.

MODULE SIX
Intermediate Modelling
Delve deeper into the world of 3D modelling with this course. Building upon foundational knowledge, it equips learners with advanced techniques, enabling them to model any object with precision and confidence.
Course Duration: 4h 32m +
Lessons: 38 Lessons
Type: On-demand video

Add boolean modelling to your toolbox.

Create procedural shaders and materials for seamless textures.

Light and render five different scenes.
MODULE SEVEN
Advanced Modelling
Learn how to create advanced subdivision models inside Blender
Course Duration: 13h 25m +
Lessons: 136 Lessons
Type: On-demand video
MODULE EIGHT
Animation Fundamentals
Learn how to create stunning animations inside of Blender for product renders.

Discord Community
Join me and many others to share your work and gain feedback from like-minded artists.

Project Files
We give you all the assets you need to follow along with us. We don't want you to miss out on the fun.
Product CGI is Hard.
Especially as a beginner, like yourself. There are a ton of workflows out there, and it can be very confusing for a beginner just trying to get a handle on the basics.

That's why the Product Visualisation Masterclass was created.
This course is an incredibly in-depth guide to product CGI, designed for beginners to help them understand the process of creating beautiful scenes in Blender and other industry-standard software.

This course is different.
Blindly following instructions isn't a very effective way to learn.
Master Product Visualisation was designed so that you aren't copying a scene another artist made. Each student will have time after each lesson to go off on their own and use what they learned to create their OWN art, unique to them.
Broken into short step-by-step lessons.
Every single lesson is broken down in to short digestible video lessons. Allowing you to move quickly and easily find lessons again throughout the course.
THE CURRICULUM
Master Product Visualisation
-
Introduction to Blender (Blender 4.4.3)
27 lessons-
1. Welcome
- Project Files
- 1. Installing Blender
- 2. Opening Blender and Reseting to Default
- 3. GPU Preferences
- 4. Powersave Addon
- 5. Other Extensions and Addons
-
2. Basics
- 1. Interface Overview
- 2. Navigating Around the Viewport
- 3. Moving Scaling and Rotating
- 4. Moving Scaling and Rotating with Shortcuts
- 5. Importance of Scale in Blender
-
3. Modelling
- 1. Adding Objects
- 2. Changing Dimensions
- 3. Solidify Modifier
-
4. UV Unwrapping
- 1. UV Unwrapping Explained
- 2. Unwrapping the Business Card
- 3. Positioning design in Illustrator
-
5. Creating Materials
- 1. Viewport Shading
- 2. Shader Editor
- 3. Importing Image Texture
- 4. Procedural Noise
- 5. Creating Bump Map
-
6. Lighting & Rendering
- 1. Setting our workspace up for rendering
- 2. Lighting your scene
- 3. Exporting more textures
- 4. Duplicating Business Cards
- 5. Final Setup
-
-
Beverage Rendering (Blender 5.0)
87 lessons-
Welcome
- Installing Blender
- What to do if there is an update
- Installing Addons
- Important preferences
- Course resources & project files
- Other Resources
-
Getting Started
- 1. Opening Blender for the first time
- 2. 3D Viewport overview
- 3. Navigating the viewport
- 4. Outliner Overview
- 5. Properties panel
- Getting Started - Feedback
-
Modelling
- 1. Adding Objects
- 2. Move Rotate Scale with Gizmos
- 3. Move Rotate Scale with Shortcuts
- 4. Mesh Geometry Overview
- 5. Viewport Display Modes
- 6. Adding Reference Images
- 7. Scene Scale
- 8. Extruding
- 9. Bottle Block Out
- 10. Loop Cut Tool
- 11. Insetting the Base
- 12. Subdivision Surface Modifier
- 13. Structural Edges
- 14. Solidify Modifier
- 15. Fixing Bottle Topology
- 16. Liquid Modelling
- 17. Bottle Cap
- 18. Bottle Seal
- 19. Image as Mesh Plane
- 20. Curve Modifier
- 21. Parenting & Children
- 22. Scaling your Label
-
Modelling - Bonus
- Bonus - Using Gizmos (C4D Users)
- Topology 101 (Coming Soon)
-
UV Unwrapping
- 1. UV Unwrapping Explained
- 2. UV Checker
- 3. UV Editor Overview
- 4. Manual Unwrapping
- 5. Inside Unwrapping
- 6. Straighten UV's
- 7. Pack UV Islands
- 8. Seal Unwrapping
- 9. Reversed Textures
-
UV Unwrapping Bonus
- Bonus: UV Tool Kit Addon
-
Materials & Textures
- 1. Shading View
- 2. Socket Types
- 3. Ray-Tracing Explained
-
Glass Material
- 4. Glass Shader
- 5. Displacement & Bump Explained
- 6. Glass Bump
- 7. Roughness Imperfections
- 8. Export UV Layout
- 9. Creating Displacement Maps
- 10. Bottom Bottle Displacement
- 11. Displacement in Photoshop
-
Seal Material
- 12. Seal Gloss
- 13. Seal Displacement Map
- 14. Apply Seal Displacement
- 15. Change Displacement Smoothness
- 16. Mask between two materials
-
Label Material
- 17. Label Displacement Map
- 18. Paper Texture
- 19. Foil Texture
- 20. Gloss Label Displacement
- 21. Finer Details
-
Whiskey Material
- 22. Whiskey Material
-
Lighting
- 1. Types of Lights
- 2. Light Characteristics
- 3. Textures in Lights
- 4. Light Wrangler
- 5. Camera Setup
- 6. HDRI Lighting
- 7. Background colour
- 8. Circle Gradient Light
- 9. Adjusting Liquid Color
- 10. Flagging Light
- 11. Key Light
- 12. Fill Light
- 13. Light Linking
- 14. Label Light
- 15. Rim Light
- 16. Adjustments
- 17. Compositing
- 18. More Angles
-
Share your feedback!
- Share your feedback!
-
-
The Art Of Lighting
32 lessons-
Introduction
- 1.1. Introduction
- 1.2. Project Files
-
Understanding Light
- 2.1. Preparing your workspace
- 2.2. Types of Lighting
- 2.3. Light Properties
- 2.4. Quality of Light
- 2.5. Light Modifiers
- 2.6. Modifying Light
- 2.7. World Lighting
-
Three Point Lighting
- 3.1. Preparing our Scene
- 3.2. 3 Point Lighting Setup
- 3.3. Lighting a tyre
- 3.4. Flimic vs Standard and OpenEXR
- 3.5. Getting started with Compositing
- 3.6. Basic editing in Photoshop
-
Hard Lighting
- 4.1. A note on AGX
- 4.2. Hard Lighting in Blender
- 4.3. Lip Balm Lighting 2
-
Wine Bottle Lighting / Compositing
- 5.1 - Introduction
- 5.2 - Installing Megascans Bridge
- 5.3 - Creating your own asset library
- 5.4 - Backing up your files
- 5.5 - Setting up uor enviroment
- 5.6 - Creating a background material
- 5.7 - Lighting the background
- 5.8 - Configuring AGX Settings
- 5.9 - Rim Lighting and Fill Light
- 5.10 - Creating view layers
- 5.11 - Lighting the Bottle
- 5.12 - Render your view layers
- 5.13 - Compositing your image
-
Light Linking
- Light Linking in Blender
-
-
Modelling Essentials
57 lessons-
Overview
- 1.01 - The Goal
- 1.02 - Prereqs
- 1.03 - Project Files
-
2 - Key Cap Modelling
- 2.01 - Add Ons
- 2.02 - Quick Favourites
- 2.03 - Part 1
- 2.03 - Part 2
- 2.04 - Structural and Support Edges
- 2.05 - Reference Image
- 2.06 - Blockout
- 2.07 - Adding Details
- 2.08 - Altering Geometry
-
3 - Introduction to Geometry Nodes
- 3.01 - Geometry Nodes Setup
- 3.02 - Instance on Points
- 3.03 - Array Nodes
- 3.04 - Randomizing Values
- 3.05 - Lighting and Scene Setup
- 3.06 - Object Constraint and DOP
- 3.07 - Shader Editor
- 3.08 - Snap Value edit
- 3.09 - Less Than Node
- 3.10 - Mix Shaders
- 3.11 - UV Unwrapping
- 3.12 - Random Seed
- 3.13 - Animating geometry nodes
- 3.14 - Animating the Camera
- 3.15 - Exporting Animation
- 3.16 - Exporting as MP4
-
4. Can Modelling
- 4.01 - References
- 4.02 - Body
- 4.03 - Body Details
- 4.04 - Can Top
- 4.05 - Top 2
- 4.06 - Offset Edges
- 4.07 - Inset Details
- 4.08 - Support Loops
- 4.09 - Pull Tab
- 4.10 - Circle Details
- 4.11 - Inset Faces
- 4.12 - Label
- 4.13 - UV Unwrapping
-
5. Shading and Render
- 5.01 - World Lighting
- 5.02 - Metal Material
- 5.03 - Label Material
- 5.04 - Condesation Material
- 5.05 - Lighting Scene
- 5.06 - Backdrop Material
- 5.07 - Imperfections
-
6 - Condensation Generator
- 6.01 - Setup
- 6.02 - Distribute Points on Faces
- 6.03 - Random Value
- 6.04 - Rotating to Face
- 6.05 - Adding Random Values
- 6.06 - Selections
- 6.07 - Closing the Shape
- 6.08 - Adding Small Droplets
- 6.09 - Array and Render
-
-
Intermediate Modelling
39 lessons-
Introduction
- 1. Project Files
-
Modelling
- 1. PureRef Reference Images
- 2. Adding Reference Images
- 3. Base Shape
- 4. Booleans
- 5. Normals and Booleans
- 6. Slice Boolean
- 7. Keyboard Stand
- 8. Stand Rubber
- 9. Base Rubber
- 10. Modelling Screws
- 11. Adding the Charging Port
- 12. Charging Details
- 13. Adding Switchs
- 14. Modelling the Keycaps
- 15. Duplicating the Keys
- 16. Finishing the Keys
- 17. Modifier Order
- 18. Dial Modelling
- 19. Finishing the Dials
- 20. Modelling Buttons
- 21. Renaming and Organising
- 22. Applying Booleans
- 23. Unwrapping the Keys
- 24. Other Unwraps
-
Materials and Shading
- 1. Creating Textures
- 2. Creating Masks
- 3. Setup for Shading
- 4. Keys
- 5. Display
- 6. Rubber
- 7. Assigning Different Materials
- 8. Anisotropic Metal
- 9. Plastic Texture
-
Rendering
- 1. Render 1
- 2. Render 2
- 3. Render 3 - Edit
- 4. Render 4
- 5. Render 5
-
-
Advanced Modelling
138 lessons-
Introduction
- 1 - Project Files
-
1. Getting Started
- 1. Workspace Setup
- 2. Importing References
- 3. Reference Settings
- 4. Adjusting References
-
2. Blockout
- 1. Setup Mirror Modifier
- 2. Blockout 1
- 3. Solving Complex Pole
- 4. Blockout 2
- 5. Blockout 3
- 6. Blockout 4
- 7. Rotating on 3D cursor
- 8. Blockout 5
- 9. Blockout 6 - Edit
- 10. Blockout 7
- 11. Adding Support Edges
- 12. Blockout 8
- 13. Blockout 9
- 14. Blockout 10
- 15. Blockout 11
- 16 Offset Edges
- 17. Adding Support Loops
- 18. Blockout 12
- 19. Blockout 13
-
3. Retopologize
- 1. Drawing Guides With Grease Pencil
- 2. Installing Bsurfaces and F2 Addons
- 3. Bsurfaces for Retopology
- 4. Retopologizing 1
- 5. Retopologizing 2
- 6. Retopologizing 3
- 7. Retopologizing 4
- 8. Retopologizing 5
- 9. Retopologizing 6
- 10. Shrinkwrap Settings
-
4. Front Topology
- 1. Button Shapes
- 2. Shrinkwrap the Buttons
- 3. Retopologizing Front 1
- 4. Retopologizing Front 2
- 5. Solving Topology 1
- 6. Symmetry
- 7. Solving Topology 2
- 8. Solving Topology 3
- 9. Solving Topology 4
- 10. Fixing Mistakes
- 11. Retopologizing Front 3
- 12. Retopologizing Front 4
- 13. Retopologizing Front 5
- 14. Retopologizing Front 6
- 15. Retopologizing Front 7
- 16. Retopologizing Front 8
- 17. Retopologizing Front 9
- 18. Retopologizing Front 10
- 19. Retopologizing Front 11
- 20. Retopologizing Front 12
-
5. Creating Seams
- 1. Save Selections
- 2. Creating the Seams
- 3. Scale Along Normals
- 4. Sharping Edges
-
6. Front Details
- 1. Retopologizing 1
- 2. Solving Topology 1
- 3. Adding Details 1
- 4. Retopologizing 2
- 5. Adding Details 2
- 6. Retopologizing 3
-
7. Joystick
- 1. Joystick Base
- 2. Modelling Grip
- 3. Filling the Grip
- 4. Creating a Sphere
- 5. Joining A Cylinder to a Sphere
- 6. Adjusting Joystick Size
- 7. Duplicating Joystick
- 8. Buttons
- 9.Buttons pt 2
- 10. Letters
- 11. Pad Modelling
- 12. Pad Modelling pt 2
- 13. Pad Modelling pt 3
- 14. Xbox Logo
- 15. Xbox Logo pt 2
-
8. Back Details
- 1. Back Details
- 2. Back Details Part 2
- 3. Mirror and Merge Details
- 4. Back Details Part 3
- 5. Topology Solve
- 6. Creating a hole
- 7. Symmetrize Detail
- 8. Organisation
- 9. Modelling Paddles
- 10. Modelling Paddles Part 2
- 11. Filling Shapes
-
9. Triggers
- 1. Triggers Part 1
- 2. Triggers Part 2
- 3. Triggers Part 3
- 4. Triggers Part 4
- 5. Triggers Part 5
- 6. Triggers Part 6
- 7. Triggers Part 7
- 8. USB C Port Part 1
- 9. Button
- 10. Holes
- 11. USB C Port Part 2
- 12. Trigger Text
-
10. Finishing Details
- 1. Charging Port 1
- 2. Charging Port 2
- 3. Back Details
- 4. Finishing Front Details
- 5. Organisation
- 6. Scaling to correct size
-
11. UV Unwrapping
- 1. Checker Pattern
- 2. Smart UV Unwrap
- 3. Main Body Unwrapping
- 4. Front Button Unwrapping
- 5. Trigger Unwrapping
- 6. Adding Decals
-
12. Materials
- 1. Normal Map Modelling
- 2. Bake Normal Map
- 3. World lighting and plastic material
- 4. Gradient background
- 5. Decal Material
- 6. Material Creation 1
- 7. Material Creation 2
- 8. Finishing Materials
- 9. Grouping Nodes
-
13. Animation and Renders
- 1. Scene Lighting
- 1.1 Problem Fixing - Skip this if you want
- 2. Prepping for Animation
- 3. Scene 1 Animation
- 4. Scene 2 3 4
- 5. Scene 5
- 6. Scene 6
- 7. Scene 7 8
- 8. Scene 9
- 9. Animating lights
- 10. Depth of Field
- 11. Bloom Compositing
- 12. Render Optimization and Render
- 13. Sheep It Render Farm
- 14. Davinci Editing
-
-
Animation Fundamentals
35 lesson- 1. Welcome (READ ME)
-
QD18 Console
- Project Files
- 2.1 - Timeline and Keyframes
- 2.2 - Orientation
- 2.3 - Origin And Pivot Points
- 2.4 - Animation View
- 2.5 - Project File
- 2.6 - Template File
- 2.7 - Scene 1 Camera Position
- 2.8 - Setting Keyframes
- 2.9 - Viewport Samples
- 2.10 - Lighting
- 2.11 - Graph Editor
- 2.12 - Easing
- 2.13 - Graph Editor Explained
- 2.14 - Adjusting Composition
- 2.15 - Scene 2
- 2.16 - Positioning Camera
- 2.17 - Animating Camera
- 2.18 - Animating The Light
- 2.19 - Depth Of Field
- 2.20 - Overview Of Combining Scenes
- 2.21 - Scene 3 Camera Setup
- 2.22 - Draw Rotation Animation
- 2.23 - Depth Of Field
- 2.24 - Scene 4 Animation
- 2.25 - Adjusting Length
- 2.26 - Scene 5 Camera
- 2.27 - Rotating camera animation
- 2.28 - Graph Editor
- 2.29 - Optimizing your scene
- 2.30 - Optimize and rendering
- 2.31 - Video Editing
- 2.32 - Adding music
- 2.33 - Exporting Animation
-
Samsung Animation
19 lesson- 1. Introduction + Project Files
-
2. Preparing Assets
- 1. Light Texture
- 2. Light Asset
-
3. Scene One
- 1. Scene Preperation
- 2. Background Texture
- 3. Animating
- 4. Lighting
- 5. Export Settings
-
4. Scene 2-7
- 1. Animation Scene 2
- 2. Animating Scene 2
- 3. Animating Scene 3
- 4. Animating Scene 4
- 5. Animating Scene 5
- 6. Animating Scene 6
-
5. Scene 7
- 1. Black Sand
- 2. Lighting Part 1
- 3. Lighting Part 2
-
6. Animation
- 1. Animation
-
7. Editing
- 1. Editing
-
Bonus 1: Whiskey Bottle
12 lessons-
Introduction
- Project Files
-
1. Modelling
- 2.1 - Modelling (18:20)
- 2.2 - Creating Curved Labels (10:55)
- 2.3 - More curves (8:21)
- 2.4 - Modelling the Liquid (4:07)
-
3. Materials & Textures
- 3.1 - Creating a Metal Shader (4:43)
- 3.2 - Wooden Cap Texture (7:17)
- 3.3 - Glass and Liquid Shaders (1:28)
- 3.4 - Cork Texture (2:08)
- 3.5 - Creating your own textures (2:56)
-
4. Lighting, Rendering and Compositing
- 4.1 - Lighting your Bottle (33:23)
- 4.2 - Fixing Issues and Compositing (18:31)
-
-
Bonus 2: Whiskey Bottle 2
5 lessons- 1.1 - Project Files
- 2.1 - Modelling the Bottle
- 2 2 - Label and UV Unwrapping
- 2.3 - Creating Displacement for Bottle
- 2.5 - Lighting the Bottle
-
Bonus 3: Wine Bottle
4 lessons- 1.0 - Welcome | Project Download
- 1.1 - Modelling the Bottle (31:17)
- 1.2 - UV Unwrapping (4:19)
- 1.3 - Textures and Shaders (19:31)
-
Introduction to Blender (Legacy)
66 lessons-
Welcome
- (MUST WATCH) Blender 4.1 Changes
-
Blender Basics
- 1.1. Project Files
- 1.2 Installing Blender - Updated
- 1.3 Setting Up Blender
- 1.4 Quick Interface Overview
- 1.5 3D Viewport Navigation
- 1.6 Toolbar And N Panel
- 1.7 Creating Collections
- 1.8. Navigating The 3D Viewport
- 1.9 - Move Scale Rotation
- 1.10. Move Scale Rotation Shortcuts
- 1.11. Excluding An Axis
- 1.12. Why Scale Is Important
- 1.13. Edit Mode
- 1.14. Loop Cuts
- 1.15. Extruding
- 1.16. Insetting
- 1.17. Bevel
- 1.18. Normals
- 1.19. Add Menu
-
Adding References
- 2.1. Importing Reference Images
- 2.2. Saving
- 2.3. Powersave Addon
- 2.4. Increase Undo Steps
- 2.5. Reference Image Settings
- 2.6. Switching Views Quickly
- 2.7. Adding All The References
- 2.8. Adjusting References
- 2.9. Collecting Inspiration
- 2.10. Important Addons
-
Modelling
- 3.1. Create Our Block out
- 3.2. Apply Bevel
- 3.3. Creating Back Glass
- 3.4. How Booleans Work
- 3.5. Camera Blockout
- 3.6. Camera Boolean
- 3.7. Weighted Normal
- 3.8. Camera Part 1
- 3.9. Camera Part 2
- 3.10. Camera Part 3
- 3.11. Camera Part 4
- 3.12. Camera Part 5
- 3.13. Screen
- 3.14. Button Shapes
- 3.15. Button Booleans
- 3.16. Button Details
- 3.17. Charging Port
- 3.18. Speaker Ports
- 3.19. Finishing Details
- 3.20. Parenting iPhone
-
Materials, Lighting & Rendering
- 4.1. Setup For Materials
- 4.2. GPU Setup
- 4.3. Render Settings
- 4.4. Frosted Glass Material
- 4.5. Overlapping Objects With Glass
- 4.6. Steel Material
- 4.7. Black Plastic
- 4.8. Screen Materials
- 4.9. Lens Material Part 1
- 4.10. Lens Material Part 2
- 4.11. Titanium Material Part 1
- 4.12. Titanium Material Part 2
- 4.13. Adjustments
- 4.14. Logos
- 4.15. Lighting
- 4.16. Final Renders
-
-
Wine/Whiskey Visualisation (Legacy)
35 lessons-
Introduction
- 1.1 - Project Files
-
Modelling Your Bottle
- 2.1. Preparing our Scene
- 2.2. Importing Reference Images
- 2.3. Modelling the Basic Shape
- 2.4. Base Modelling and Subdivision Surface
- 2.5. Holding Edges with Loop Cuts
- 2.6. Adding Thickness using Solidify Modifier
- 2.7. Modelling Liquid
- 2.8. Modelling the Cap
-
Creating Your Own Textures
- 3.1. Manually UV Unwrapping Objects
- 3.2. Preparing AI for UV
- 3.3. Setting up our textures
- 4.3. Creating Masks and Colour Textures
- 3.5. Creating Displacement
- 3.6. Setting up Label 2
-
Materials and Shaders
- 4.1. Filmic Vs AGX
- 4.2. Installing AGX
- 4.3. Setting up Camera and HDRI
- 4.4. Focal Lengths Explained
- 4.5. Basic Glass Shader
- 4.6. Liquid Shader
- 4.7. Expanding on the glass material
- 4.8. Adding your displacement map
- 4.9. Fixing Flipped Normals
- 4.10. Adding Label to Material
- 4.11. Fixing Textures
- 4.12. Creating Paper Texture
- 4.13. Adding Label 2
- 4.14. Sourcing Textures
- 4.15. Wood Texture
- 4.16. Cork Texture
-
Lighting & Rendering
- 5.1. Rim Lighting
- 5.2. Lighting the Liquid
- 5.3. Keylight and Fill Light
- 5.4. Fixing Displacement Artifacts
-
-
Packaging Visualisation (Legacy)
23 lessons-
Intoduction
- 1.1. Introduction
-
Course Resources
- 2.1. Finding Resources for your Portfolio
- 2.2. Downloading Resources
-
Modelling
- 3.1. Importing Images as Planes
- 3.2. Basic Modelling
- 3.3. Bevel Modifier
- 3.4. Ribbon Modelling
- 3.5. Creating a Nurbs Curve
- 3.6. Curve Modifier
- 3.7. Parenting Empties to Objects
- 3.8. Setting up your scene
-
Texturing and Shading
- 4.1. Shader Editor Basics
- 4.2.1. Box Texture
- 4.2.2. Box Texture
- 4.3. Adding your first image texture
- 4.4. Creating Silver with Image Masks
- 4.5. Creating Displacement
- 4.6. Apply your materials to other objects
- 4.7. Ribbon Texture
- 4.7.2. Ribbon Texture
- 4.8. Background Material
-
Lighting & Rendering
- 5.1. Lighting your product
- 4.2. Rendering
-
-
Adobe Illustrator Essentials
14 lessons- 1. Introduction
- 2. Welcome
- 3. Getting to Know Illustrator
- 4. Creating Basics Shapes inside Adobe Illustrator
- 5. Using the Shape Builder Tool in Illustrator
- 6. How to Use the Curvature Tool Inside Adobe Illustrator
- 7. How to use the Pen Tool in Adobe Illustrator
- 8. How to use Color inside Adobe Illustrator
- 9. Brush inside Adobe Illustrator
- 10. Using the Type Tool in Adobe Illustrator
- 11. Basic Transformations
- 12. Exporting for Print
- 13. Exporting for Web
- 14. Customizing your Workspace
SO... WHO AM I?
My name is Hunter Wearne and I am the lucky guy who gets to teach you.
I began my creative journey by studying Graphic Design, following in my mother's footsteps. However, I quickly discovered a passion for Photography as well. After earning my certificate in Design, I decided to study Photography for a year, where I fell in love with product photography. I became intrigued by how some photographers were using 3D software to create realistic renders.
But there was a problem: I thought I needed Cinema 4D, like the other artists I admired. However, as someone just entering the workforce, I couldn’t afford the $200-a-month cost.
While working in the industry as a Graphic Designer, I stumbled upon some CG tutorials using Blender—a completely FREE software! Despite my excitement, I still struggled to achieve the realistic results I wanted, and at that time, there weren’t many tutorials available. So, I started experimenting, watching Cinema 4D tutorials, and trying to replicate the techniques in Blender.
Soon, I realized others might benefit from what I was learning, so I began releasing YouTube videos, and people loved the tutorials.
Now, with five years of Blender experience and thousands of hours logged, I have 25k following and over 3,000 students following my training. 🤯 It truly blows my mind.
I would love to see you create amazing product renders in this industry as well.

What You Get Inside Master Product Visualization
- Introduction to Blender ($59 value)
- Box Packaging Rendering ($59 value)
- Wine/Whiskey Rendering ($597 value)
- The Art of Lighting ($597 value)
- Introduction to Modelling ($297 value)
- Intermediate Modelling ($297 value)
- Advanced Modelling ($297 value)
- Product Animation Essentials($597 value)
- Kits Included ($97 value)
- Master Product Visualization Discord Community (invaluable)
- Lifetime Access (invaluable)
- Access to Updates ($297 value)
MONEY-BACK
GUARANTEE
If you don't love this program, contact us within 60 days and receive your money back, no questions asked.
