For anyone who wants to get paid for 3D and does not have the portfolio yet
Create Product Renders That Look Photographed
The full step by step process. From opening Blender for the first time, to a finished portfolio piece.
WITHOUT guessing at settings, without copying a scene you forget by Friday, and without trawling YouTube for the next piece of the puzzle.
Built for beginners. Takes you to a confident intermediate, using the actual workflows and techniques I use on real work.
👉 SHOW ME THE PROCESS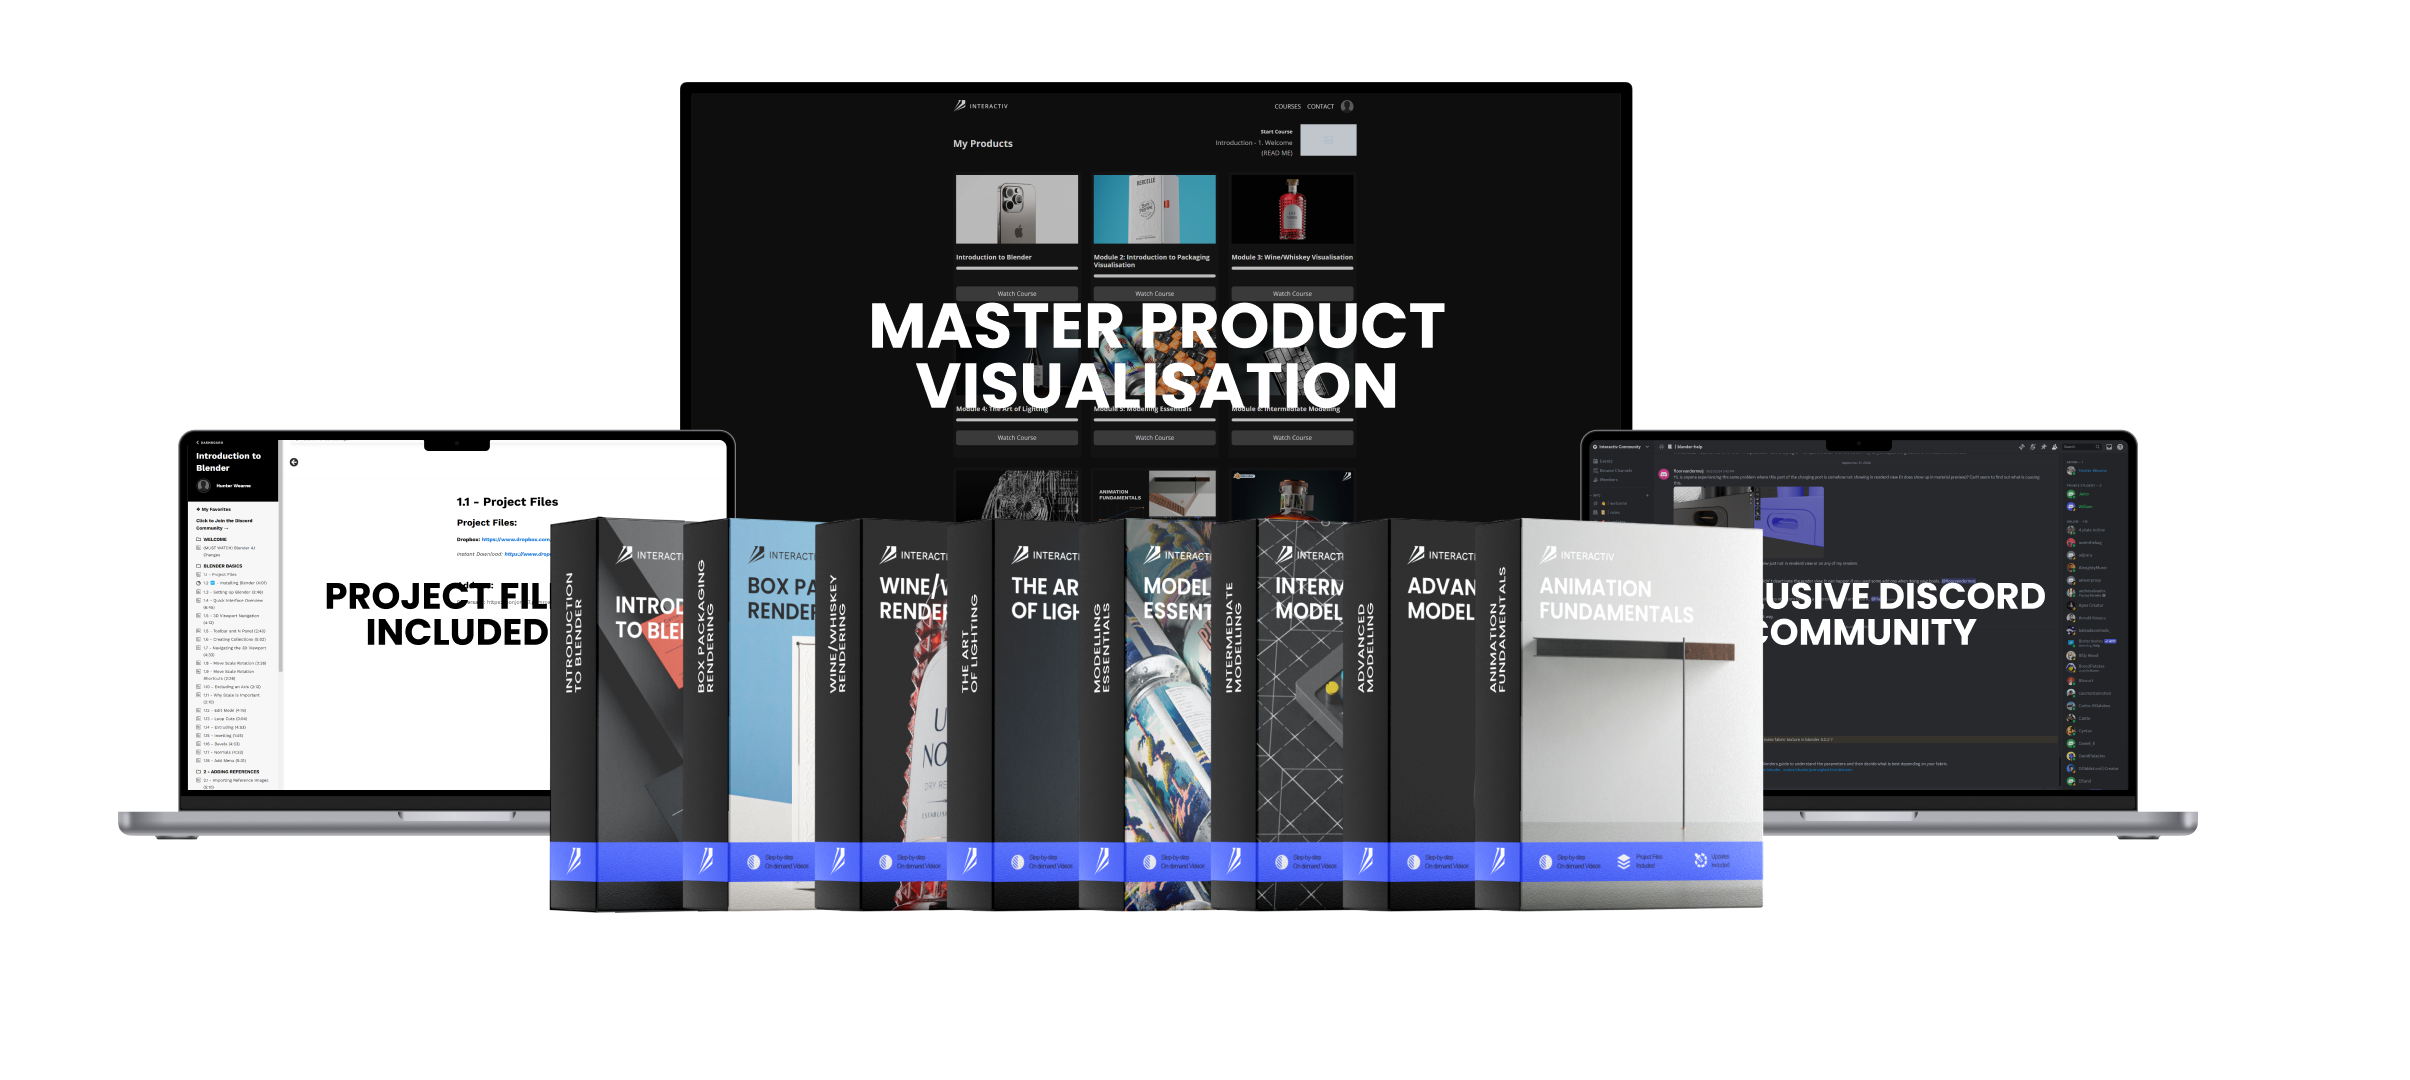
😤 Are You Tired Of...
❌ Searching YouTube for realistic product visualisation content and finding bits and pieces that never join up.
❌ Sitting in Blender with no clear direction. Opening a file and not knowing what to do first.
❌ Tutorials that show you what to click, but never a clear step by step way of actually learning Blender.
❌ Spending hours and hours trying to figure out on your own what should have just been taught to you in order.
✨ The Good News?
It does not have to be this way. What if you could:
✅ Follow one clear path from your first day in Blender to a finished, realistic product render.
✅ Learn why each step happens, so you can repeat it on your own product instead of only on mine.
✅ Come out the other side with portfolio pieces, not a folder of copied scenes.
⭐⭐⭐⭐⭐
"I'm 20% into the course and have learned so much more in this one resource than trawling through the net. Hunter goes into detail with everything which I appreciate. I can't wait to move deeper into the course!"
Jason Stiles
⭐⭐⭐⭐⭐
"The course is very well built: all the basics are explained, having one section per step allows me to track my progress and know exactly where to come back later if I forgot something, the practice case is very relevant. Thank you Interactiv Studio, I most definitely recommend this course!"
Ines Delem
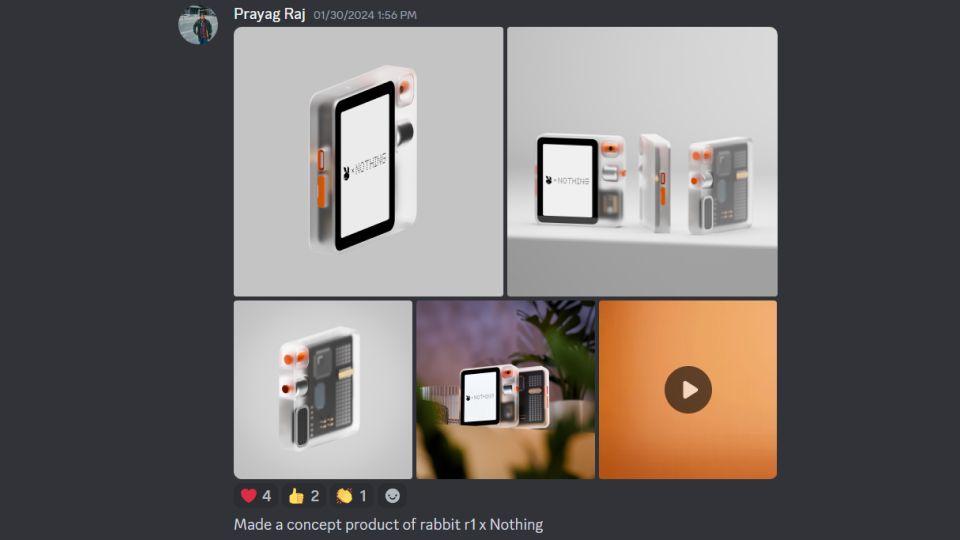
So How Does Someone Go From Flat Renders To Photographed Ones?
Here is how it works.
1️⃣ Learn The Basics
The interface, the tools, how to actually move around Blender. No assumed knowledge and nothing skipped.
2️⃣ Use Those Tools On A Real Product
You start building almost straight away. The basic tools are enough to make something real, and you use them on something real.
3️⃣ Build A Portfolio Piece While You Learn
You are not sitting through boring lessons hoping it sticks. You are making something you can actually show.
4️⃣ Repeat On Harder Products
Then you add the things that separate a render from a photograph, on products that push you further each time.
The 3 Things That Decide Everything
Across every project in this course, 3 things decide whether a render looks real. Everything else is detail.
Realistic Materials
Roughness, bump, displacement, masks and your own textures. Surfaces that look used rather than manufactured this morning.
Realistic Lighting
What light actually does. Quality, direction, modifiers, three point setups, rim and fill, and how to light glass without it going flat.
Good Composition
Camera, framing, focal length and how the whole image is presented. The part people notice last and feel first.
Get those 3 right and almost everything else can be average. Get them wrong and nothing saves the image.
⭐⭐⭐⭐⭐
"It gave me a solid understanding of how professional packaging renders are created, from modeling and materials all the way to lighting, composition, and final presentation. The instructor explains every step clearly and makes complex concepts easy to follow, even if you're not an expert yet."
Filip Magnusek
⭐⭐⭐⭐⭐
"This course definitely helped me a lot with glass and lighting, how they reflect, and especially displacement. I would recommend the course without hesitation."
Valentina Dinamarca
What You Will Actually Learn To Make
Every one of these is a real project you build, not a lesson you watch.
Modelling, From Nothing
Hard surface, subdivision, booleans, curves, support edges and clean topology. Building shapes that hold up under a close camera.
Bottle And Label Renders
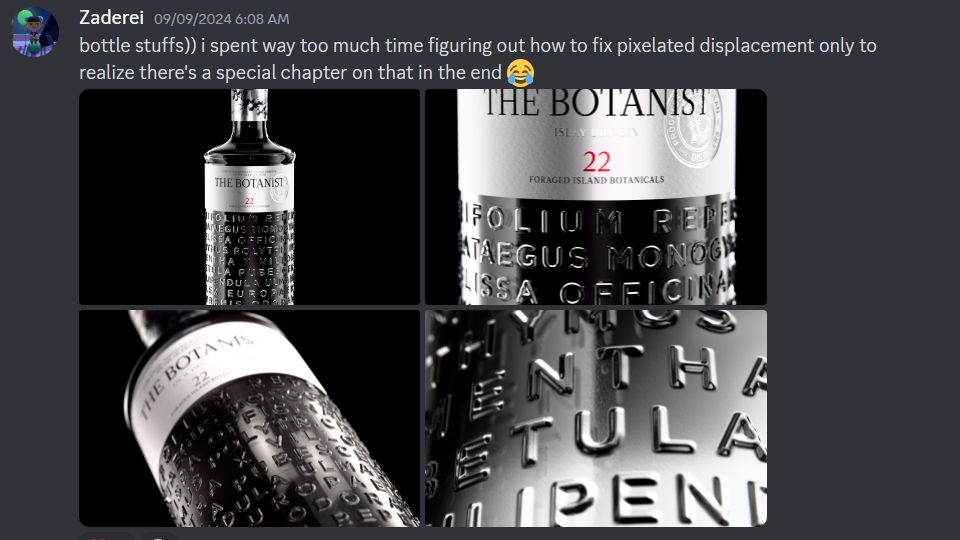
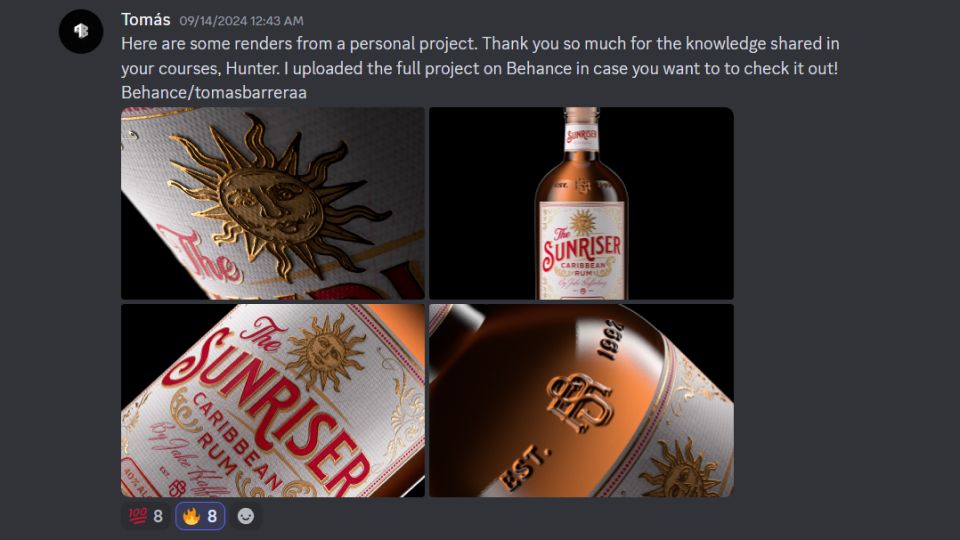
The hardest thing to fake. Modelling liquid, glass and liquid shaders, labels, spot gloss and foiling, manual UV unwrapping and building your own textures.
Realistic Lighting
A full course on light on its own. Types, quality, modifiers, three point setups, hard lighting, rim and fill, and compositing the result.
Electronics And Hard Surface
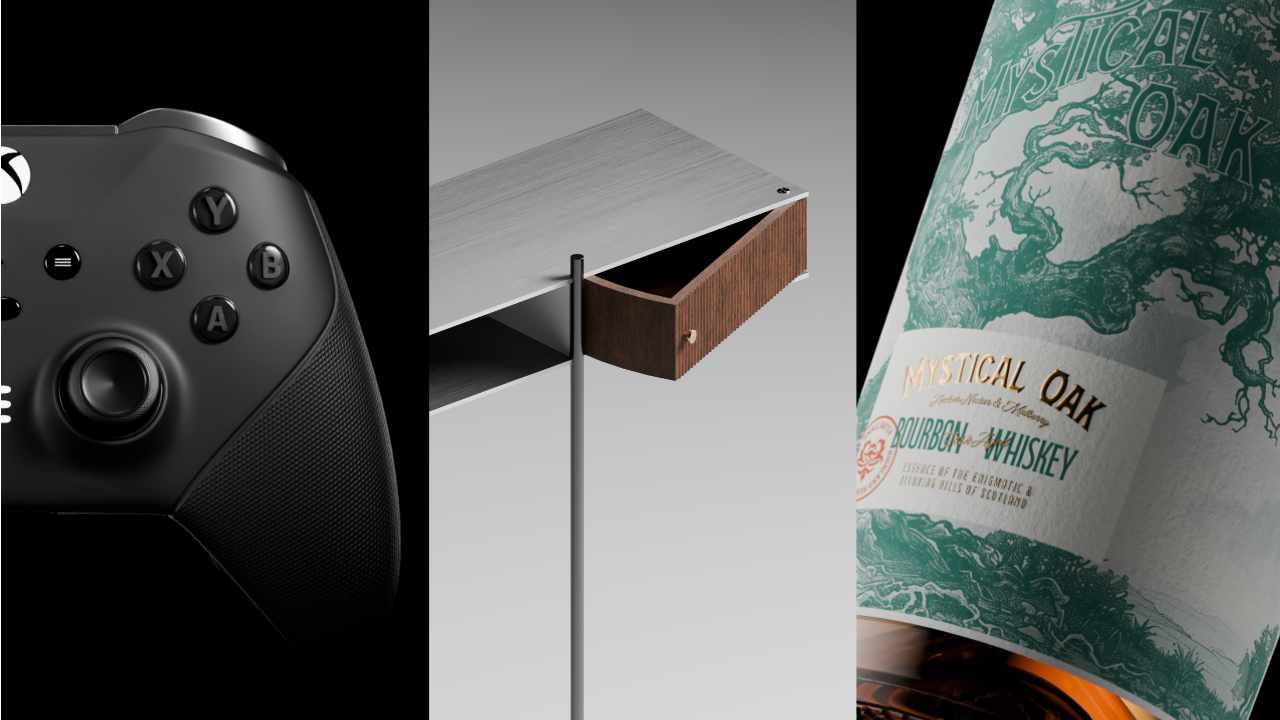
Phones, keyboards and controllers. Anisotropic metal, plastic, decals, normal map baking and the detail work that sells a tech product.
Animation
Geometry nodes, animating the camera, depth of field and exporting. Enough to bring a still product to life.
Finishing The Image
View layers, compositing, colour management and the final edit. The last stretch that most tutorials never get to.
🎨 Made By Students, Inside The Course
Not my renders. Theirs.
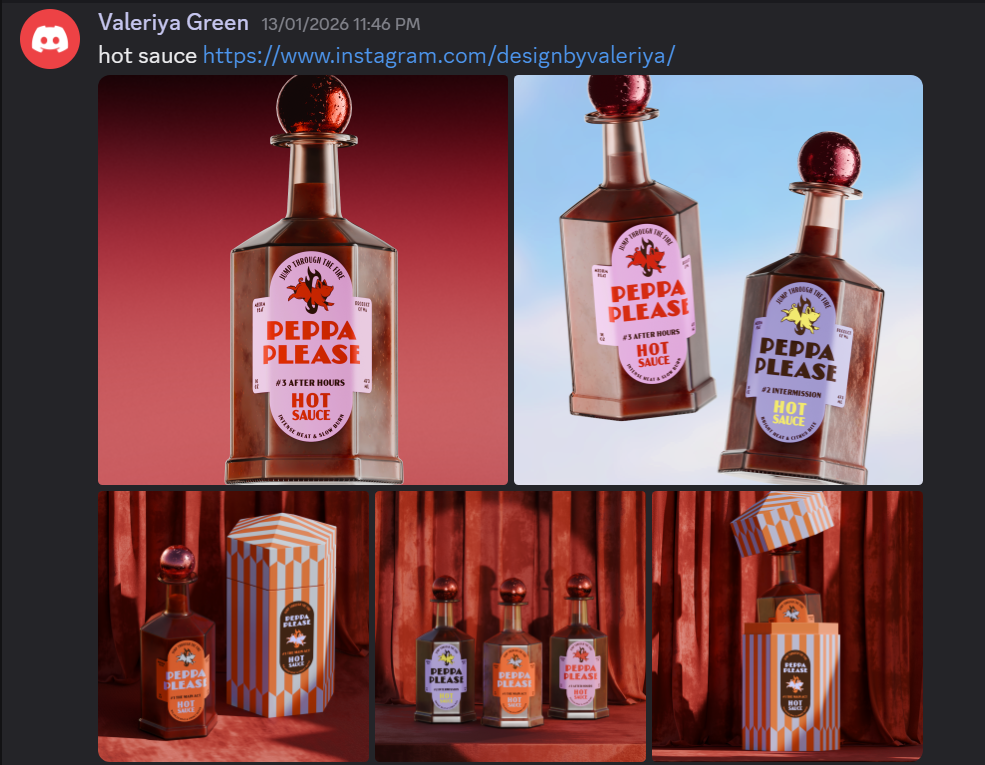
"Hot sauce."
Valeriya Green
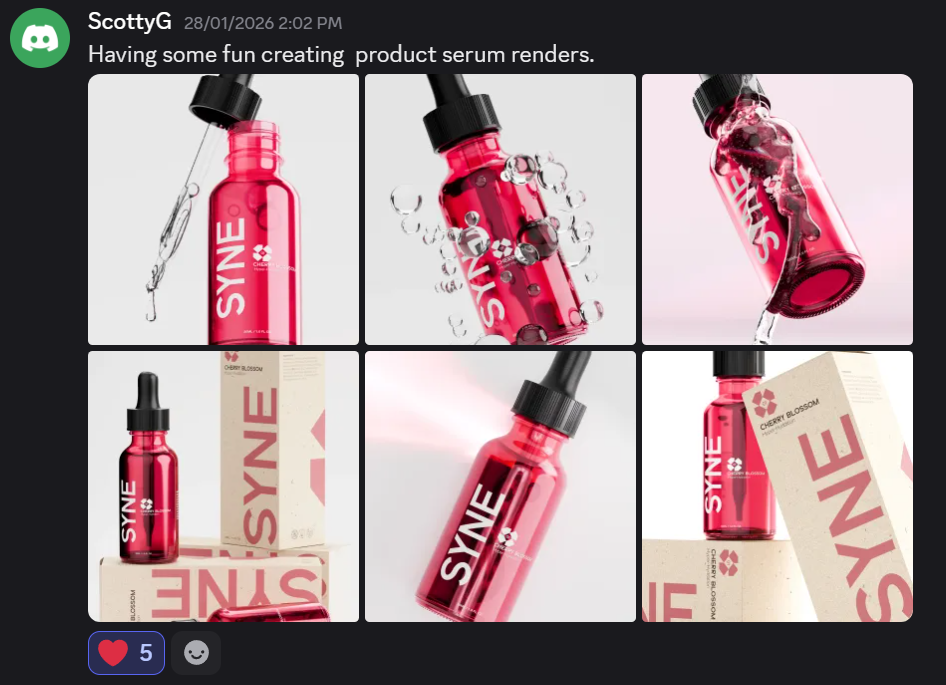
"Having some fun creating product serum renders."
ScottyG
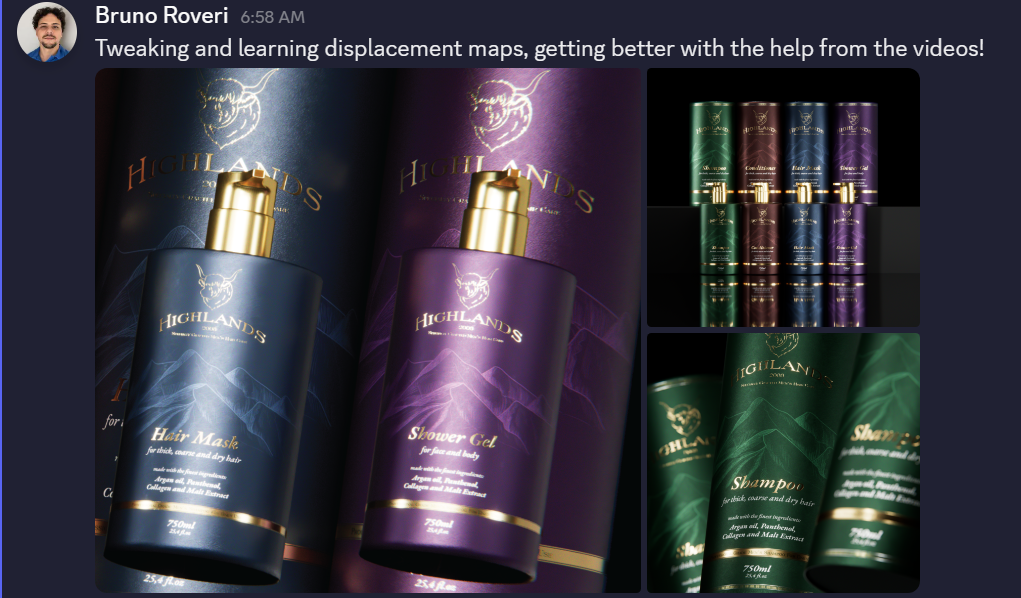
"Tweaking and learning displacement maps, getting better with the help from the videos!"
Bruno Roveri
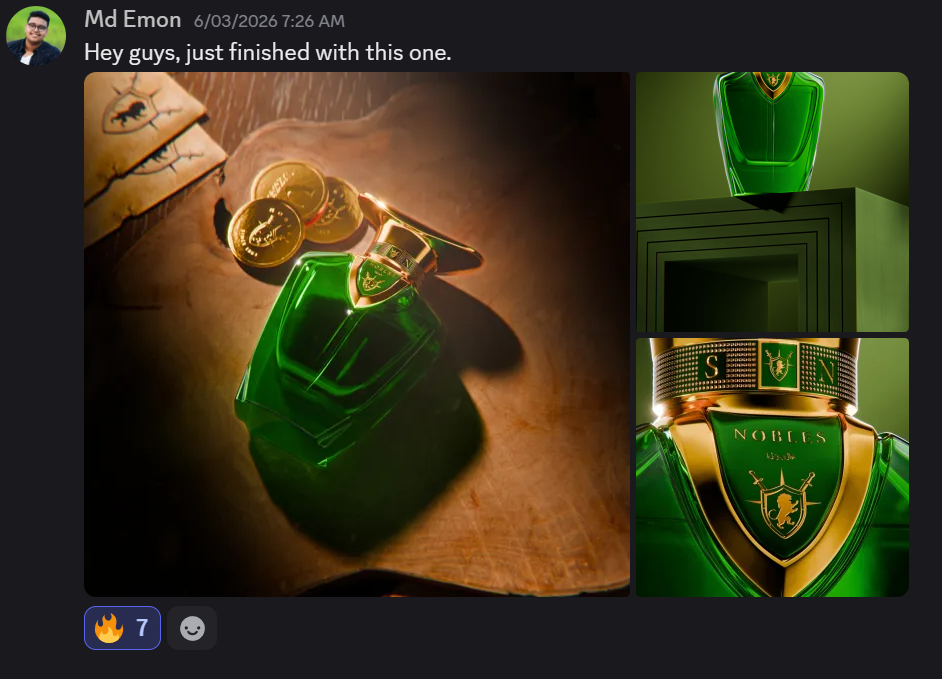
"Hey guys, just finished with this one."
Md Emon
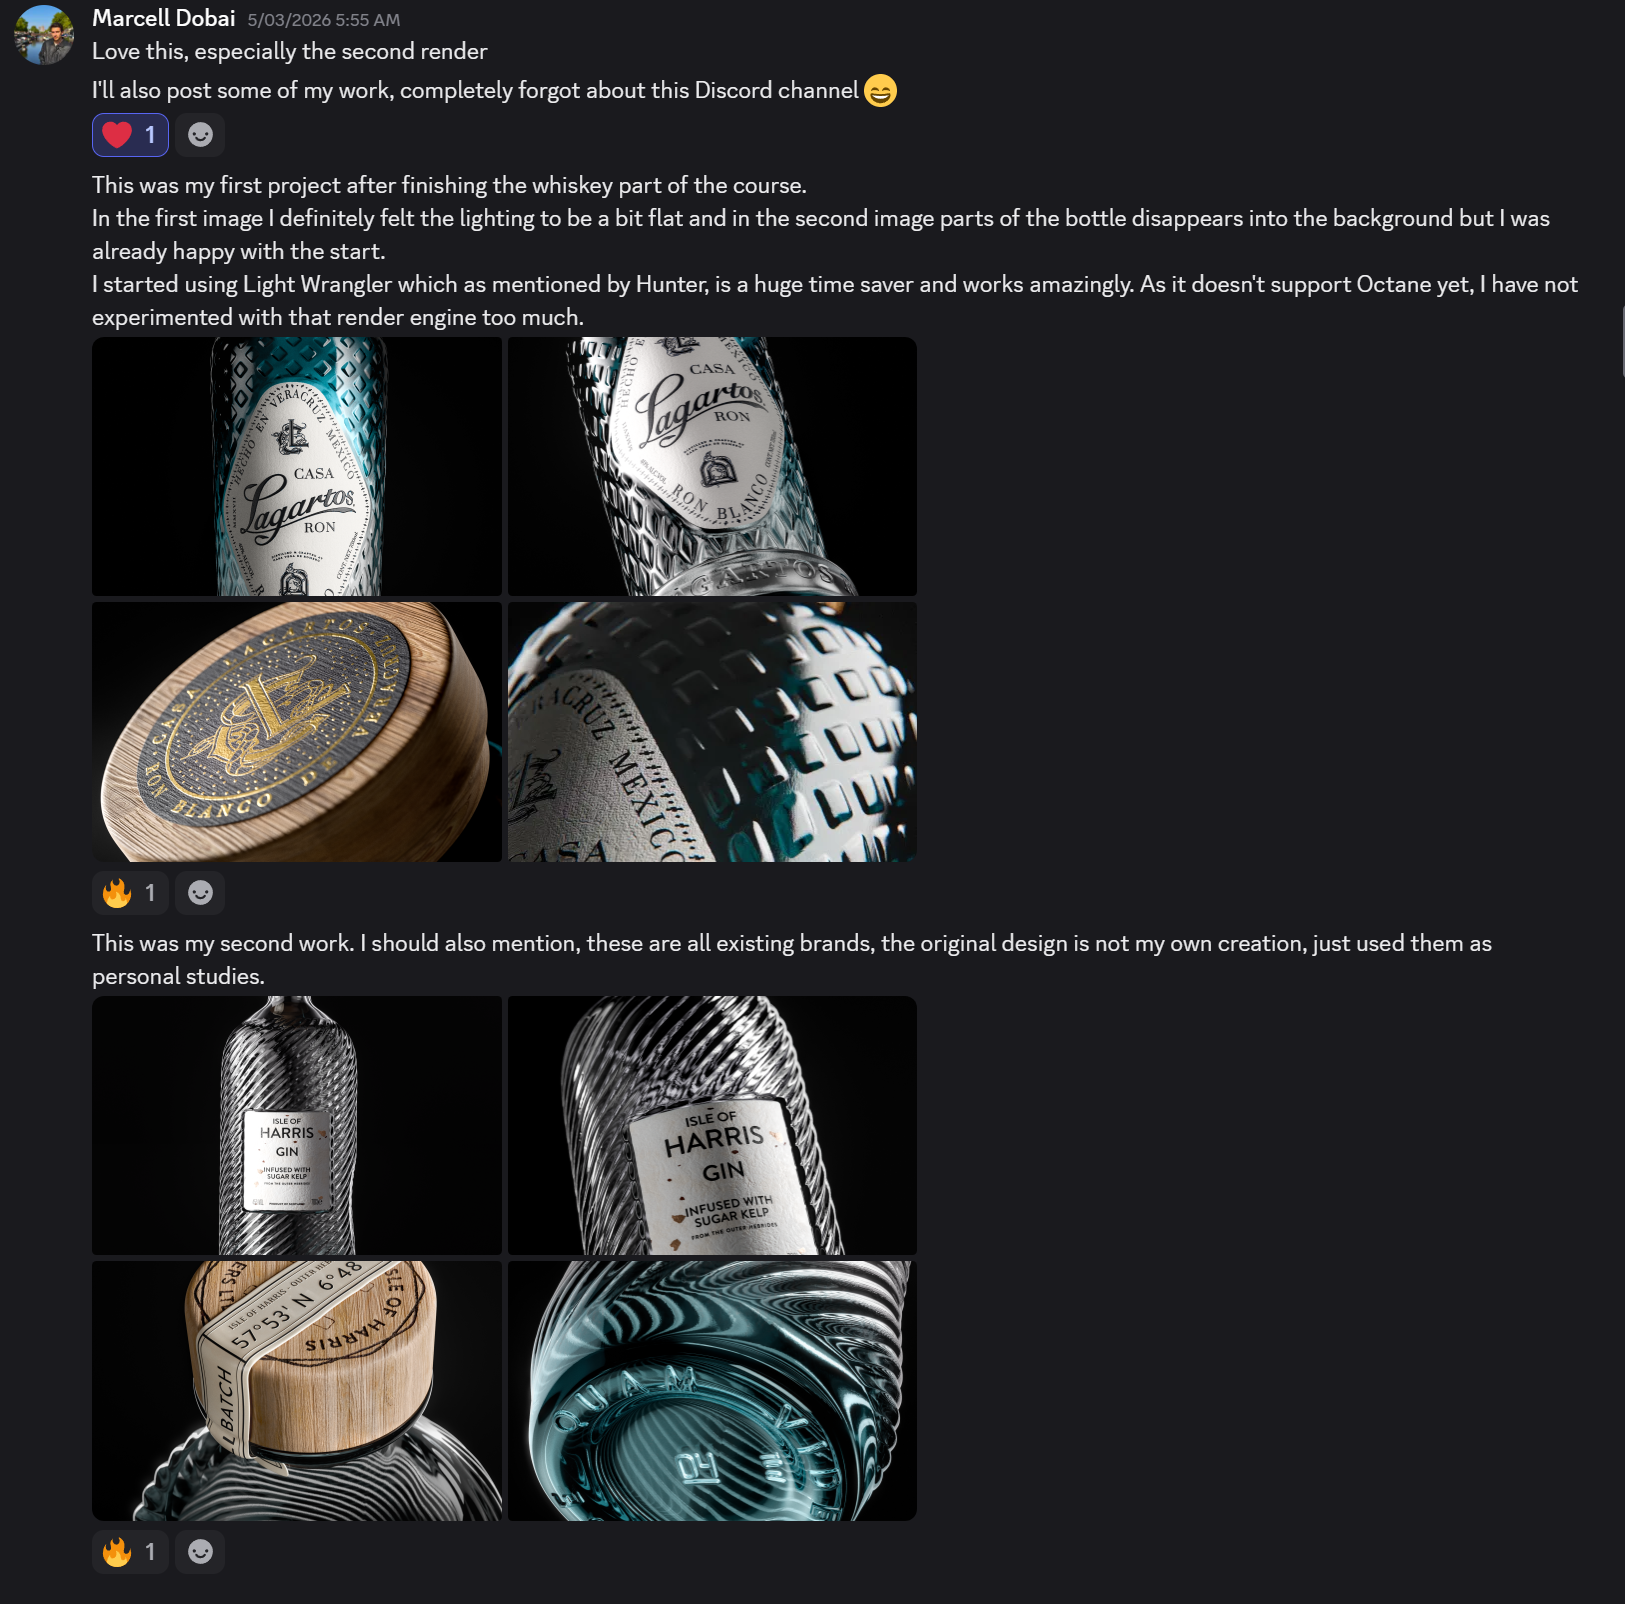
"I started using Light Wrangler which is mentioned by Hunter, is a huge time saver and works amazingly."
Marcell Dobai
🎥 See How It Is Taught
A few minutes of an actual lesson, so you know exactly what you are getting.
🚀 Ready To Start?
One payment. Lifetime access. Every project, every project file, and the Discord.
🎁 Bonus course included · 🔒 30 day refund, no questions asked · ♾️ Lifetime access · 📁 Project files · 💬 Discord
👋 Why I Built This
I was working as a motion and graphic designer at a marketing agency.
They asked me to make an ad for an insurance company. Model the frame of a house, then set it on fire. On an old laptop. In Blender.
I quit Blender for a year after that.
A year later I was working with a graphic designer on label designs that needed spot gloss and gold foiling. I offered to render the bottles in Blender for free, just to see if I could.
The first renders were terrible.
And there was nothing out there to fix that. No real YouTube content on realistic product rendering. So I taught myself. Thousands of hours of tutorials. Over a thousand dollars on courses. Most of it watching Cinema 4D artists and pulling other people's artwork apart to work out why theirs looked real and mine did not.
That took years. This course is all of it, in order, without the years.
I want you to get proficient at 3D without the same struggle I had.
Every Project You Build
You learn by making things. Here is everything you build, in order.
Each one is a little harder than the last.
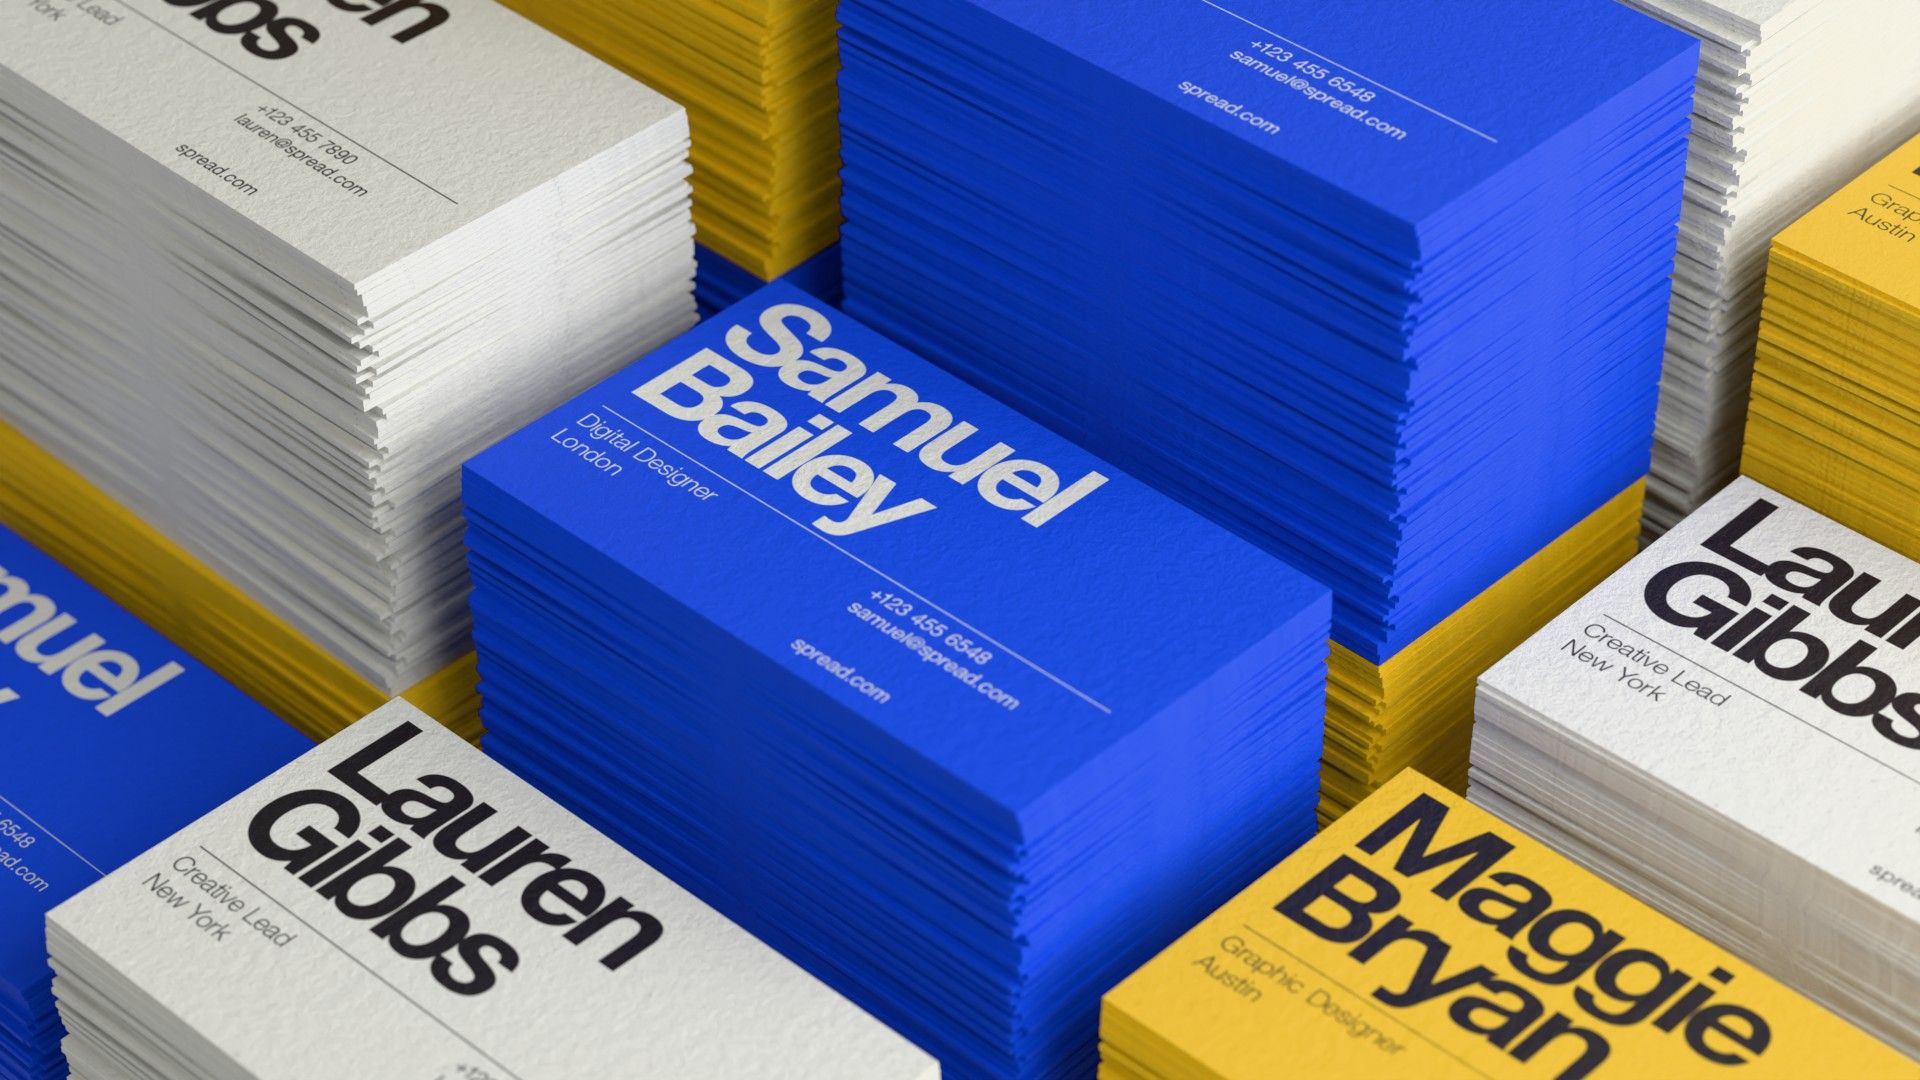
PROJECT 01
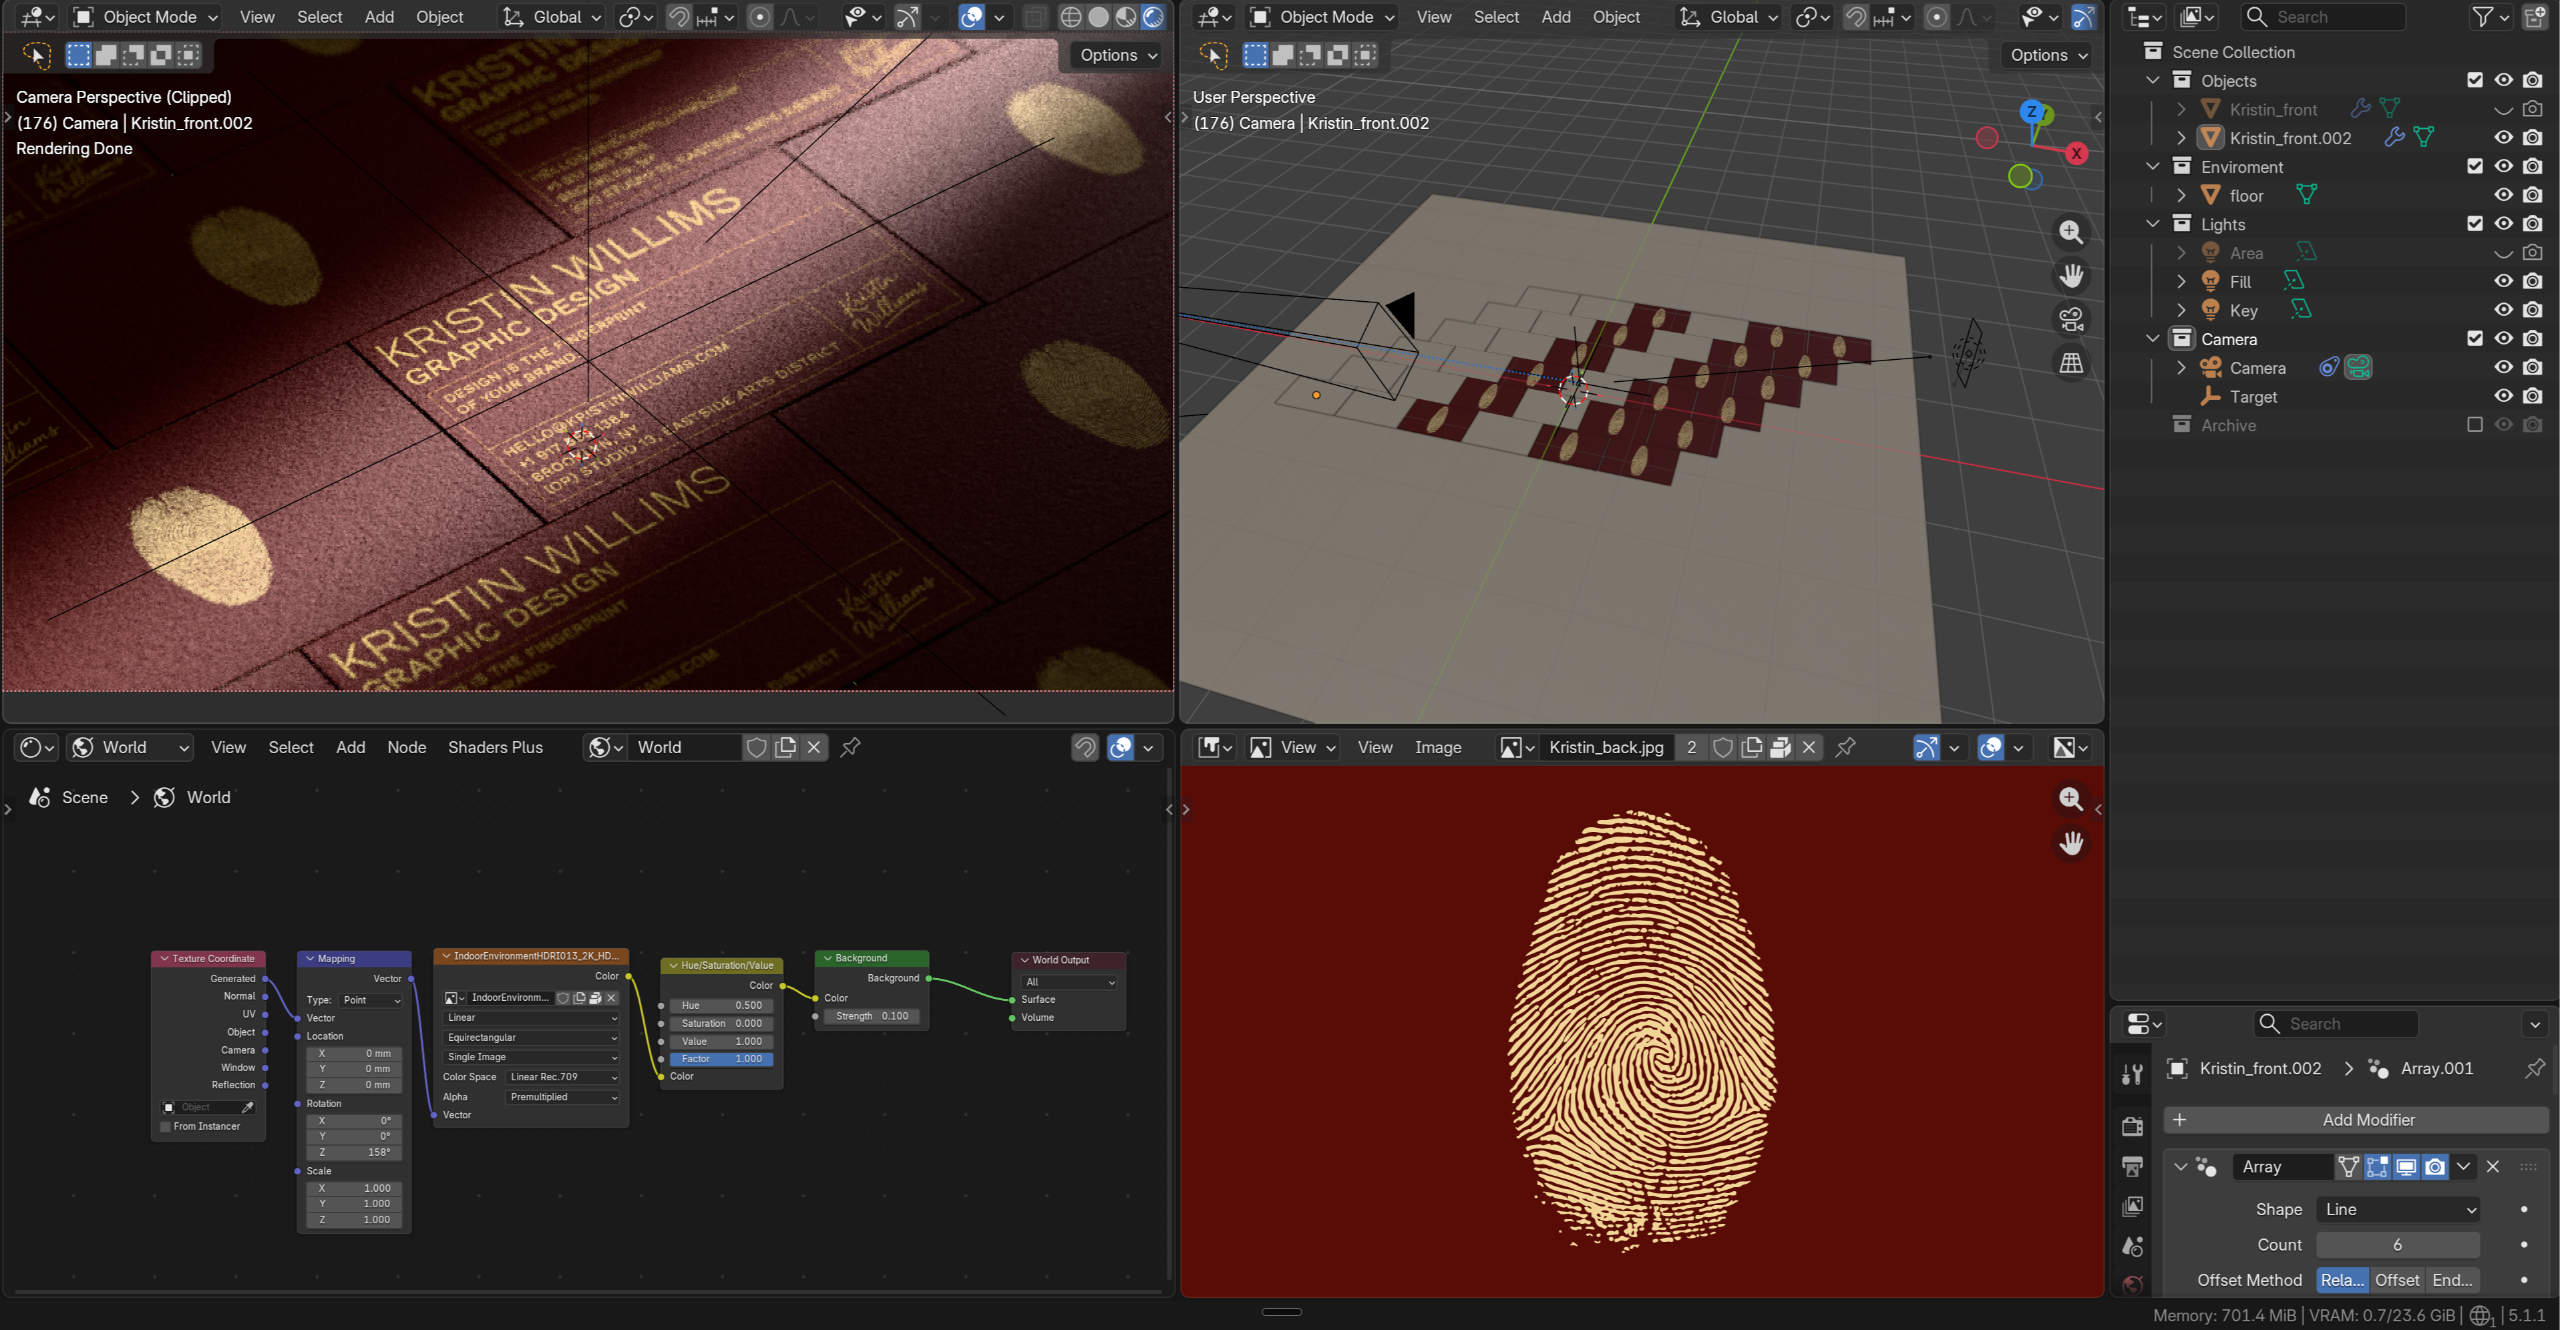
Business Card
Your first finished render, start to finish.
You learn: sizing objects correctly, putting artwork onto a surface, and getting a clean image out of Blender.
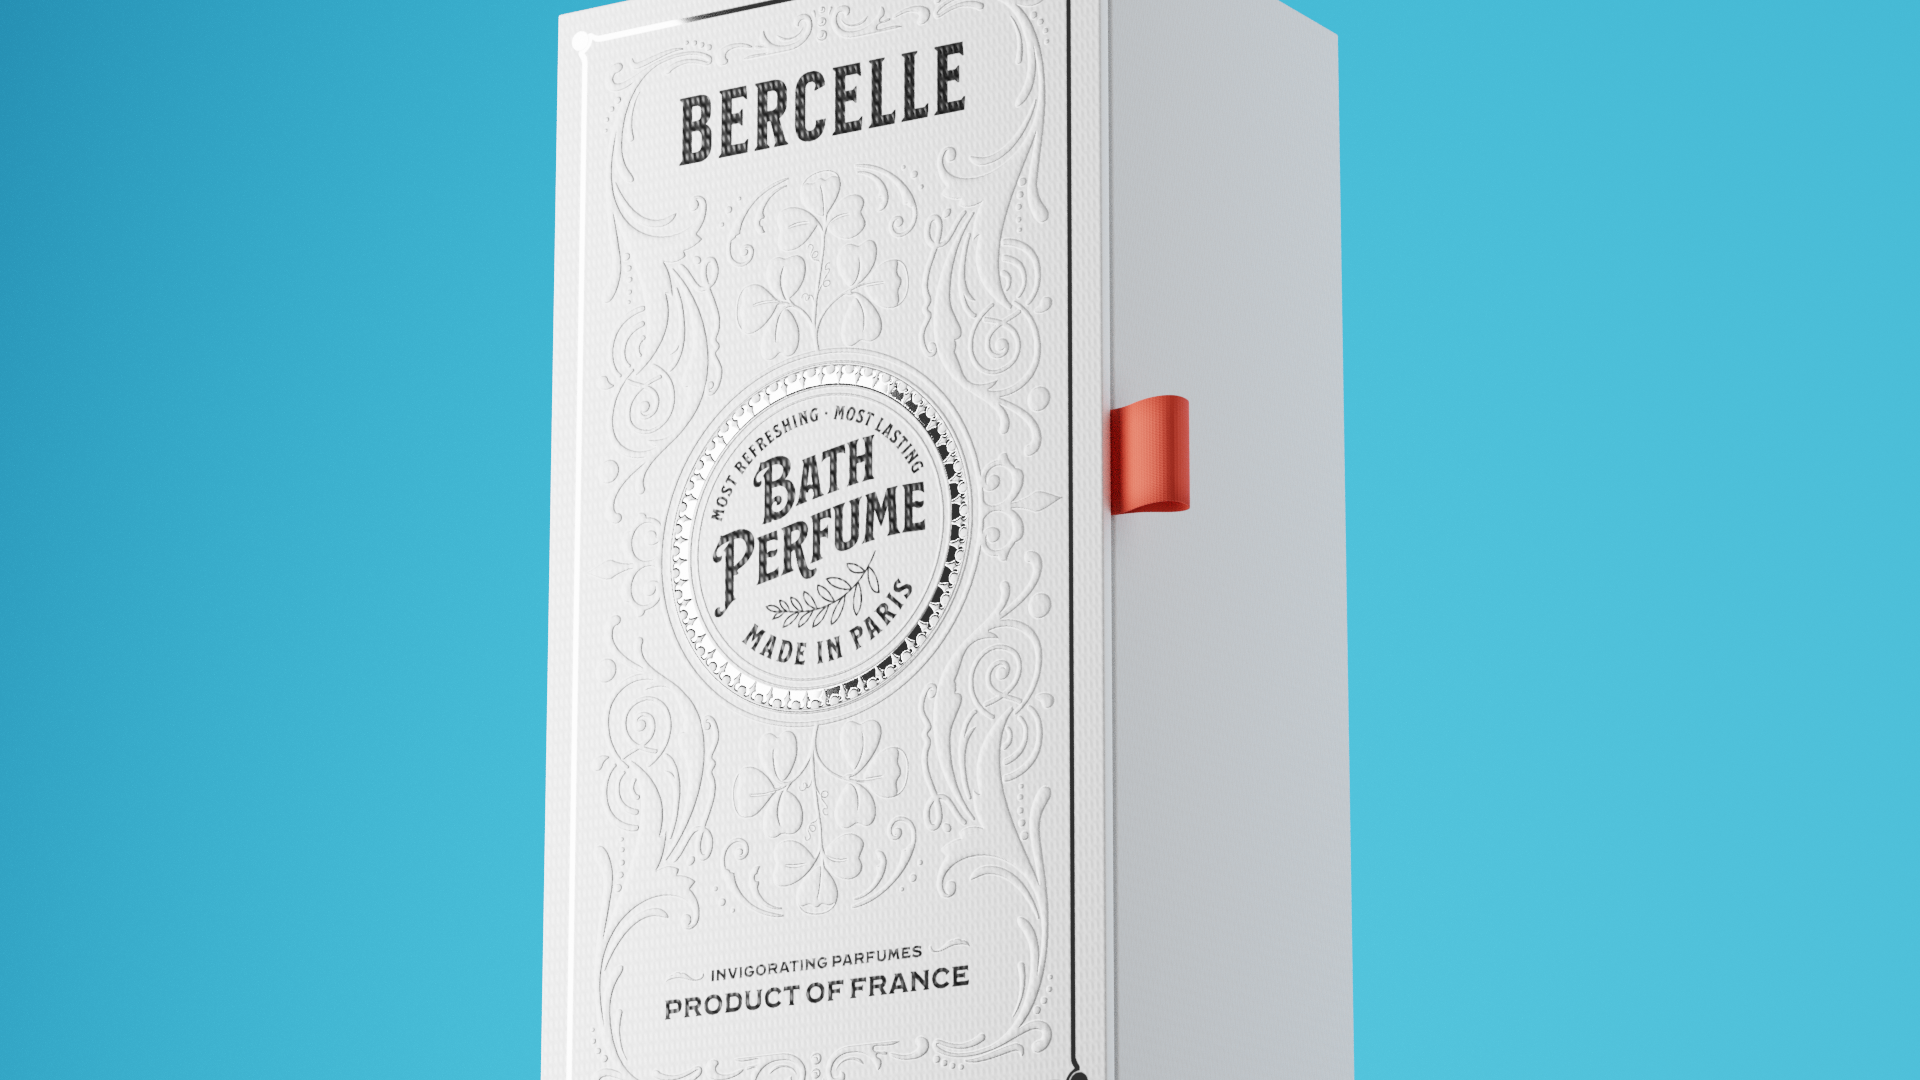
PROJECT 02
Boxed Product & Ribbon
A packaging box with a ribbon wrapped around it.
You learn: modelling from a photo, curves, bevels, and building your own textures.
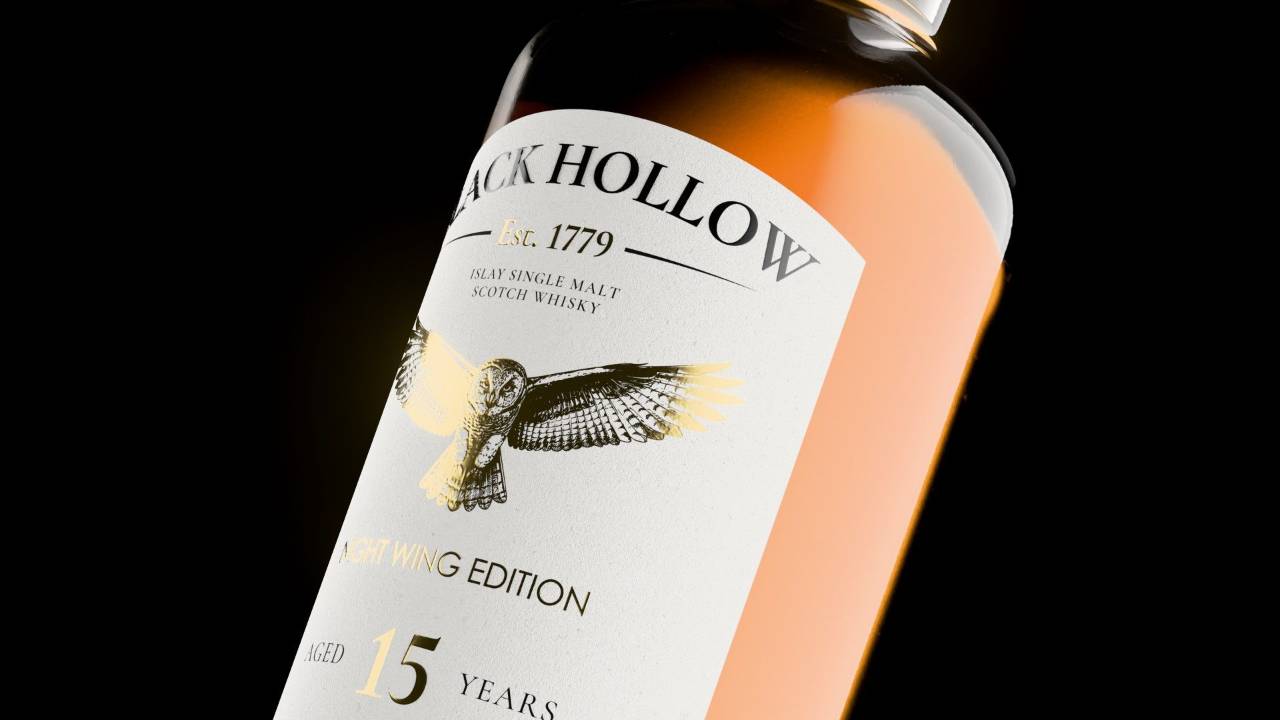
PROJECT 03
Bottle & Label
A glass bottle with liquid inside and a printed label.
You learn: glass and liquid materials, unwrapping a label by hand, and displacement.
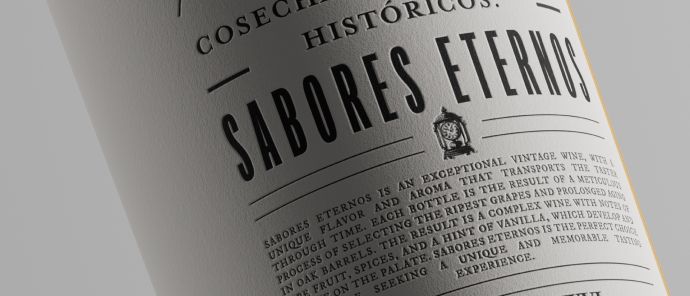
PROJECTS 04, 05 & 06
3 Bonus Bottle Builds
Three more bottles. Different shapes, different lighting.
You learn: the same process again and again, until it is yours instead of mine.
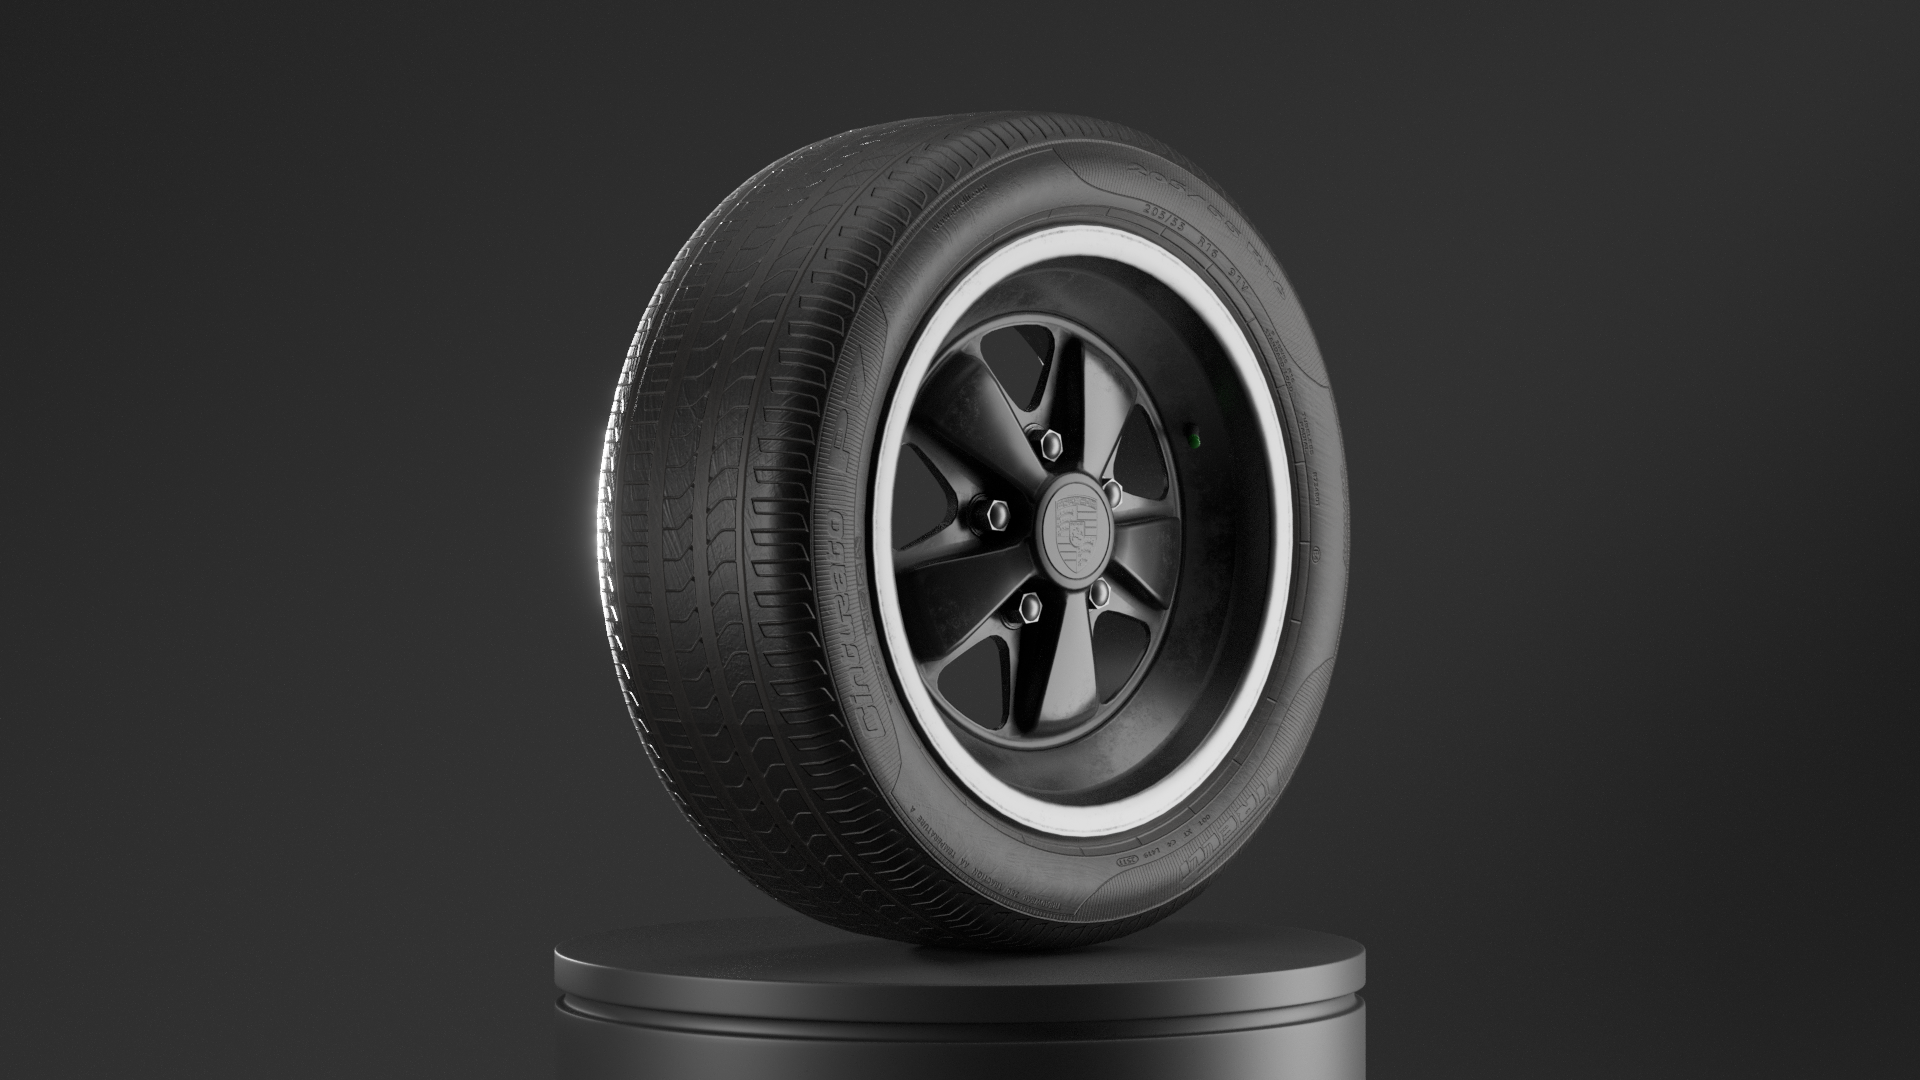
PROJECT 07
The Tyre
A tyre lit with a classic three point setup.
You learn: how light actually behaves, and how to build a lighting setup from nothing.
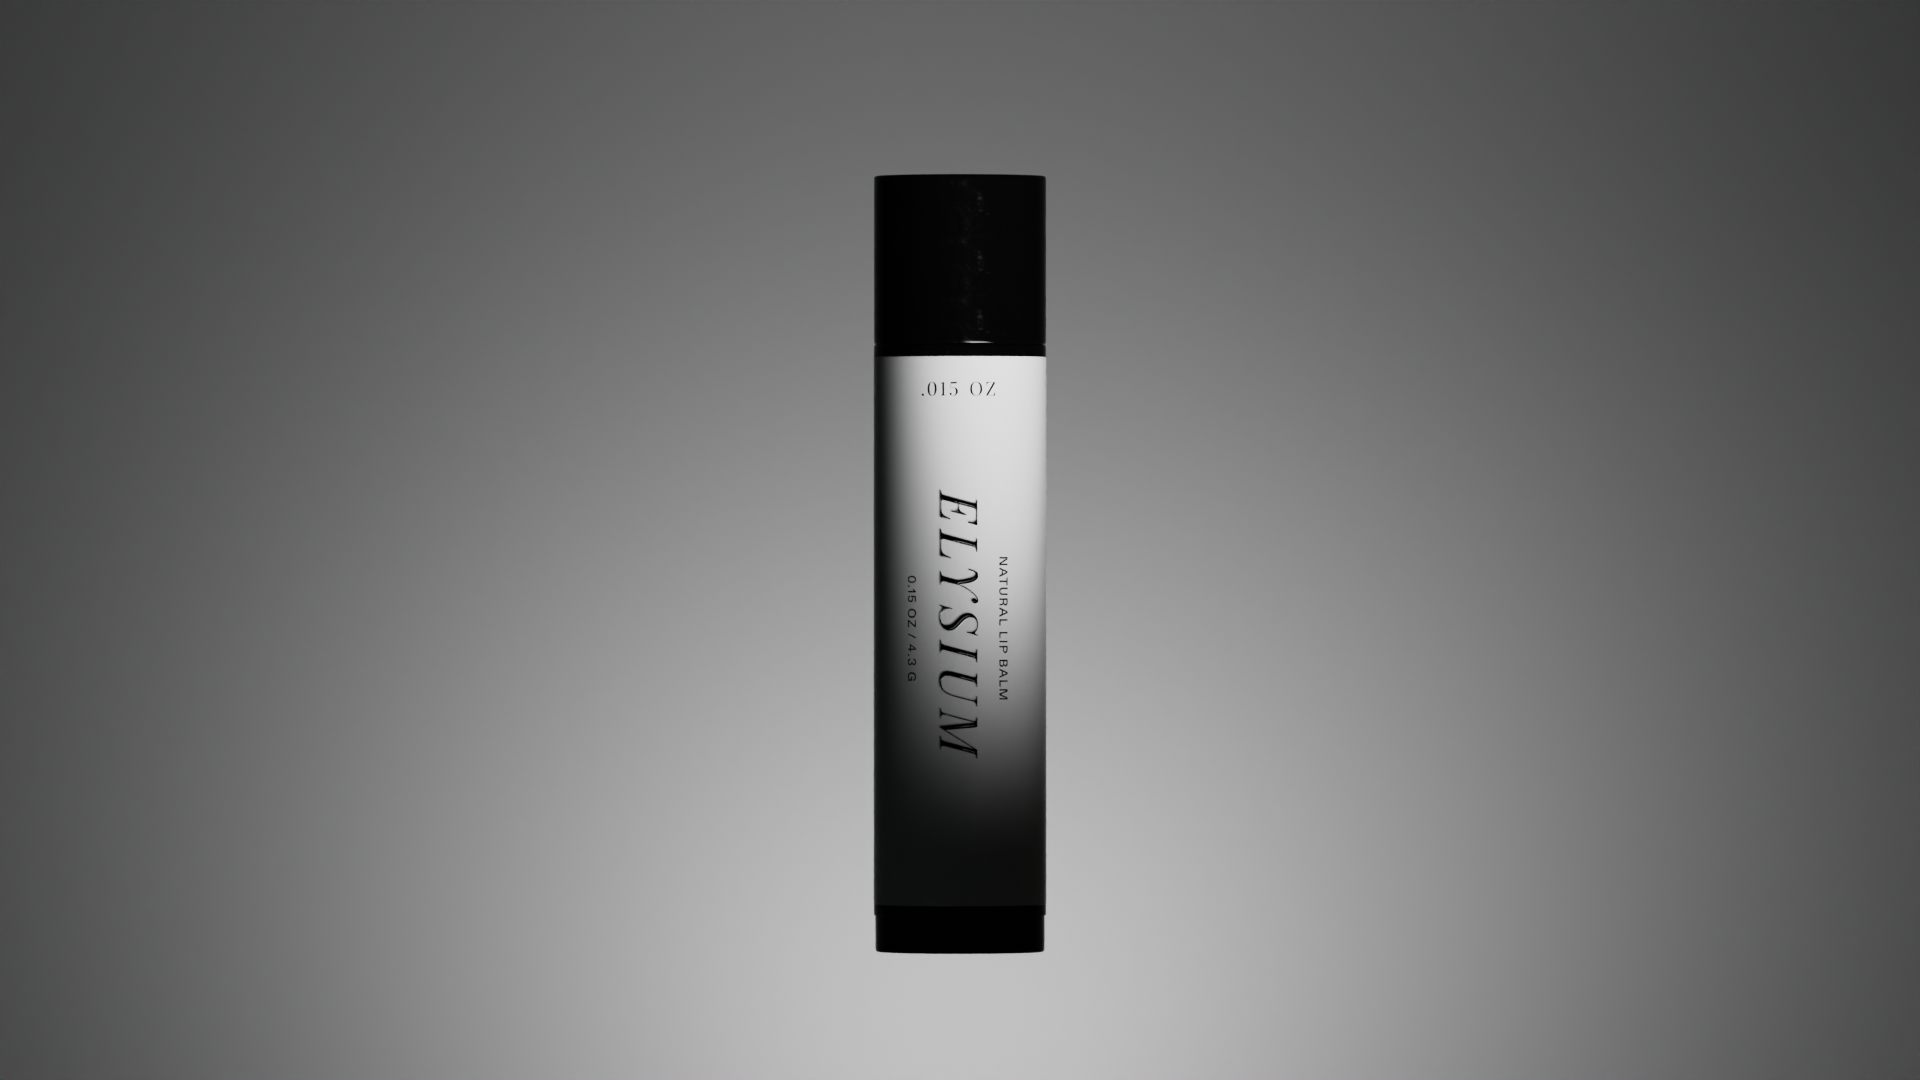
PROJECT 08
The Lip Balm
A small glossy product under hard light.
You learn: hard lighting, and when to reach for it instead of soft.
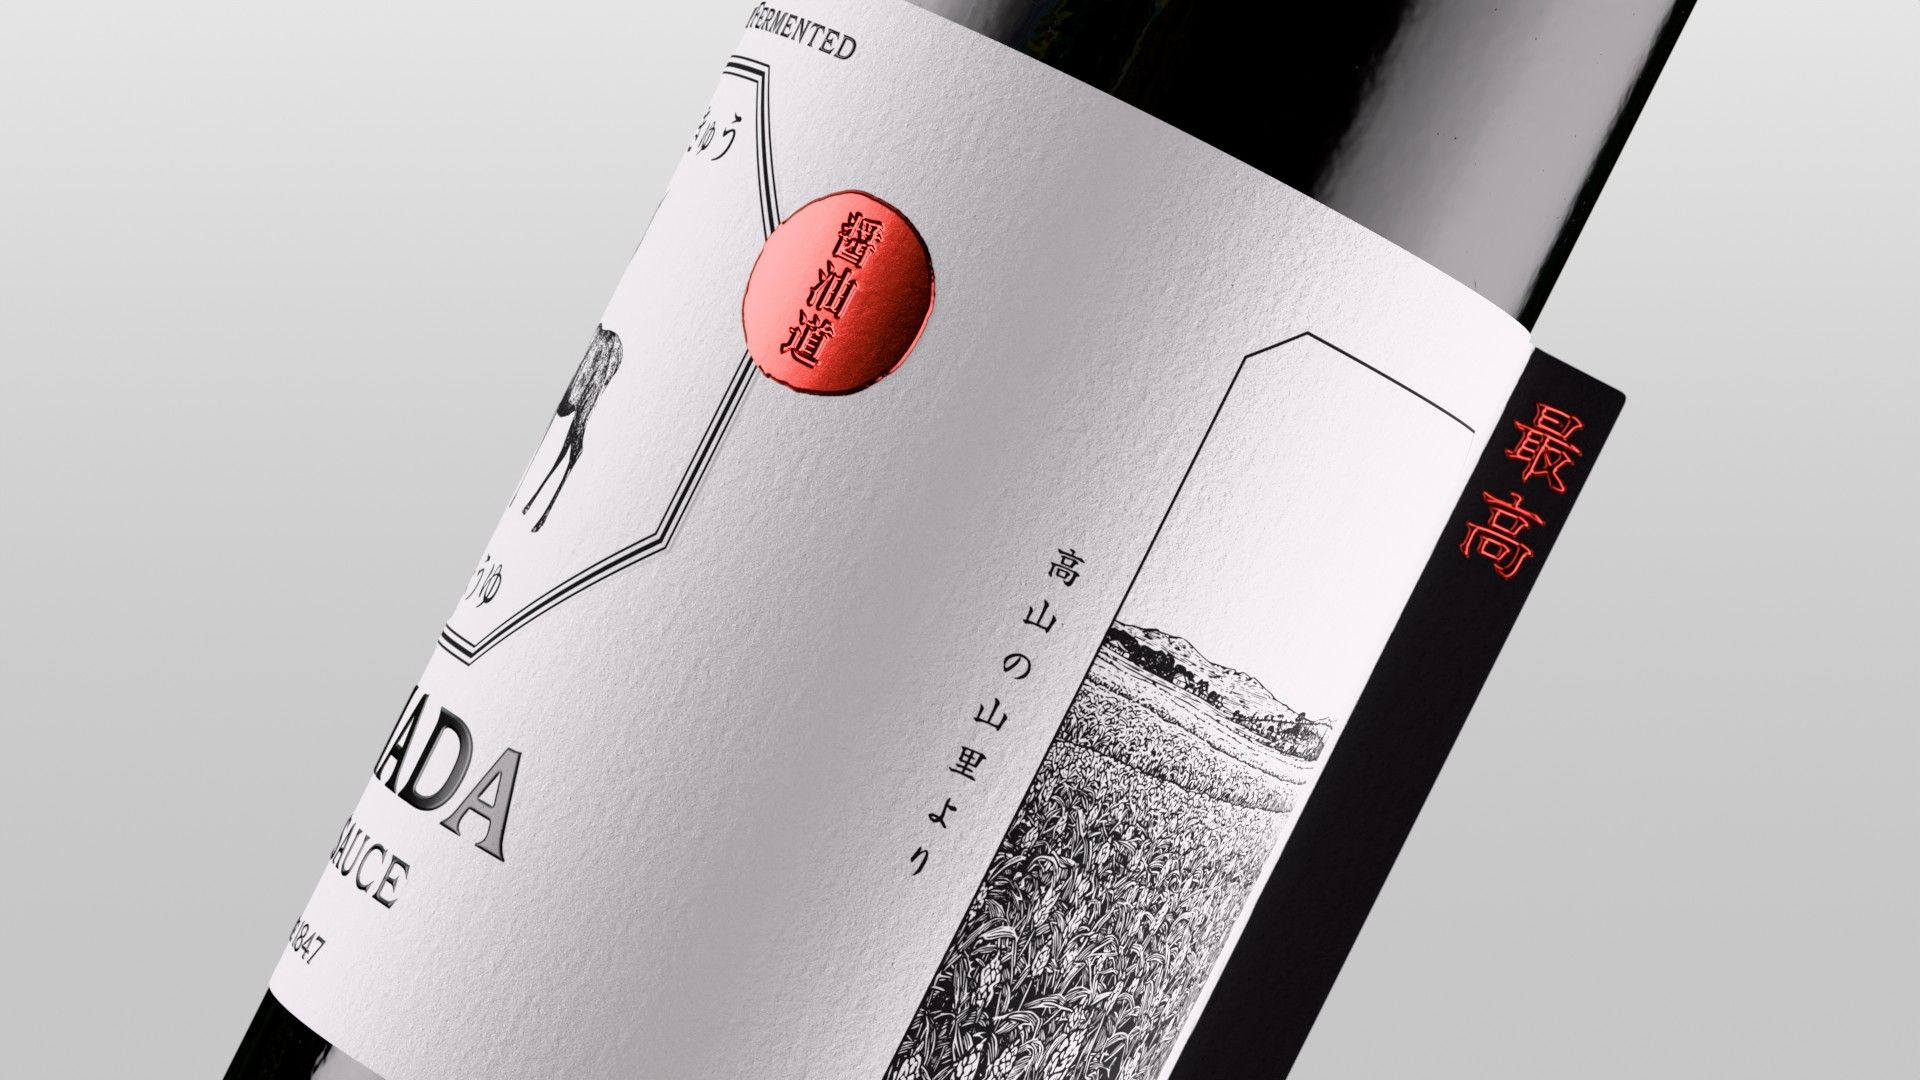
PROJECT 09
Bottle Lighting & Compositing
The same bottle again, taken to a finished, graded image.
You learn: building an environment, render layers, and compositing.
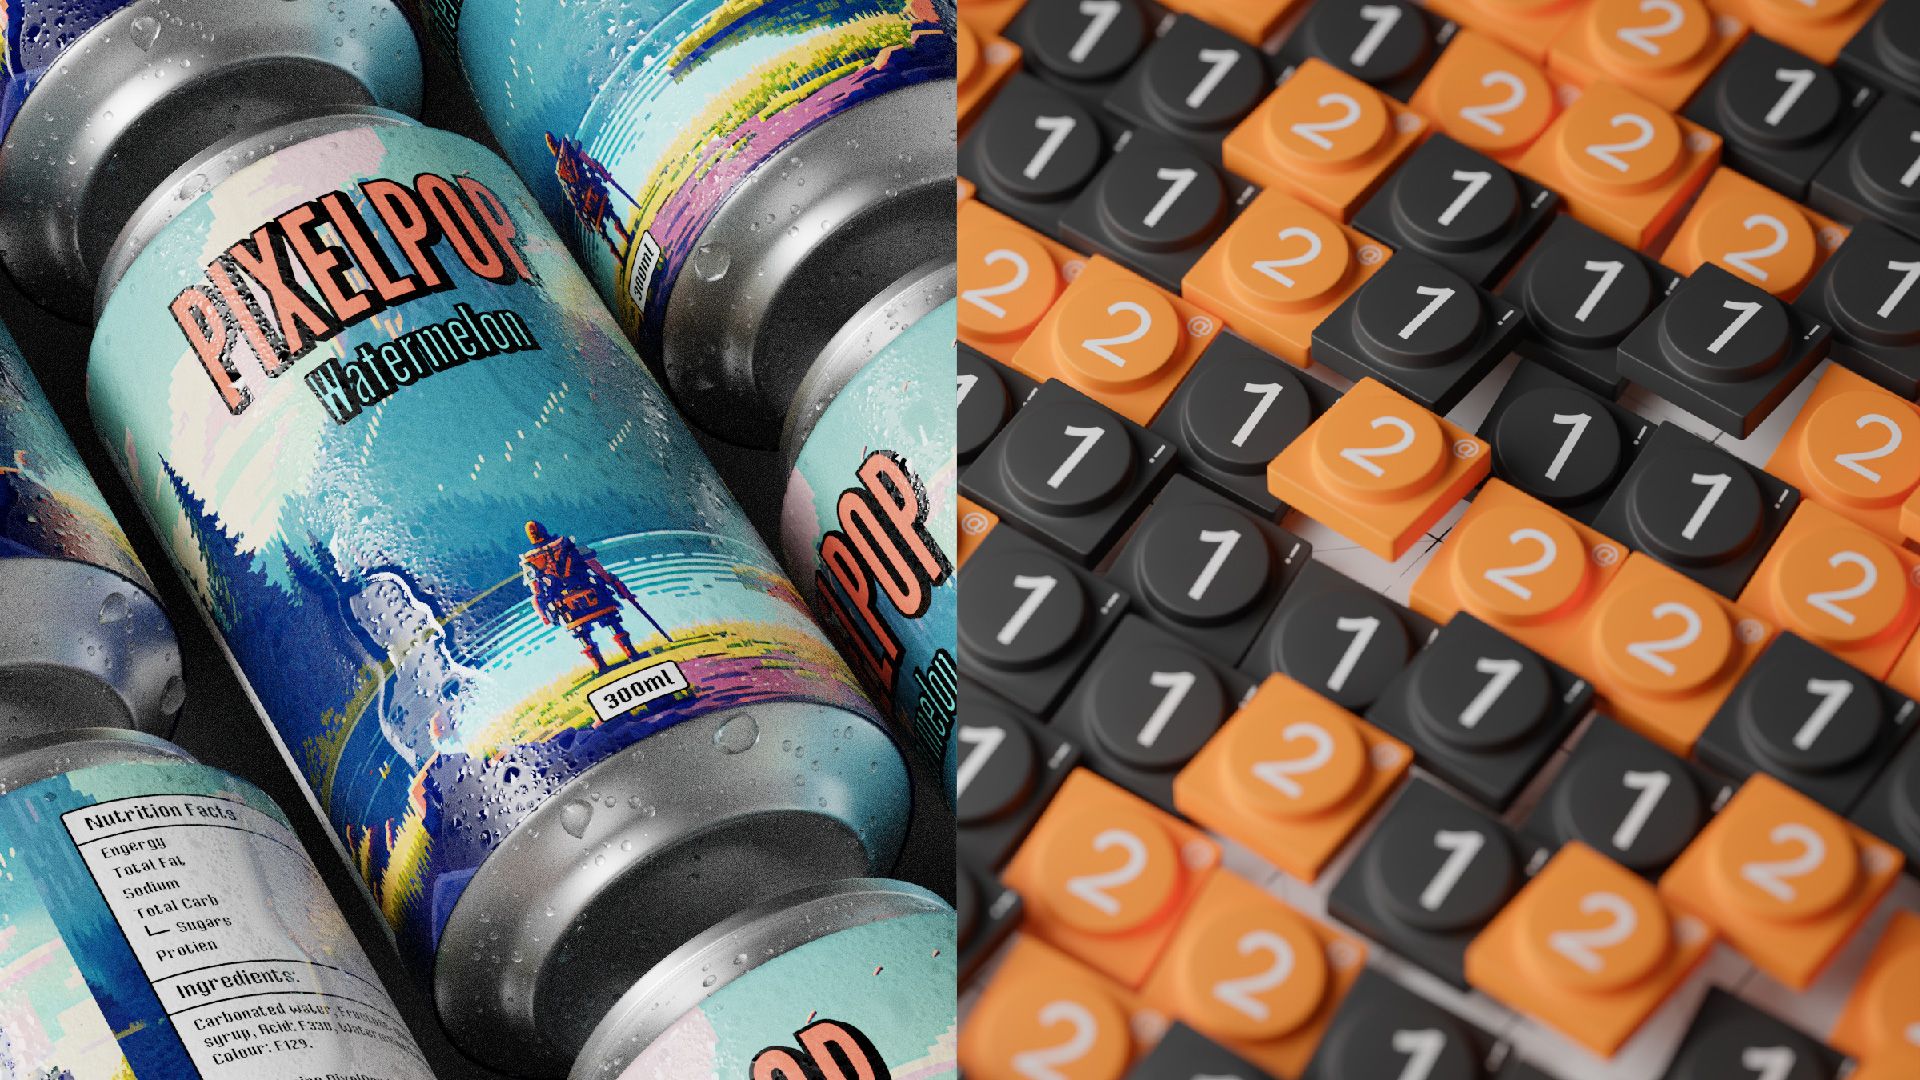
PROJECT 10
The Keycap
One keycap, then hundreds of them, arranged and animated.
You learn: geometry nodes, randomising, and exporting a short animation.
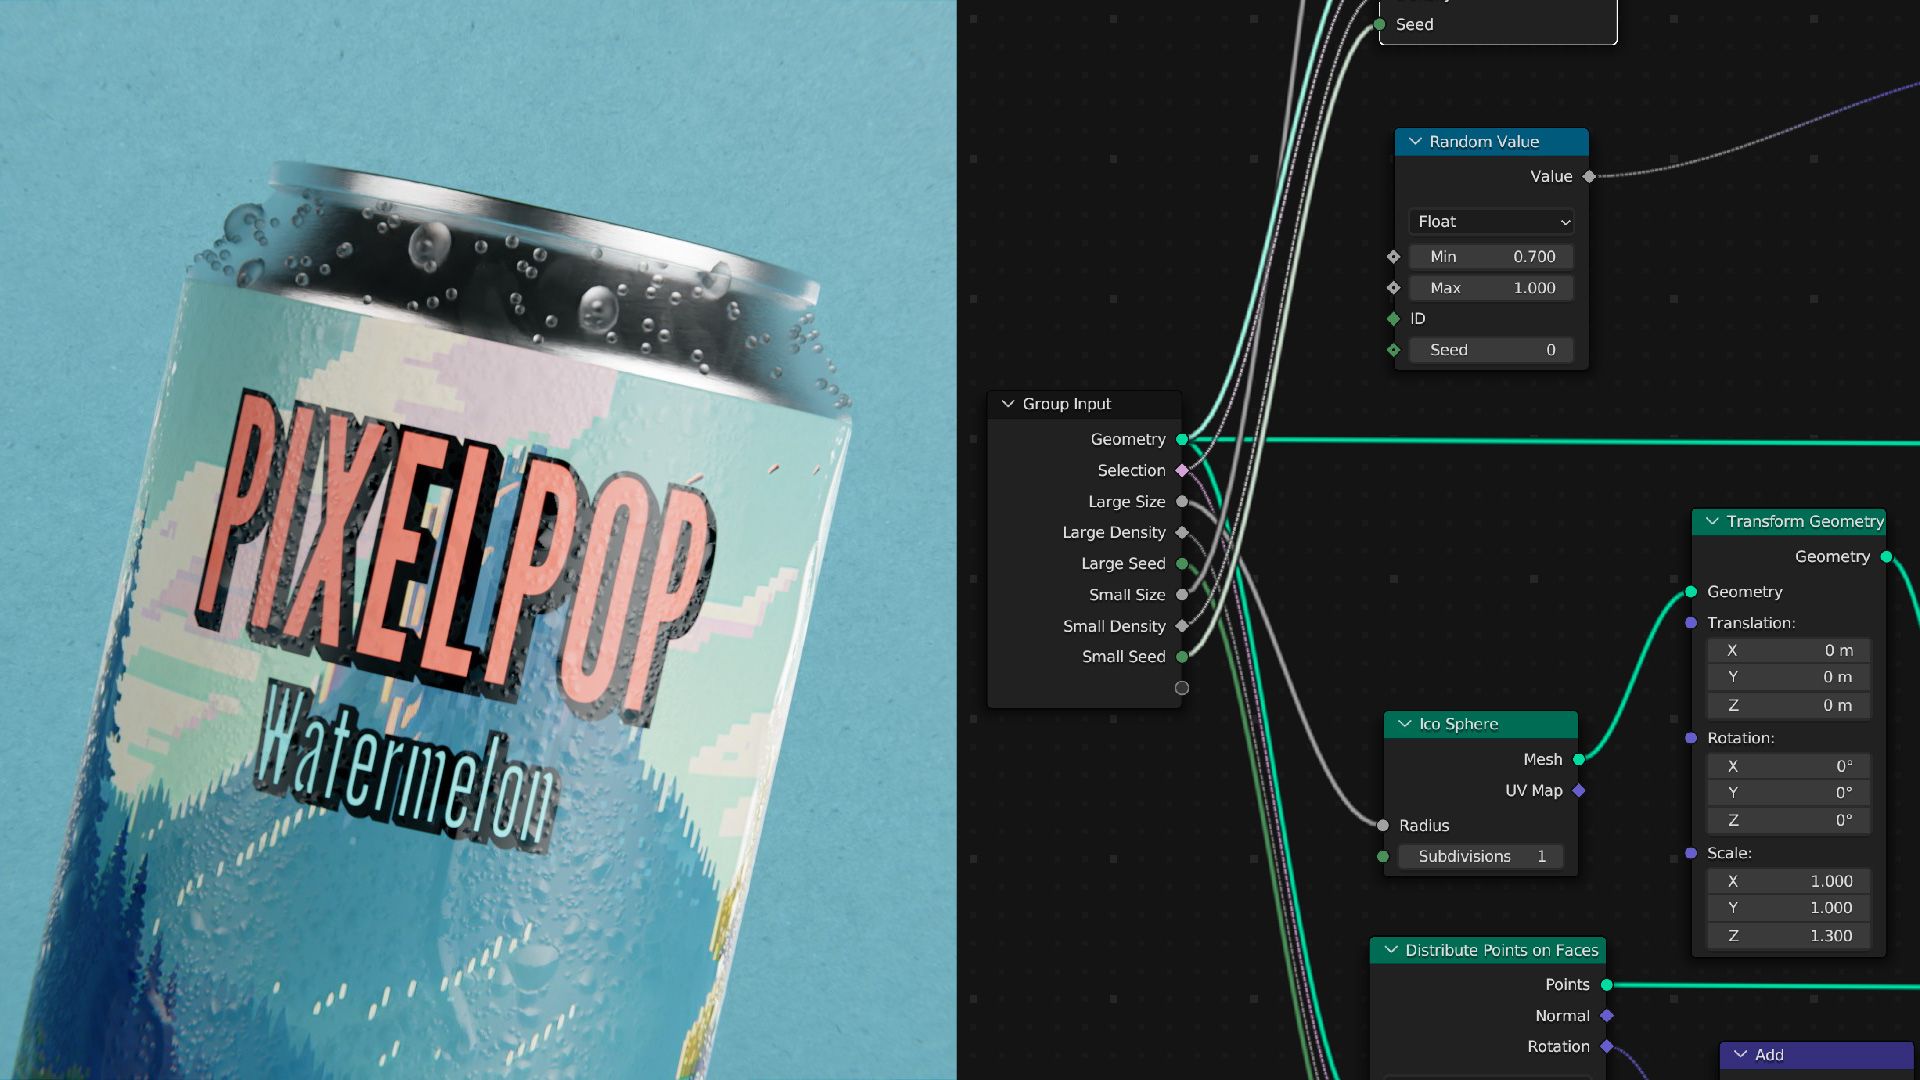
PROJECT 11
The Can
A cold drink can covered in water droplets.
You learn: metal and label materials, and building a condensation generator.
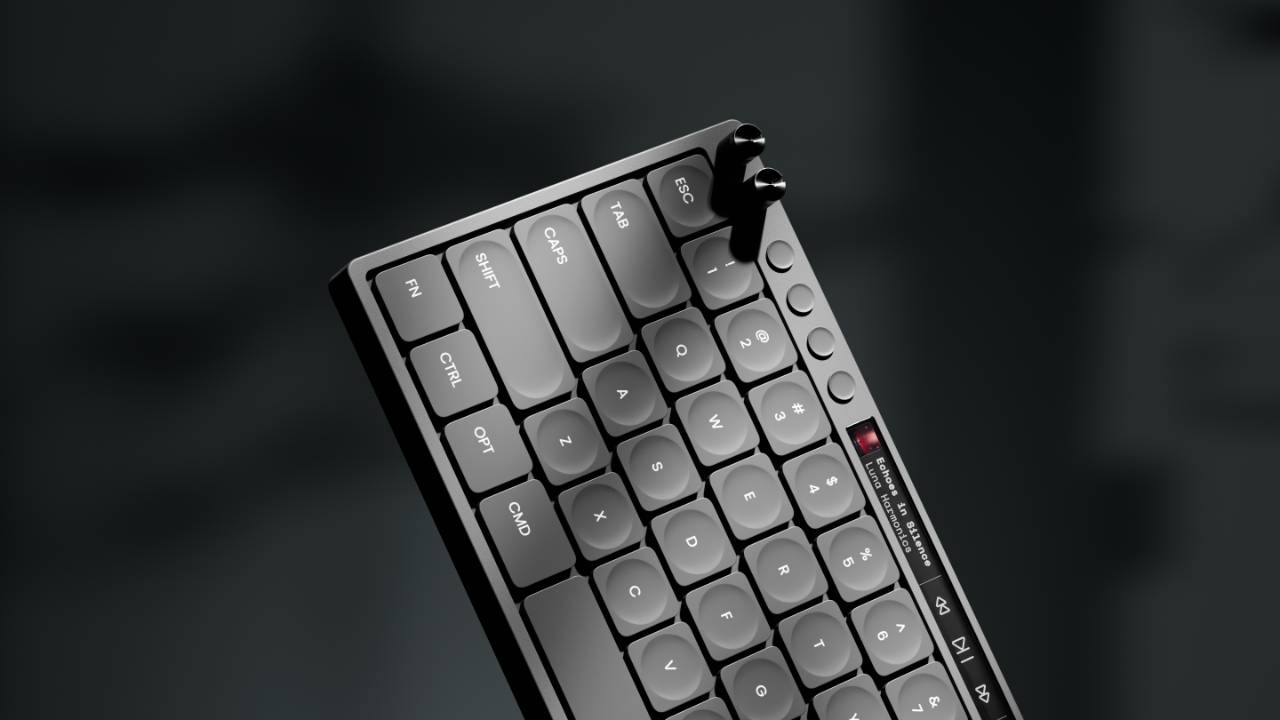
PROJECT 12
Mechanical Keyboard
A full keyboard, rendered 5 different ways.
You learn: booleans, small hardware details, and metal and plastic materials.
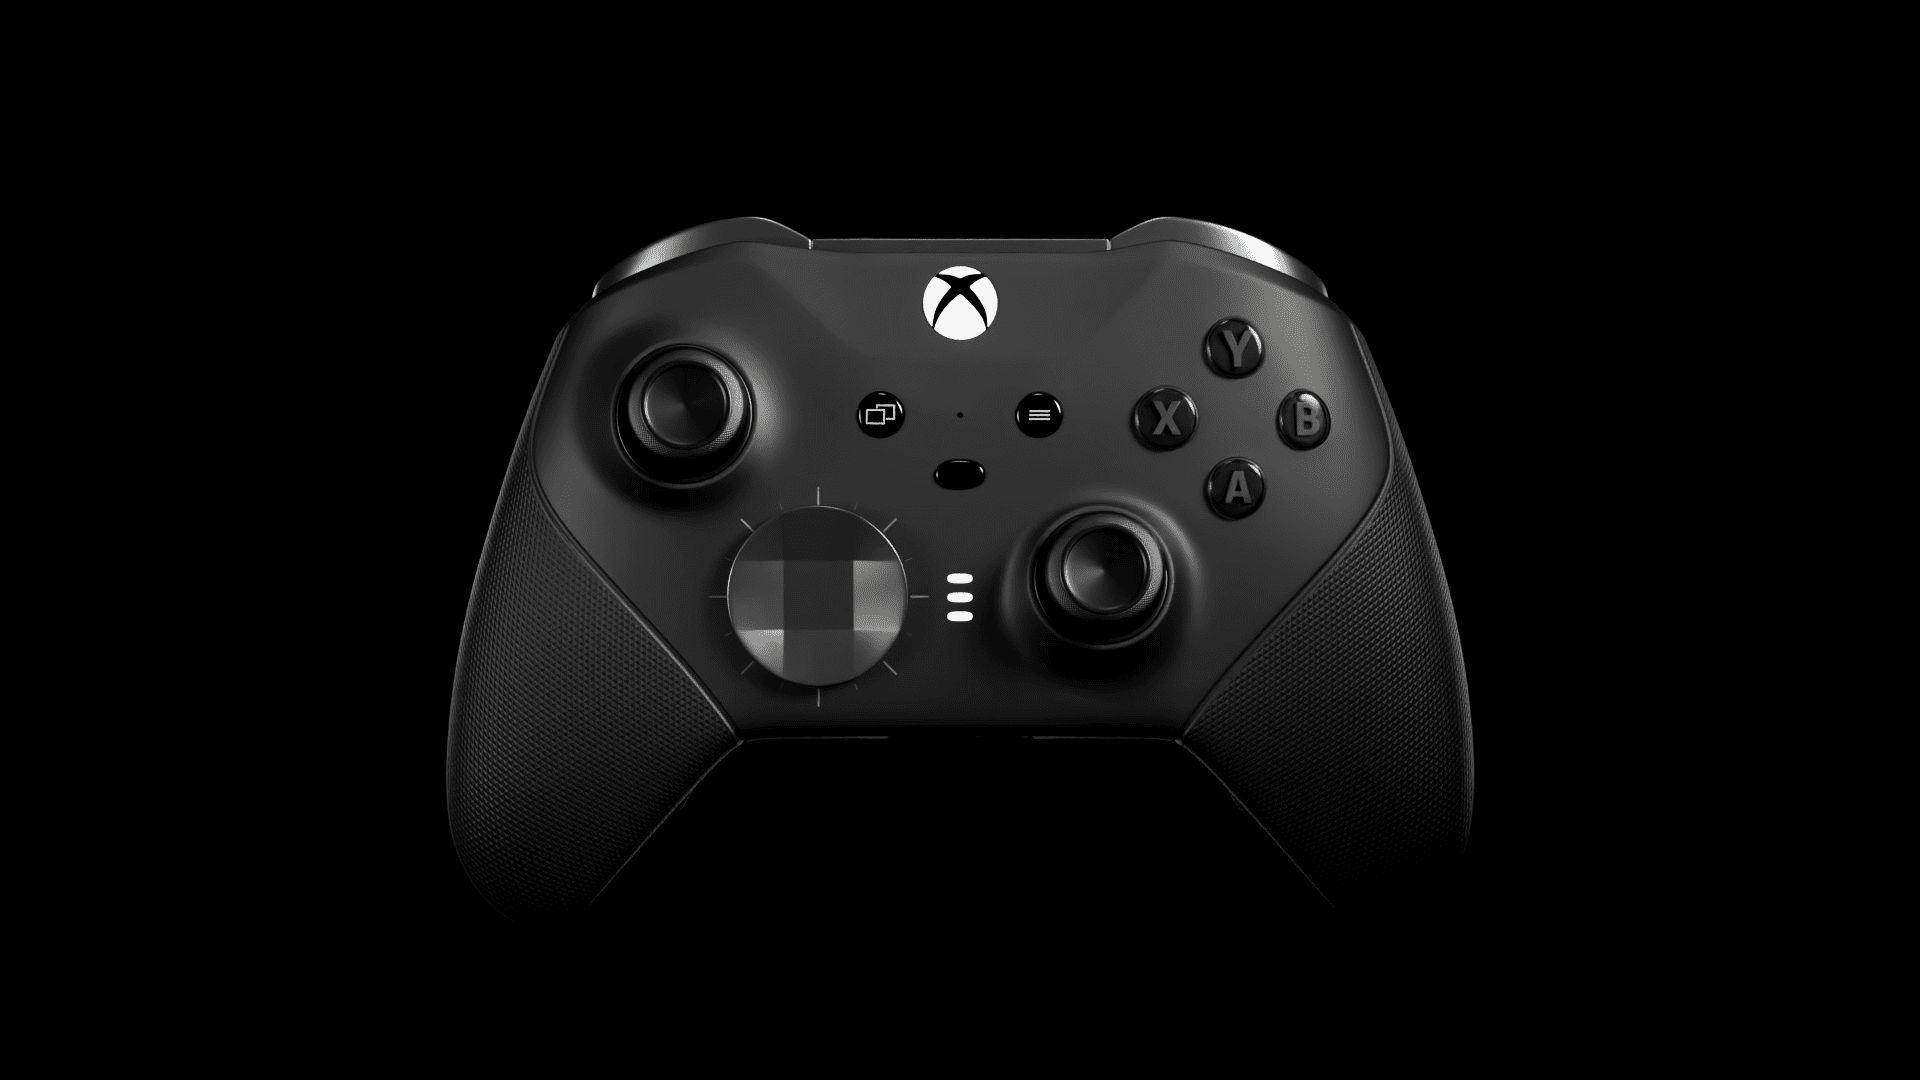
PROJECT 13
Game Controller
The biggest build in the course. A full controller, animated and edited.
You learn: retopology, fixing difficult topology, baking detail, and a final edit.
That is a portfolio. Not a folder of half finished tutorials.
🎁 Included Free When You Enrol
Bonus: Introduction To Blender
Never opened Blender? Start here.
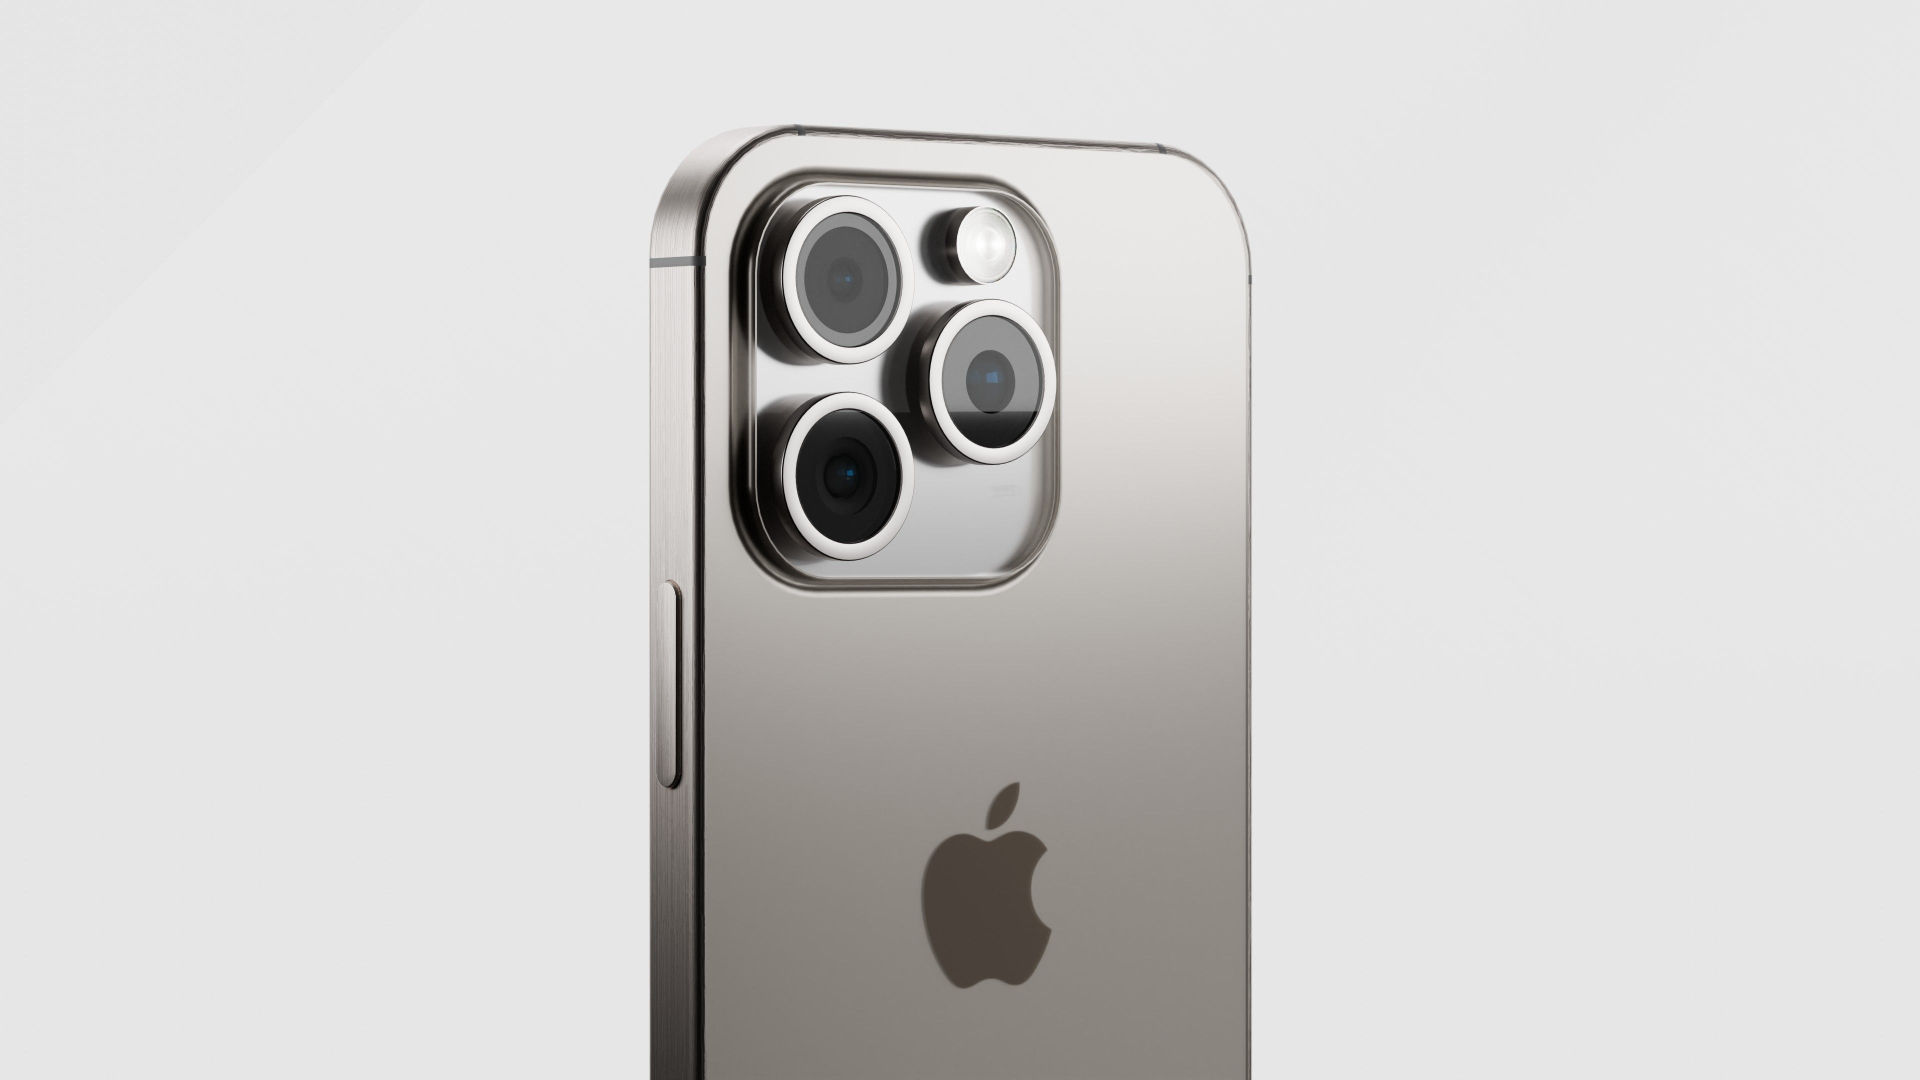
A whole separate course where you build a phone from scratch, from the very first click through to the final render. It is the gentlest on-ramp into everything else on this page, and 4,912 people have already been through it.
19 LESSONS
Blender Basics
Installing and setting up, the interface, viewport navigation, collections, move / scale / rotate, edit mode, loop cuts, extruding, insetting, bevels and normals.
10 LESSONS
Working From References
Importing and adjusting reference images, saving properly, the Powersave addon, undo steps, collecting inspiration and the addons worth having.
20 LESSONS
Modelling The Phone
Blockout, bevels, how booleans actually work, weighted normals, the full camera array, screen, button shapes and details, charging port and speaker ports.
16 LESSONS
Materials, Lighting & Rendering
GPU and render settings, frosted glass, overlapping glass, steel, black plastic, screen and lens materials, titanium, logos, lighting and final renders.
🎯 A finished phone render, before you even start the main course.
What Students Are Saying
Real reviews, left by people inside the course.
⭐⭐⭐⭐⭐
"It gave me a solid understanding of how professional packaging renders are created, from modeling and materials all the way to lighting, composition, and final presentation. I especially appreciated the focus on realistic workflows that can be directly applied to client projects. I'd highly recommend it to anyone wanting to take their product renders to the next level."
Filip Magnusek
⭐⭐⭐⭐⭐
"Putting the displacement after the subdivisions is rad! That detail jump is huge! I highly recommend trying to create your own textures. It puts a lot of the workflow into 'context,' esspecialy UV unwrapping / mapping."
Drew Lundquist
⭐⭐⭐⭐⭐
"I really liked the explanation of this module, it helped me to understand the part of the bump and displacement that I didn't understand as well as how to generate the whole lighting scene. I could easily recommend the course to my friends. Excellent work."
Valentina Dinamarca
⭐⭐⭐⭐⭐
"I'm 20% into the course and have learned so much more in this one resource than trawling through the net. Hunter goes into detail with everything which I appreciate. I can't wait to move deeper into the course!"
🔍 Jason Stiles
⭐⭐⭐⭐⭐
"The course is very well built: all the basics are explained, having one section per step allows me to track my progress and know exactly where to come back later if I forgot something, the practice case is very relevant, all of that will for sure be useful for many other projects."
🗺️ Ines Delem
⭐⭐⭐⭐
"You take the time to explain every detail of what you do, and you go back over mistakes that many people tend to make. It teaches me a lot about how to correct my mistakes in the future. I would definitely recommend it, produce clean, well-explained work."
🔧 Atis
⭐⭐⭐⭐⭐
"This course definitely helped me a lot with glass and lighting, how they reflect, and especially displacement. I would recommend the course without hesitation."
🧊 Valentina Dinamarca
⭐⭐⭐⭐⭐
"Good pace for learning & easy to understand english, so many things learn."
🌍 Saurabh Phuge
⭐⭐⭐⭐⭐
"The way you explains and your works really interesting."
👍 Raziq
⭐⭐⭐⭐⭐
"This is the most powerful training i have ever done, very comprehensive, guided step by step, very complete and easy to undestand."
🏆 Camilo Hernández
⭐⭐⭐⭐⭐
"The perfect course."
✅ Camilo Hernandez
⭐⭐⭐⭐⭐
"Amazing tutorial!"
🎉 Tammy
⭐⭐⭐⭐
"It's truly incredible the results we can achieve in such a short time!"
⏱️ John Smith
⭐⭐⭐⭐⭐
"Genial."
🙌 Pablo Vega
Who This Is For
✅ You want to get paid for 3D work, and you do not have the skill set or the portfolio yet.
✅ This is the stage before that one. Learn Blender properly, build the pieces while you learn, and come out with work you can actually show.
✅ You do not need to be a graphic designer or a packaging designer. Plenty of people come in wanting to be a 3D artist and nothing else. Both work.
Who It Is Not For
I would rather you know now. There is no certificate. There is no template pack you drop a logo into. And it is not a shortcut, it is a path. You still have to do the reps.
What Students Say
⭐⭐⭐⭐⭐
"The course is excellent! It doesn't matter if you're a complete beginner or if you've been at it for a while, the truth is, the instructor is fantastic and guides you step by step. Big applause!"
Shesid
⭐⭐⭐⭐
"You take the time to explain every detail of what you do, and you go back over mistakes that many people tend to make. It teaches me a lot about how to correct my mistakes in the future. I would definitely recommend it, produce clean, well-explained work."
Atis
⭐⭐⭐⭐⭐
"This is the most powerful training i have ever done, very comprehensive, guided step by step, very complete and easy to undestand."
Camilo Hernández
❓ Questions People Actually Ask Me
Do I need to know Blender already?
How far does it take me?
Which version of Blender is it recorded in? Does it work in the latest?
Does it cover animation?
Are there captions?
What software do I need?
What if it is not for me?
🎯 Start Building Tonight
You can keep piecing it together off YouTube, or you can follow the path and have your first portfolio piece done this week.
🎁 Bonus course included · 🔒 30 day refund, no questions asked · ♾️ Lifetime access · 📁 Project files · 💬 Discord
🎯 You Can Keep Piecing It Together, Or You Can Follow The Path
I spent years assembling this out of scattered tutorials, expensive courses and other people's artwork, because nobody had put it in order.
Somebody has now.
Look forward to having you in the community. 👋
Hunter
🔒 30 day refund, no questions asked · ♾️ Lifetime access · 📁 Project files for every build