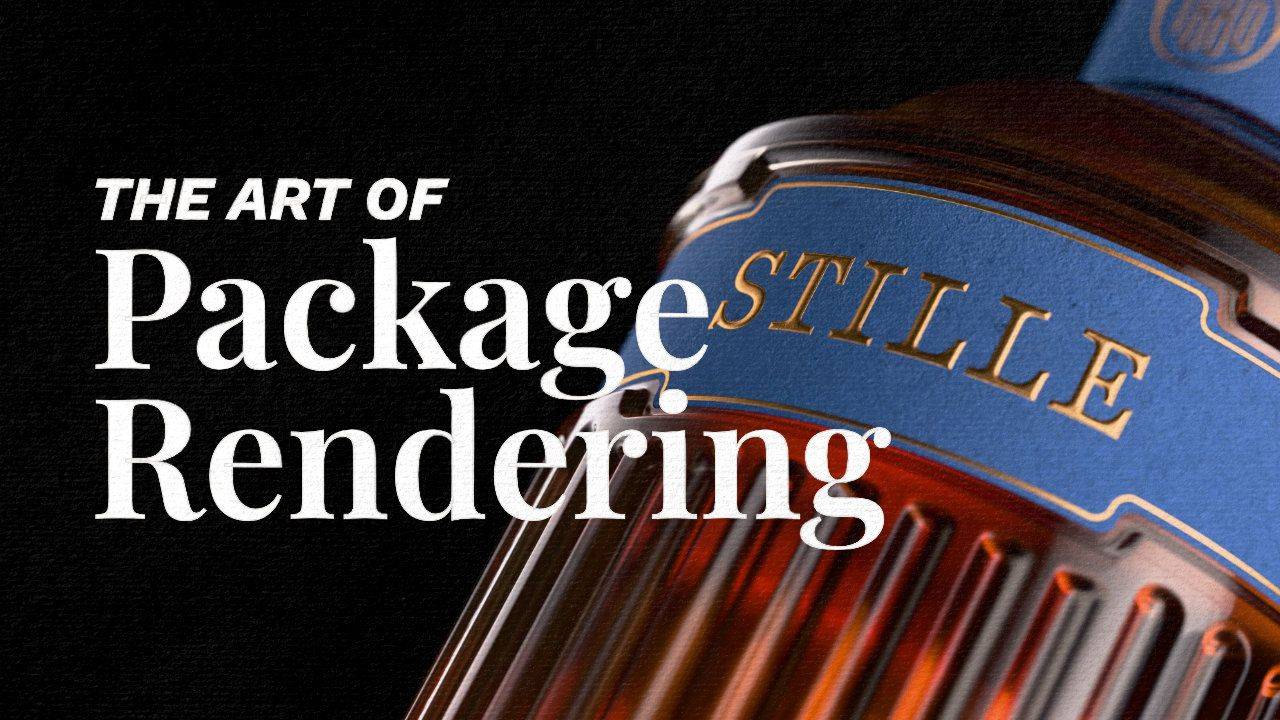
Render Packaging Like It Was Photographed
Why do designers need this?
A flat mockup hides everything that makes packaging worth designing. The foil. The emboss. The way paper catches light at the edge.
So the client approves something that doesn't match what's about to print. Revisions stack up. The work that should feel premium ends up feeling generic.
A photorealistic render fixes that.
And the designer who can produce one stops having to explain their work. The render does the talking.
What if your packaging mockups looked closer to photographs than mockups?
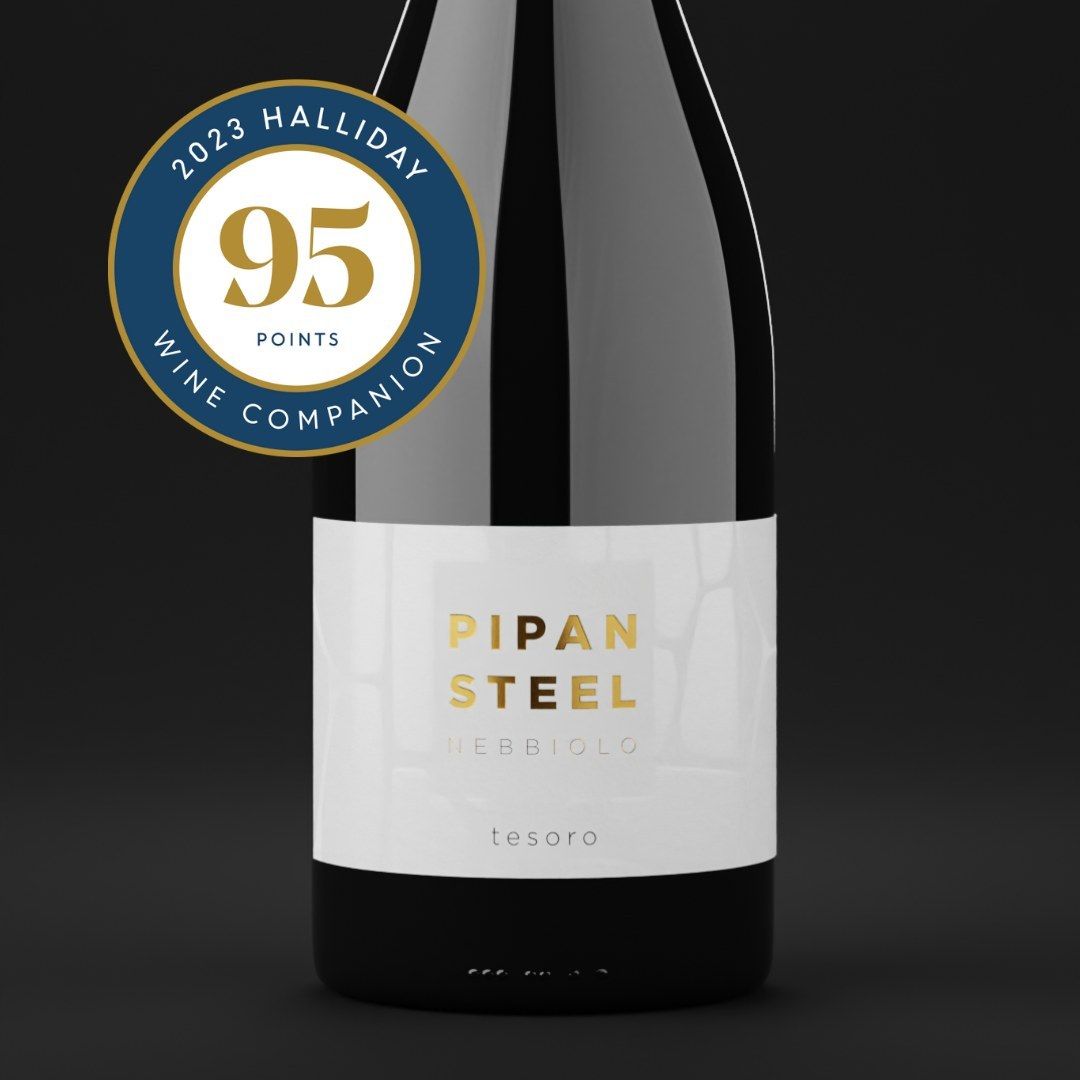
The Wine Label That Changed Everything
A few years ago I was doing unpaid work experience for a local designer. Just to get in a room and learn.
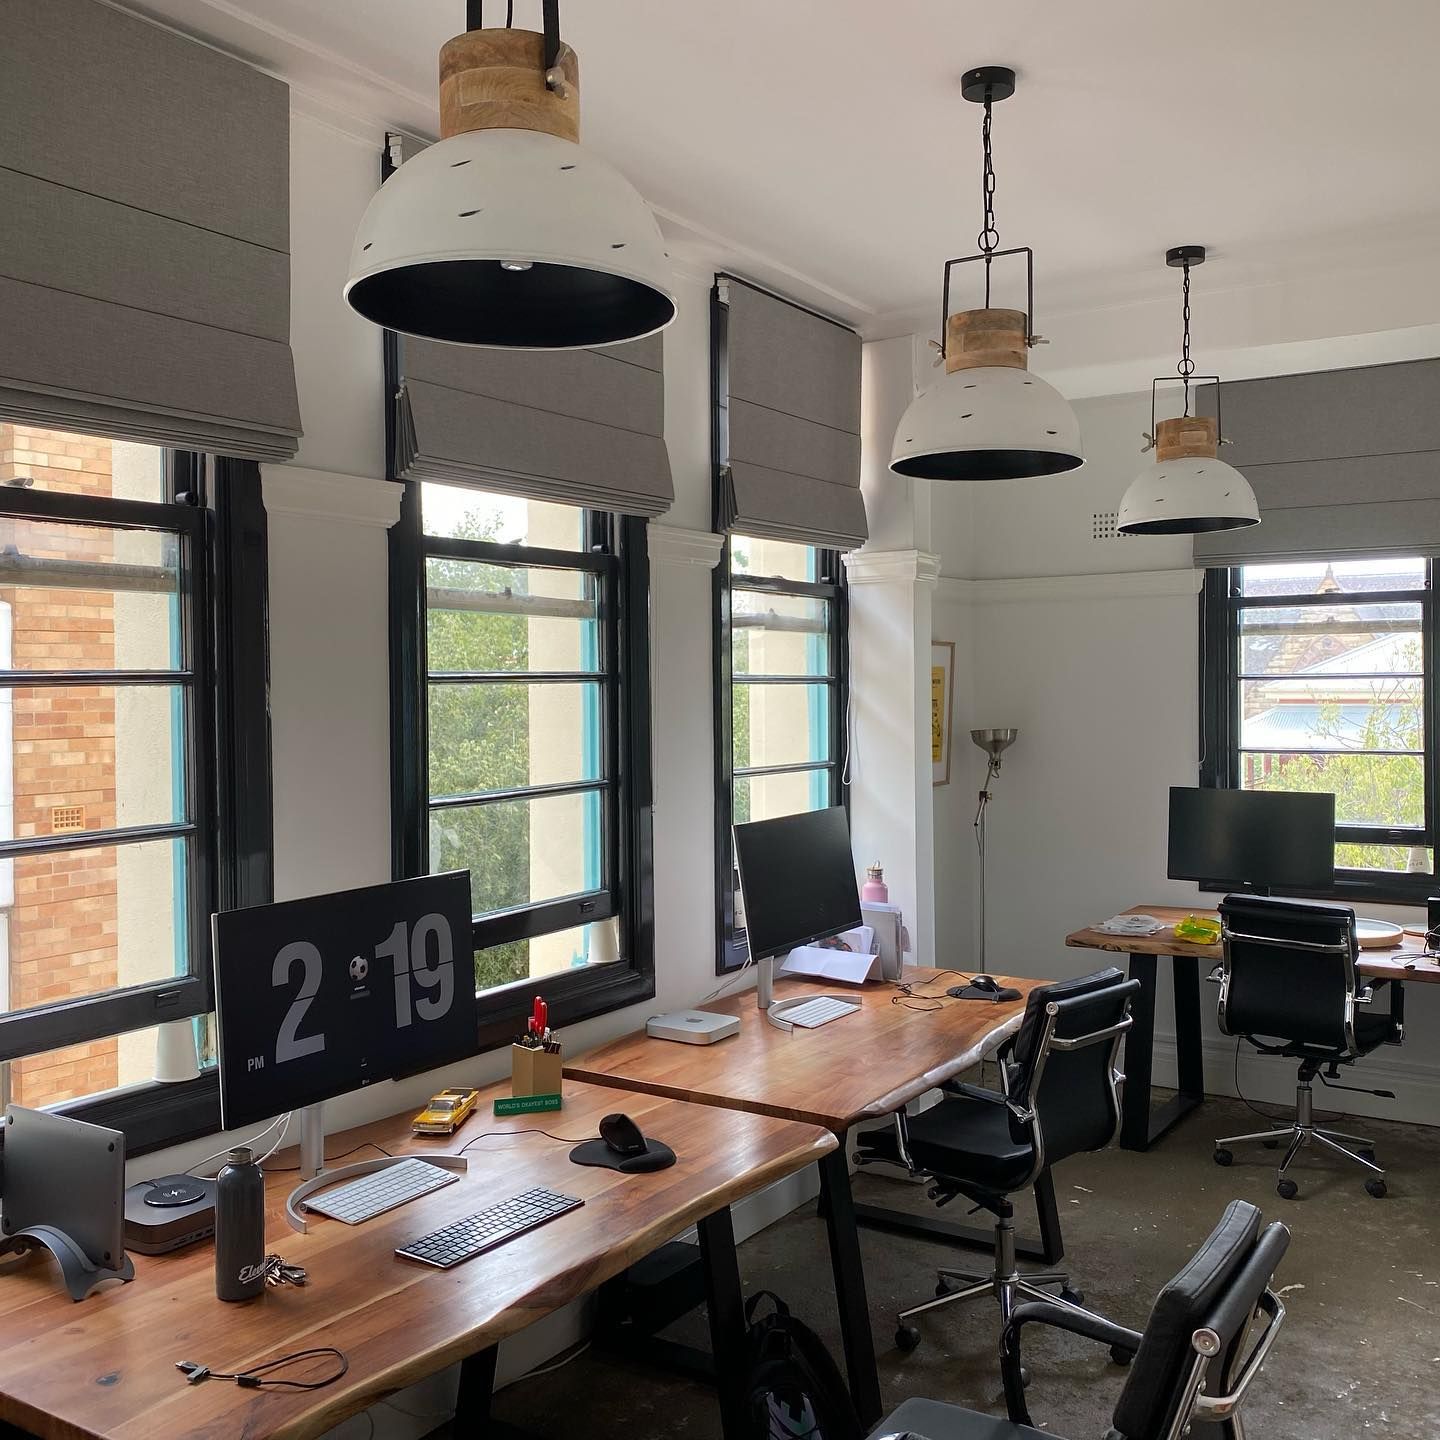
He was stuck on a wine label. The client couldn't picture the foil and spot gloss from a flat mockup. Revisions were piling up and nothing was getting approved.
I'd seen other artists using 3D to solve exactly this. So I put my hand up and said I'd build a render. I had no idea how to do it yet.
I went home and spent two weeks figuring it out. The render was far from perfect. But it was real enough.
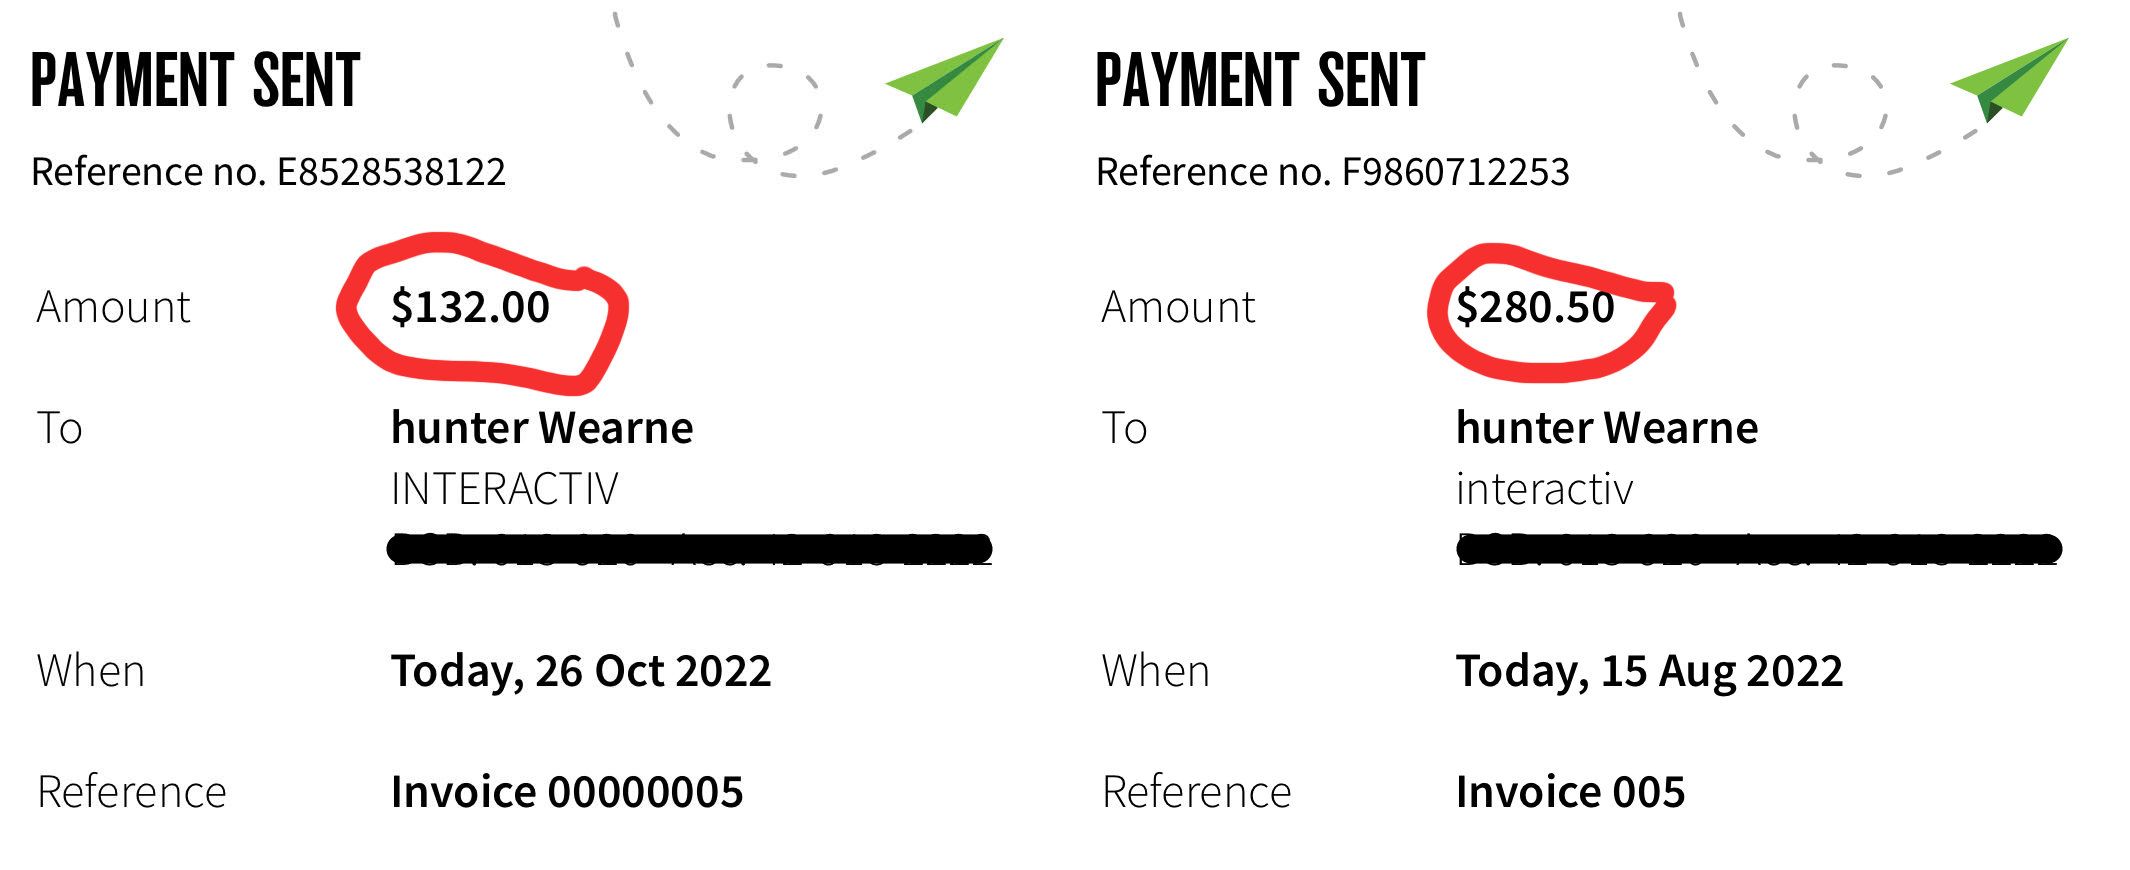
By the end of the job I got paid $400. The client walked away with product images ready for their website and social media. And the designer finally got his approval.
That moment stuck with me. The render didn't need to be flashy. It just had to look believable.
Nobody was teaching this to designers. So in 2022 I built a course around it. It's helped over 2,700 designers add rendering to their work since.
Now I'm getting back to where it started.
introducing
The Art of Package Rendering
A practical, step-by-step course built for graphic designers who want to make packaging renders that look real. Not vaguely 3D. Not "decent for a mockup." Real.
This isn't about learning everything in Blender. You don't need to. You only learn what gets you from a flat label file to a client-ready photorealistic render.
The goal is one sentence:
By the end of this course, you'll take any packaging design and render it until it stops looking like CGI.
What's Inside The Program?
Everything you need to create a portfolio of photorealistic packaging renders, and upsell your packaging clients in one place.
Chapter 1 (Released)
Foundations
Foundations
The fastest way to feel confident inside Blender.
This module has been refined over five iterations based on real student feedback. Every question, every sticking point, every shortcut that saves time has been folded in so you spend less time confused and more time creating.
36 Short Lessons

Chapter 2 (Released)
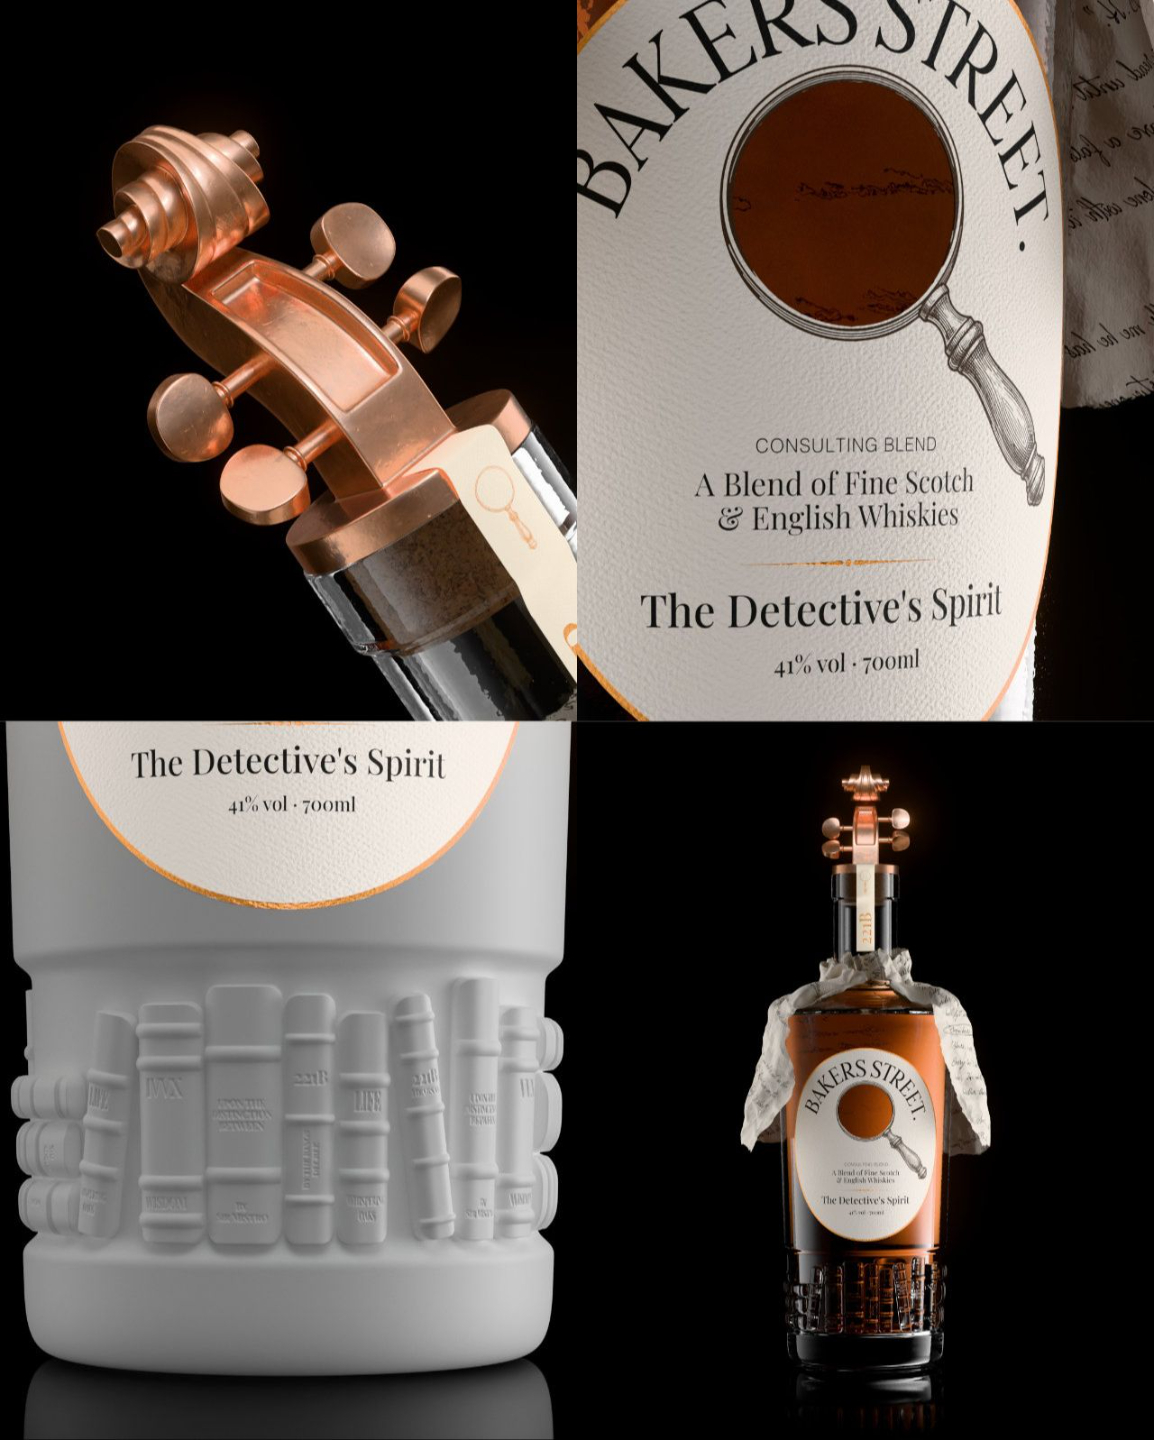
Beverage Rendering
Beverage Rendering
Render the printing effects flat mockups can't show. Gold foil. Embossing. Realistic papers. The kind of detail clients can't ignore.
- Learn advanced glass texturing details
- Use simulation to add natural details.
- Layer multiple textures together.
Chapter 3
Box Rendering
Box Rendering
Render the inside of the box, not just the front. Foil on the corner crease. A plastic window. Pasta inside. The kind of detail clients didn't know to ask for.
- Rig die-lines with armatures so boxes fold.
- Press foil into paper before it rises into highlight.
- Drop pasta through a plastic window — no simulation needed.
CHAPTER 4
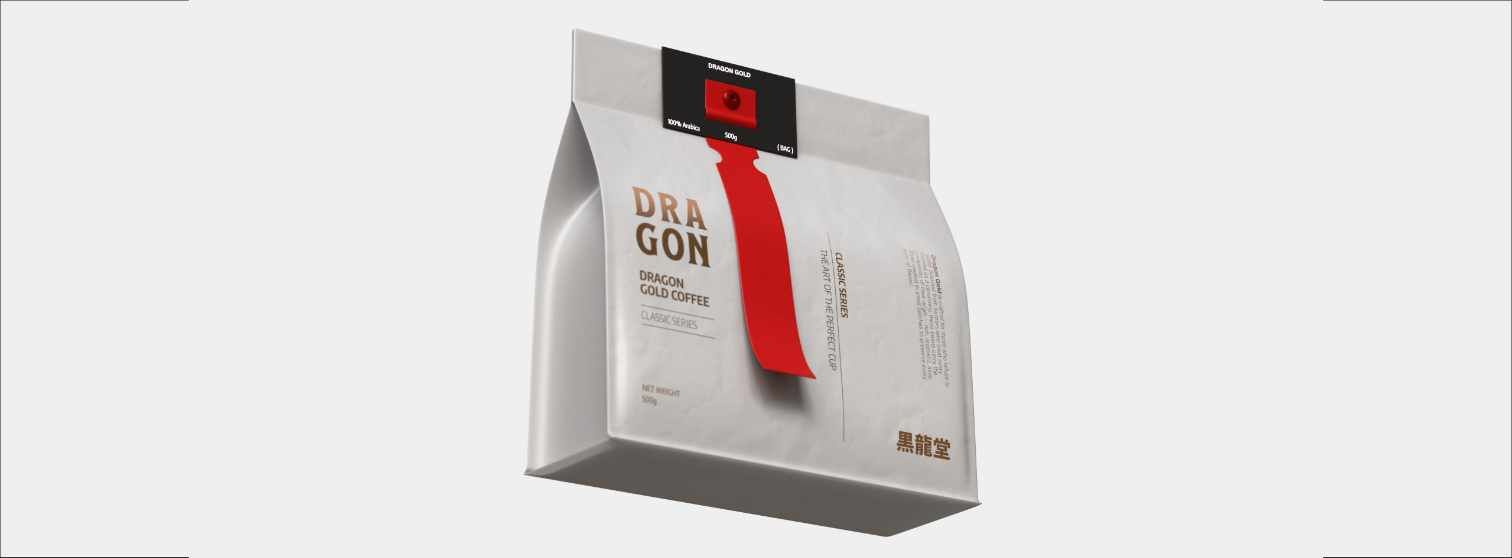
Flexible Package
Planned Release: 1st of June
Create coffee bags, pouches and other flexible packaging. To cover all your clients needs.
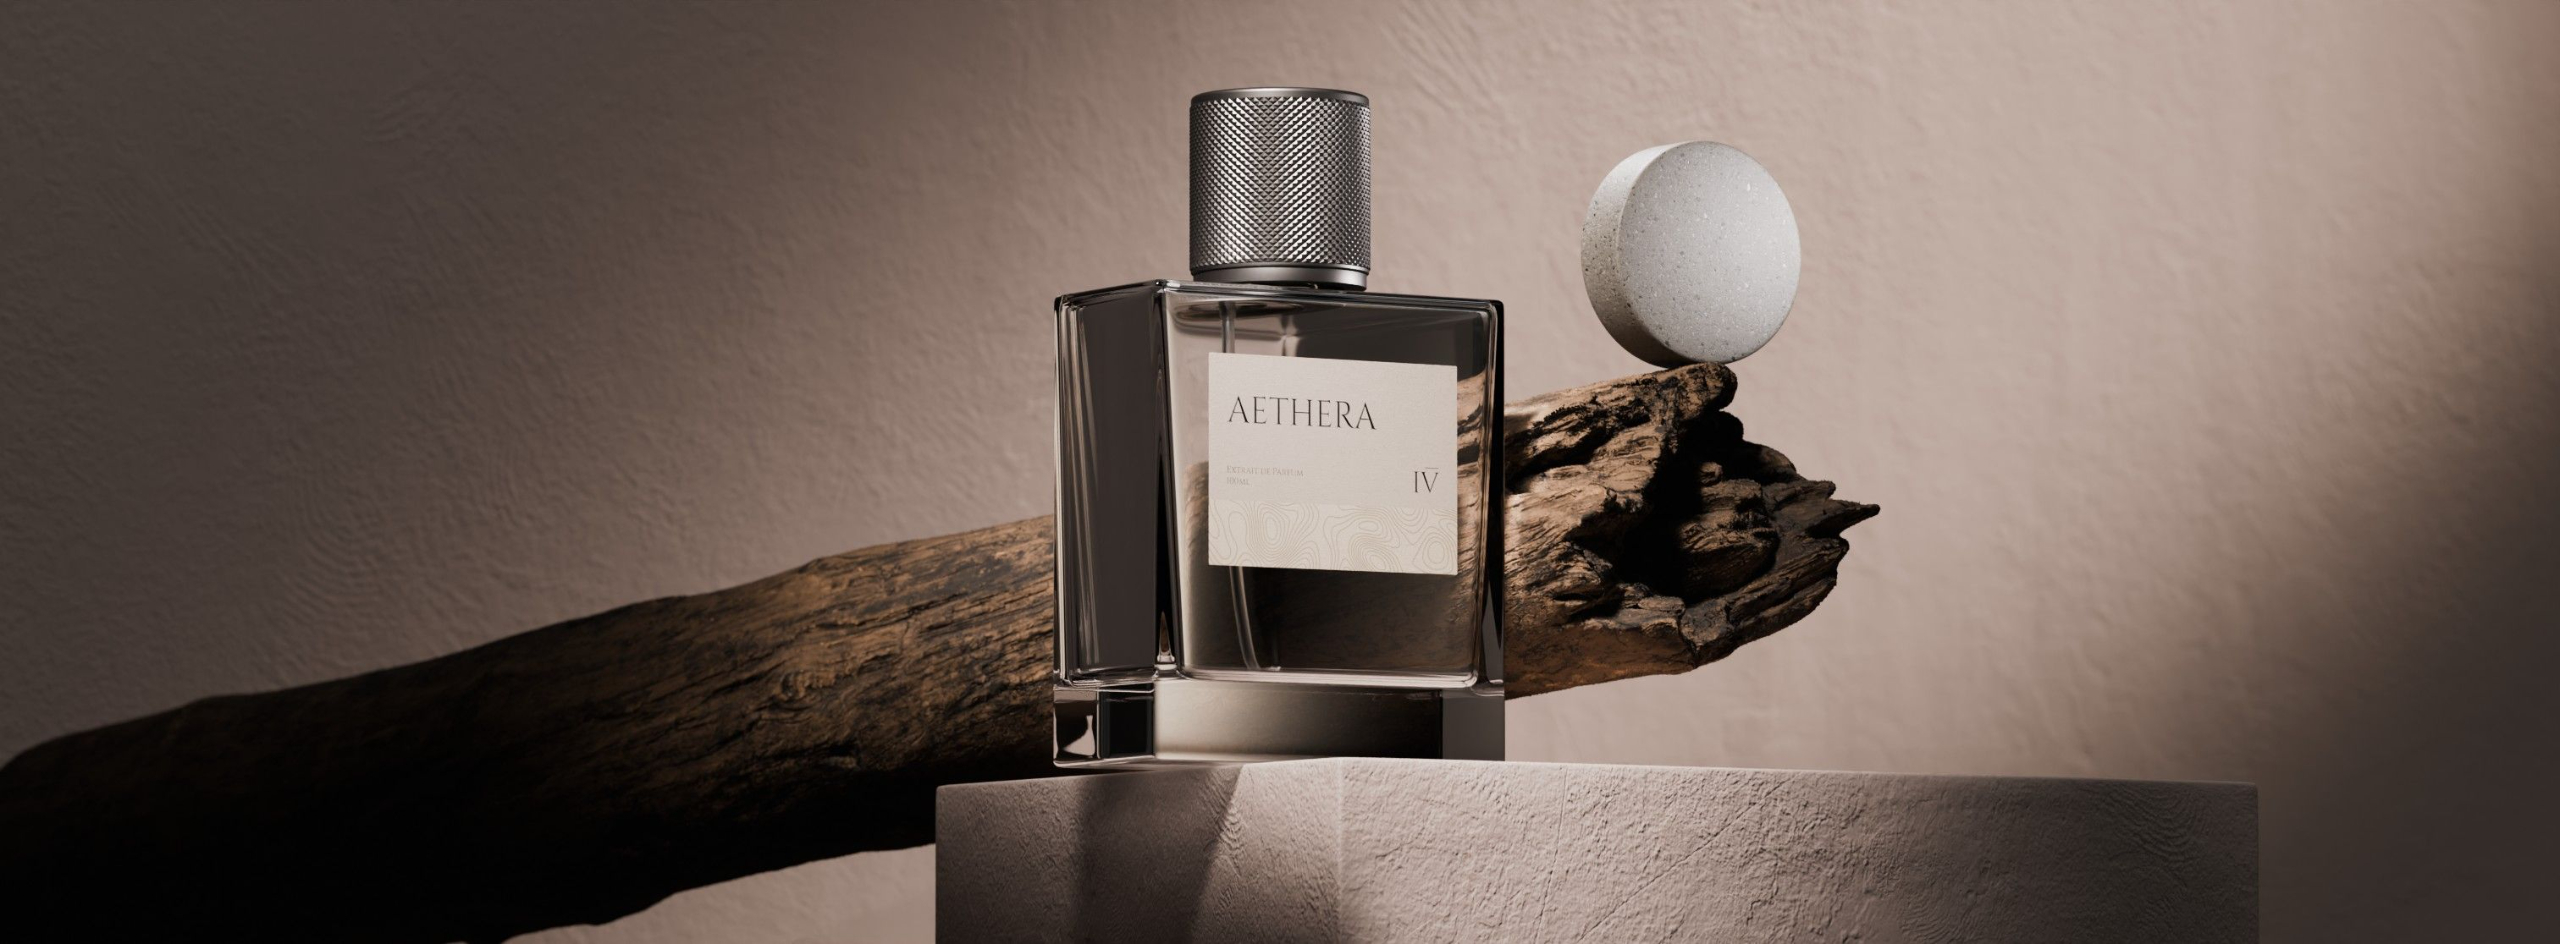
CHAPTER 5
Cosmetic Renders
Planned Release: 23rd of June
Learn how to setup beautiful scenes for cosmetic renders. Learn composition, directing the viewers eye and how to create hierarchy. Increase detail on meshes that have low resolution and create the exact texture you imagine.
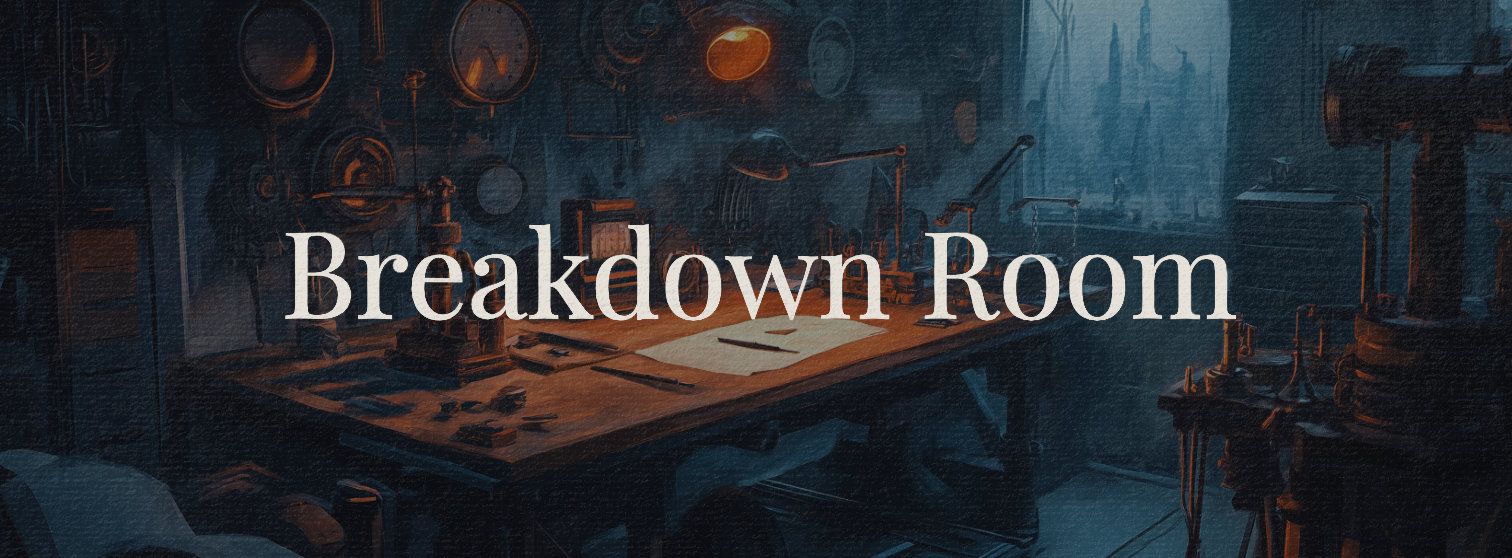
ONGOING
Breakdown Room
Released every month after main content is released.
Every month the community votes on the next printing effect, animation or product to break down. I'll build a full step by step tutorial around the winner and release it that month. The longer you are in the course the more valuable it becomes.
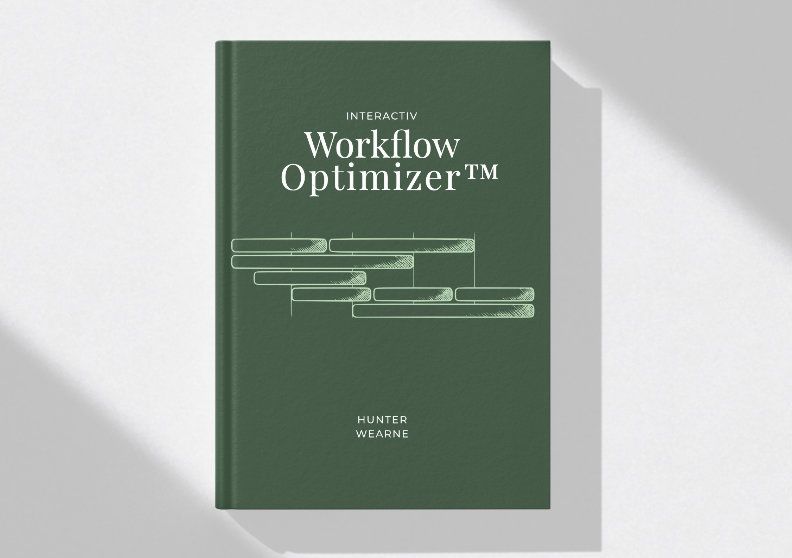
Released: 15th of June
Workflow Optimizer
Value $1999
Tools, templates, and the systems I use to reach a finished render faster every time. Without sacrificing the realism.
Full Curriculum
The Art of Package Rendering
-
👋 Start Here
4 lessons- 1. Welcome to AOPR
- 2. Discounts
- 3. Resources
- 4. Latest Updates
-
Chapter 1: Foundations
36 lessons-
Welcome + Project Files
- Welcome + Project Files
-
Blender Basics
- 1. Installing Blender
- 2. Overview + Preferences
- 3. Workspace Overview
- 4. Navigating the Viewport
- 5. Default Startup File
- 6. Object Mode
- 7. Edit Mode
-
Business Card
- 1. Moodboarding
-
Materials
- 1. Importing Images as Planes
- 2. Solidify Modifier
- 3. UV's Explained
- 4. Texture Resolution + Mapping
- 5. Material Overview
- 6. Material Slots
- 7. Sourcing Premium Materials
- 8. Roughness
- 9. Normal Map
- 10. Mixing Paper Texture
- 11. Mapping Multiple Ratios
- 12. Grouping Textures
- 13. Side Texture
-
Lookdev
- 1. Ray Tracing Explained
- 2. Preparing for Lighting
- 3. Camera Setup
- 4. Area Light
- 5. Basics of Lighting
- 6. Studying Lighting
- 7. HDRI Lighting
- 8. Tweaking Colours
- 9. Background Texture
- 10. Experimenting with Materials
- 11. Dramatic Lighting
- 12. Compositing
-
Lookdev Bonus
- Socket Types
-
Check-in
- Quick check-in
-
-
Chapter 2: Beverage Rendering
103 lessons-
Introduction
- 1. Introduction
- 2. Project Files
- 3. Important! Setting Up Your Default File
-
Project Preparation
- 1. Brief
- 2. Mindmapping
- 3. Sourcing References
- 4. Mood Boarding
-
Modelling
- 1. Terminology
- 2. Edit Mode
- 3. Even Spread and Density
- 4. Structural Edges
- 5. Edge Topology
- 6. Flow Redirection
- 7. Redirection and Localisation
- 8. SOLID Modelling Framework
-
Bottle Modelling
- 1. Importing Reference Image
- 2. Sourcing References
- 3. Scaling Object to Correct Size
- 4. Bottle Blockout
- 5. Closing the Bottom
- 6. Blockout Cleanup
- 7. Adding Edge Loops
- 8. Adding Thickness
- 9. Fixing Solidify Mesh Problems
- 10. Inside Base
- 11. Final Touches
-
Liquid Modelling
- 1. Glass Modelling
-
Label Modelling
- 1. Label References
- 2. Label Modelling
- 3. Checking Topology
- 4. Label on Curve
- 5. Tilting the curve
- 6. Label Thickness
-
Violin Modelling
- 1. Violin References
- 2. Base Shape
- 3. Spiral Extrude
- 4. Relaxing Curve
- 5. Spiral Proportional Editing
- 6. Spiral Extrusion
- 7. Merging Two Sides
- 8. Making Tweaks
- 9. Ring Detail
- 10. Polishing the Model
- 11. Tuning Pegs
- 12. Cork Modelling
- 13. Cork
-
Cap Label Modelling
- 1. Cap Label Curves
- 2. Bending the Curve
- 3. Label Imperfections
-
Cloth Simulation Paper Wrap
- 1. Collision Setup
- 2. Setup Cloth Physics
- 3. Cloth Simulation
-
UV Unwrapping
- 1. What is UV Mapping
- 2. UV Shader
- 3. UV Tab
- 4. UV Editing Tools
- 5. Practice UV s
- 6. Manual Unwrap Bottle
- 7. Straighten and Pack UV Islands
- 8. Label UVs
- 9. Final UVs
-
Material Basics
- 1. Material Forensics
- 2. Setup Neutral Lighting
- 3. World Lighting
- 4. Optimizing Render Settings
- 5. Glass Shader
- 6. Cork Material
- 7. Copper Material
-
Label Texture
- 1. Affinity
- 2. Label Colour
- 3. Label Mask
- 4. Texturing Label
- 5. Mixing Foil
- 6. Paper Bump
- 7. Foil Imperfections
- 8. Customizing Labels
-
Cap Label
- 1. Cap Label
-
4. Wrinkled Paper
- 1. Paper Wrap Mask
- 2. Paper Wrap Material
- 3. Wrinked Paper Textures
- 4. Paper Wrap Colour
-
Book Displacement
- 1. Displacement Settings
- 2. Displacement Explained
- 3. Bottle Displacement - Affinity
- 4. Book Displacement
- 5. Book Spine Curve
- 6. Book Text
- 7. Book Spine Rig
- 8. Duplicating Effects
- 9. Duplicating Books
-
6. Lighting
- 1. Lighting Fundamentals
- 2. Three Point Lighting
- 3. Prepare Workspace for lighting
- 4. Key Light
- 5. Fill Light
- 6. Liquid Lighting
- 7. Lighting Metal with Gradients
- 8. Light Linking
- 9. Adjusting Label Lights
- 10. Paper Wrap Lighting
- 11. Flag Lights
- 12. View Layers and Compositing
-
What's Next?
- What's Next?
-
-
Chapter 3: Box Rendering
20 lesson- Project Files
-
Modelling
- 1. Import Reference
- 2. Underlying Structure
- 3. Tabs Modelling.mp4
- 4. Top and Bottom Tabs
- 5. Cutout
- 6. Amature
- 7. Assigning Armature
- 8. Modifiers
-
Materials
- 1. Assets Browser
- 2. Assigning An Assets Browser
- 3. Setting up Textures
- 4. Creating Materials
- 5. Trouble Shooting
- 6. Foil Bump
- 7. Clear Plastic Cutout
- 8. Adding Pasta
- 9. Generating Folding Imperfections
-
Lighting & Rendering
- 1. Scene setup
- 2. Lighting and Rendering
-
Chapter 4: Flexible Packaging
33 lessons-
Coffee Bag - Planning
- 1. Planning Your Model
- Project Files
-
Coffee Bag - Modelling
- 1. Reference Images
- 2. Setting up Modifiers
- 3. Bag Blockout
- 4. Large Details
- 5. Side Modelling Part 1
- 6. Redirecting Inside
- 7. Finishing Bag Details
- 8. Coffee Bag Card
- 9. Ribbon Curve
- 10. Controlling the Curve
- 11. Ribbon
- 12. Button Modelling
-
Coffee Bag - UV Unwrapping
- 1. Preparing for UV Unwrapping
- 2. Bag UVs Part 1
- 3. Bag Uvs Part 2
- 4. Other Object Uvs
- 5. UV Setup for multiple SKU s
-
Coffee Bag - Materials
- 1. Lookdev Setup
- 2. Colour Space Setup
- 3. Coffee Bag Material
- 4. Importing and Mixing Colours
- 5. Multiple Sku Selector
- 6. Coffee Card
- 7. Foil Material
- 8. Cloth sculpt brush
- 9. Custom Displacement Maps inside Adobe Sampler
- 10. Fixing Issues
- 11. Button Material
-
Lighting And Rendering
- 1. Mind Mapping and Sketching
- 2. Breakdown Of Concept 1
- 3. Breakdown of Concept 2
-
-
Get Your First Client
13 lessons-
Getting Your First Client
- Introduction & What to Expect
- 1. What do you want?
- 2. Who do you want to help?
- 3. What will you build?
- 4. How will you show your work?
- 5. How do you find clients?
- 6. What are you worth?
- 7. Where will this take you?
- 8. What do you do now?
-
Tools & Calculators™
- Base Rate Calculator™ - Tutorial
- Base Rate Calculator™
- Content-to-Client Planner™ - Tutorial
- Content-to-Client Planner™
-
-
Workflow Optimizer
0 lessons -
Quick Start Pack
1 lesson- Download Quick Assets Pack v1.4
Plus 6 Months Access To...
Some other bonuses to give you everything you need to actually create realistic renders in 60 days and pitch them to clients.

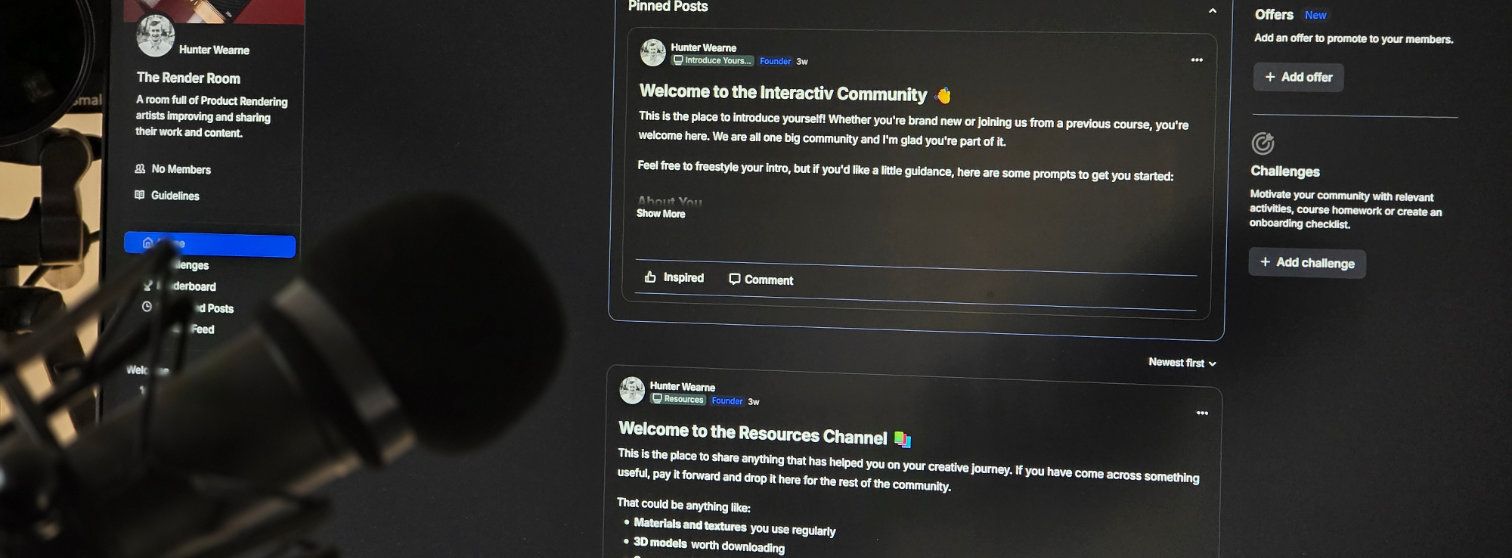
Interactiv Community
Value $200/m
Share your renders and get honest feedback before your client does. Get unstuck on Blender, materials, lighting, whatever's slowing you down. Ask how to price, pitch, and sell your renders to packaging clients.
2,700+ Designers Have Already Made the Shift
Over 2700+ Designers have used my training to expand their design business to 3D rendering.
One Skill. One Project. Paid Back.
At $499, one packaging project where you charge the Render Premium covers the entire cost of this course. Everything after that is profit. This offer won't last.
Wondering why it's $299 again? Check the FAQ.
60 DAY GUARANTEE
Guaranteed safe & secure checkout with Stripe or Paypal.


THE GUARANTEE
The 60-Day "You Can't Lose" Guarantee.
Here's the deal.
Go through the course. Learn how to create realistic renders. Create your mockups. Then take it to the market using our pricing and offer strategies to pitch it to at least one real client, whether it is an existing client or a brand new lead.
If you do all of that and still don't land a single client within 60 days, show me the proof and I'll refund every dollar.
Why is that the requirement? Because one pitch is the bare minimum it takes to know if this works for you. If you can produce a render that looks this good and still can't convert a single client, either I didn't teach it well enough, or this isn't the right fit. Either way, you shouldn't be paying for it.
Here's why I can make this offer with confidence.
This isn't a creative hobby course. It's a step-by-step system for producing photorealistic packaging renders and a repeatable process for selling them at $500 or more per project. The renders do the selling. Once a client sees what you can produce, the conversation changes completely.
The only thing I can't do is have that conversation for you.
Which means the guarantee has one requirement: you actually have to go for it. Finish the course. Build the work. Make the pitch. Designers who do that sell 3D services.
So here's where you land:
You join at $299, land one client at $500, and you've already made your investment back with money to spare. Or you join, do everything asked, pitch a real client, and it doesn't convert, and you get every dollar back.
The only outcome that doesn't exist is: you do the work and lose.
Meet Your Instructor
Hunter Wearne
Graphic Designer
I left school early at 16 to go pursue Graphic Design.
After studying Graphic Design I still wasn't sure what to do with my life. So I got a part time job while I completed a Photography degree and that's where my love for packaging and photography combine.
Struggling to get work in my little country town full of farmers and not many designers I picked up a few freelance jobs here and there.
I messaged a design agency for some work experience and spent some time working on logo animations and then began putting my 3D to use creating realistic bottle renders.
During this time I launched Interactiv and it took off. The need for product visualization using Blender was great and I have since taught over 2700 to use Blender.
The focus now is to teach as many graphic designers to add 3D to their arsenal and charge more for the work they do.
I have a great need to continue improving the tools and training so designers actually get results from it.
Question you might have.
Why is the price still $299?
Do I need any Blender experience?
Is this going to be too technical?
Will I actually be able to use this for client projects?
What if I don't have much time?
Why not just use AI or Photoshop mockups?
When does the pre-launch price close?
You've got the skills.
Lets get you paid more.
You didn't end up on this page by accident. You're here because you want to present your work better. And demand higher pay because you have killer imagery.
Now you could have access to the tools to render amazing renders. The strategies to price higher and the workflow that saves and frees up your time to work on what is truly important for you.
Don't miss out
Join Now