Render Packaging Like It Was Photographed.
In 60 days, turn any label file into a render with foil that catches light, paper that has grain, and an emboss your client can almost feel from the screen.
from 54 reviews · 2,700+ designers taught · 60-day money-back guarantee
"Went from zero Blender knowledge to presenting photorealistic packaging to clients within a few weeks."
Aaron Rudd
packaging designer
"Putting the displacement after the subdivisions is rad. That detail jump is huge."
Drew Lundquist
"As most of my work is in spirits and wine, having the skills Hunter is teaching brilliantly is beyond valuable. A worthwhile investment indeed."
Tom Collins
creative director
Your render isn't fake because Blender's fake. It's fake because real surfaces don't behave the way default materials behave.
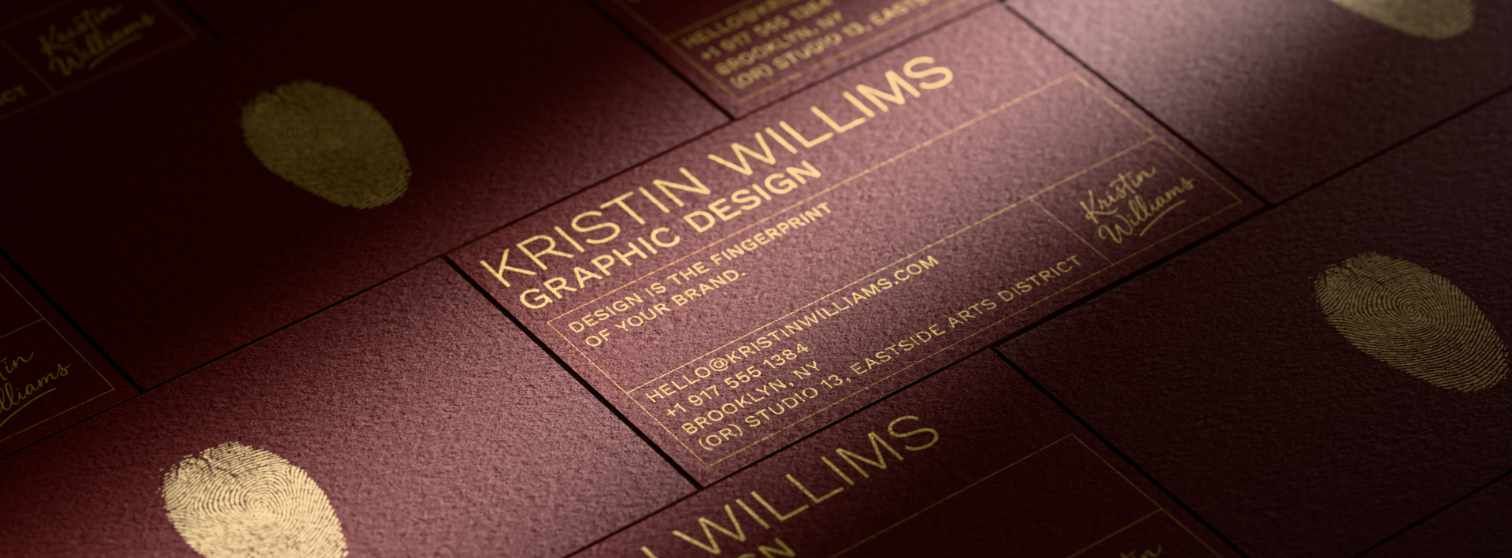
Real foil has anisotropy — it catches a streak of highlight in the direction the metal is rolled.
Real paper has weft — light scatters across the fibre, not across a flat normal map.
Real embossing isn't a bump map. It's a shadow that travels as the light moves.
You can see the gap between your render and a hero shot. You just can't name what's missing.
So lighting feels like guesswork. Materials look plastic. The renders you'd otherwise send to clients sit in a folder you don't open. And the work that should feel premium — the wine, the whisky, the cosmetic flacon, the box you'd be proud to put on your shelf — ends up looking like everyone else's.
A photorealistic render closes the gap. The render does the talking. And the designer who can produce one stops having to explain their work.
What if the next label you sent a client also arrived with a render they could put on their website that afternoon?
The shift you're being asked to make.
❌ The old way
Flat-mockup workflow
- Client can't picture the foil from a flat PDF
- Endless revision loops on the same label
- You charge for the label. Someone else charges for the render.
- Lose the premium gigs to studios that send images
- "It looks great — but can you make it look like a photo?"
- A flat mockup, every time
✅ The new way
Render-ready workflow
- Client sees the foil, emboss, and varnish before print
- First-round approval, with the render attached
- You charge for the label and the render
- You're the studio that sends the images
- "Wait — is that a photo?"
- A render the client puts on their website
The wine label that changed everything.
A few years ago I was doing unpaid work experience for a local designer. Just to get in a room and learn.
He was stuck on a wine label. The client couldn't picture the foil and spot gloss from a flat mockup. Revisions were piling up and nothing was getting approved.
I'd seen other artists using 3D to solve exactly this. So I put my hand up and said I'd build a render. I had no idea how to do it yet.
I went home and spent two weeks figuring it out. The render was far from perfect. But it was real enough.
By the end of the job I got paid $400. The client walked away with product images ready for their website and their socials. The designer finally got his approval.
That moment stuck with me. The render didn't need to be flashy. It just had to look believable.
Nobody was teaching this to designers. Not for packaging. Not for the printing effects that make packaging actually feel premium. So in 2022 I built a course around it.
2,700 designers and six years later, I'm still building. This is the version of that course I wish I'd had on day one.
What we actually mean by realism.
Real packaging isn't smooth. There are three elements that move a render from "looks 3D" to "looks photographed." We call it The 3 Elements Method.
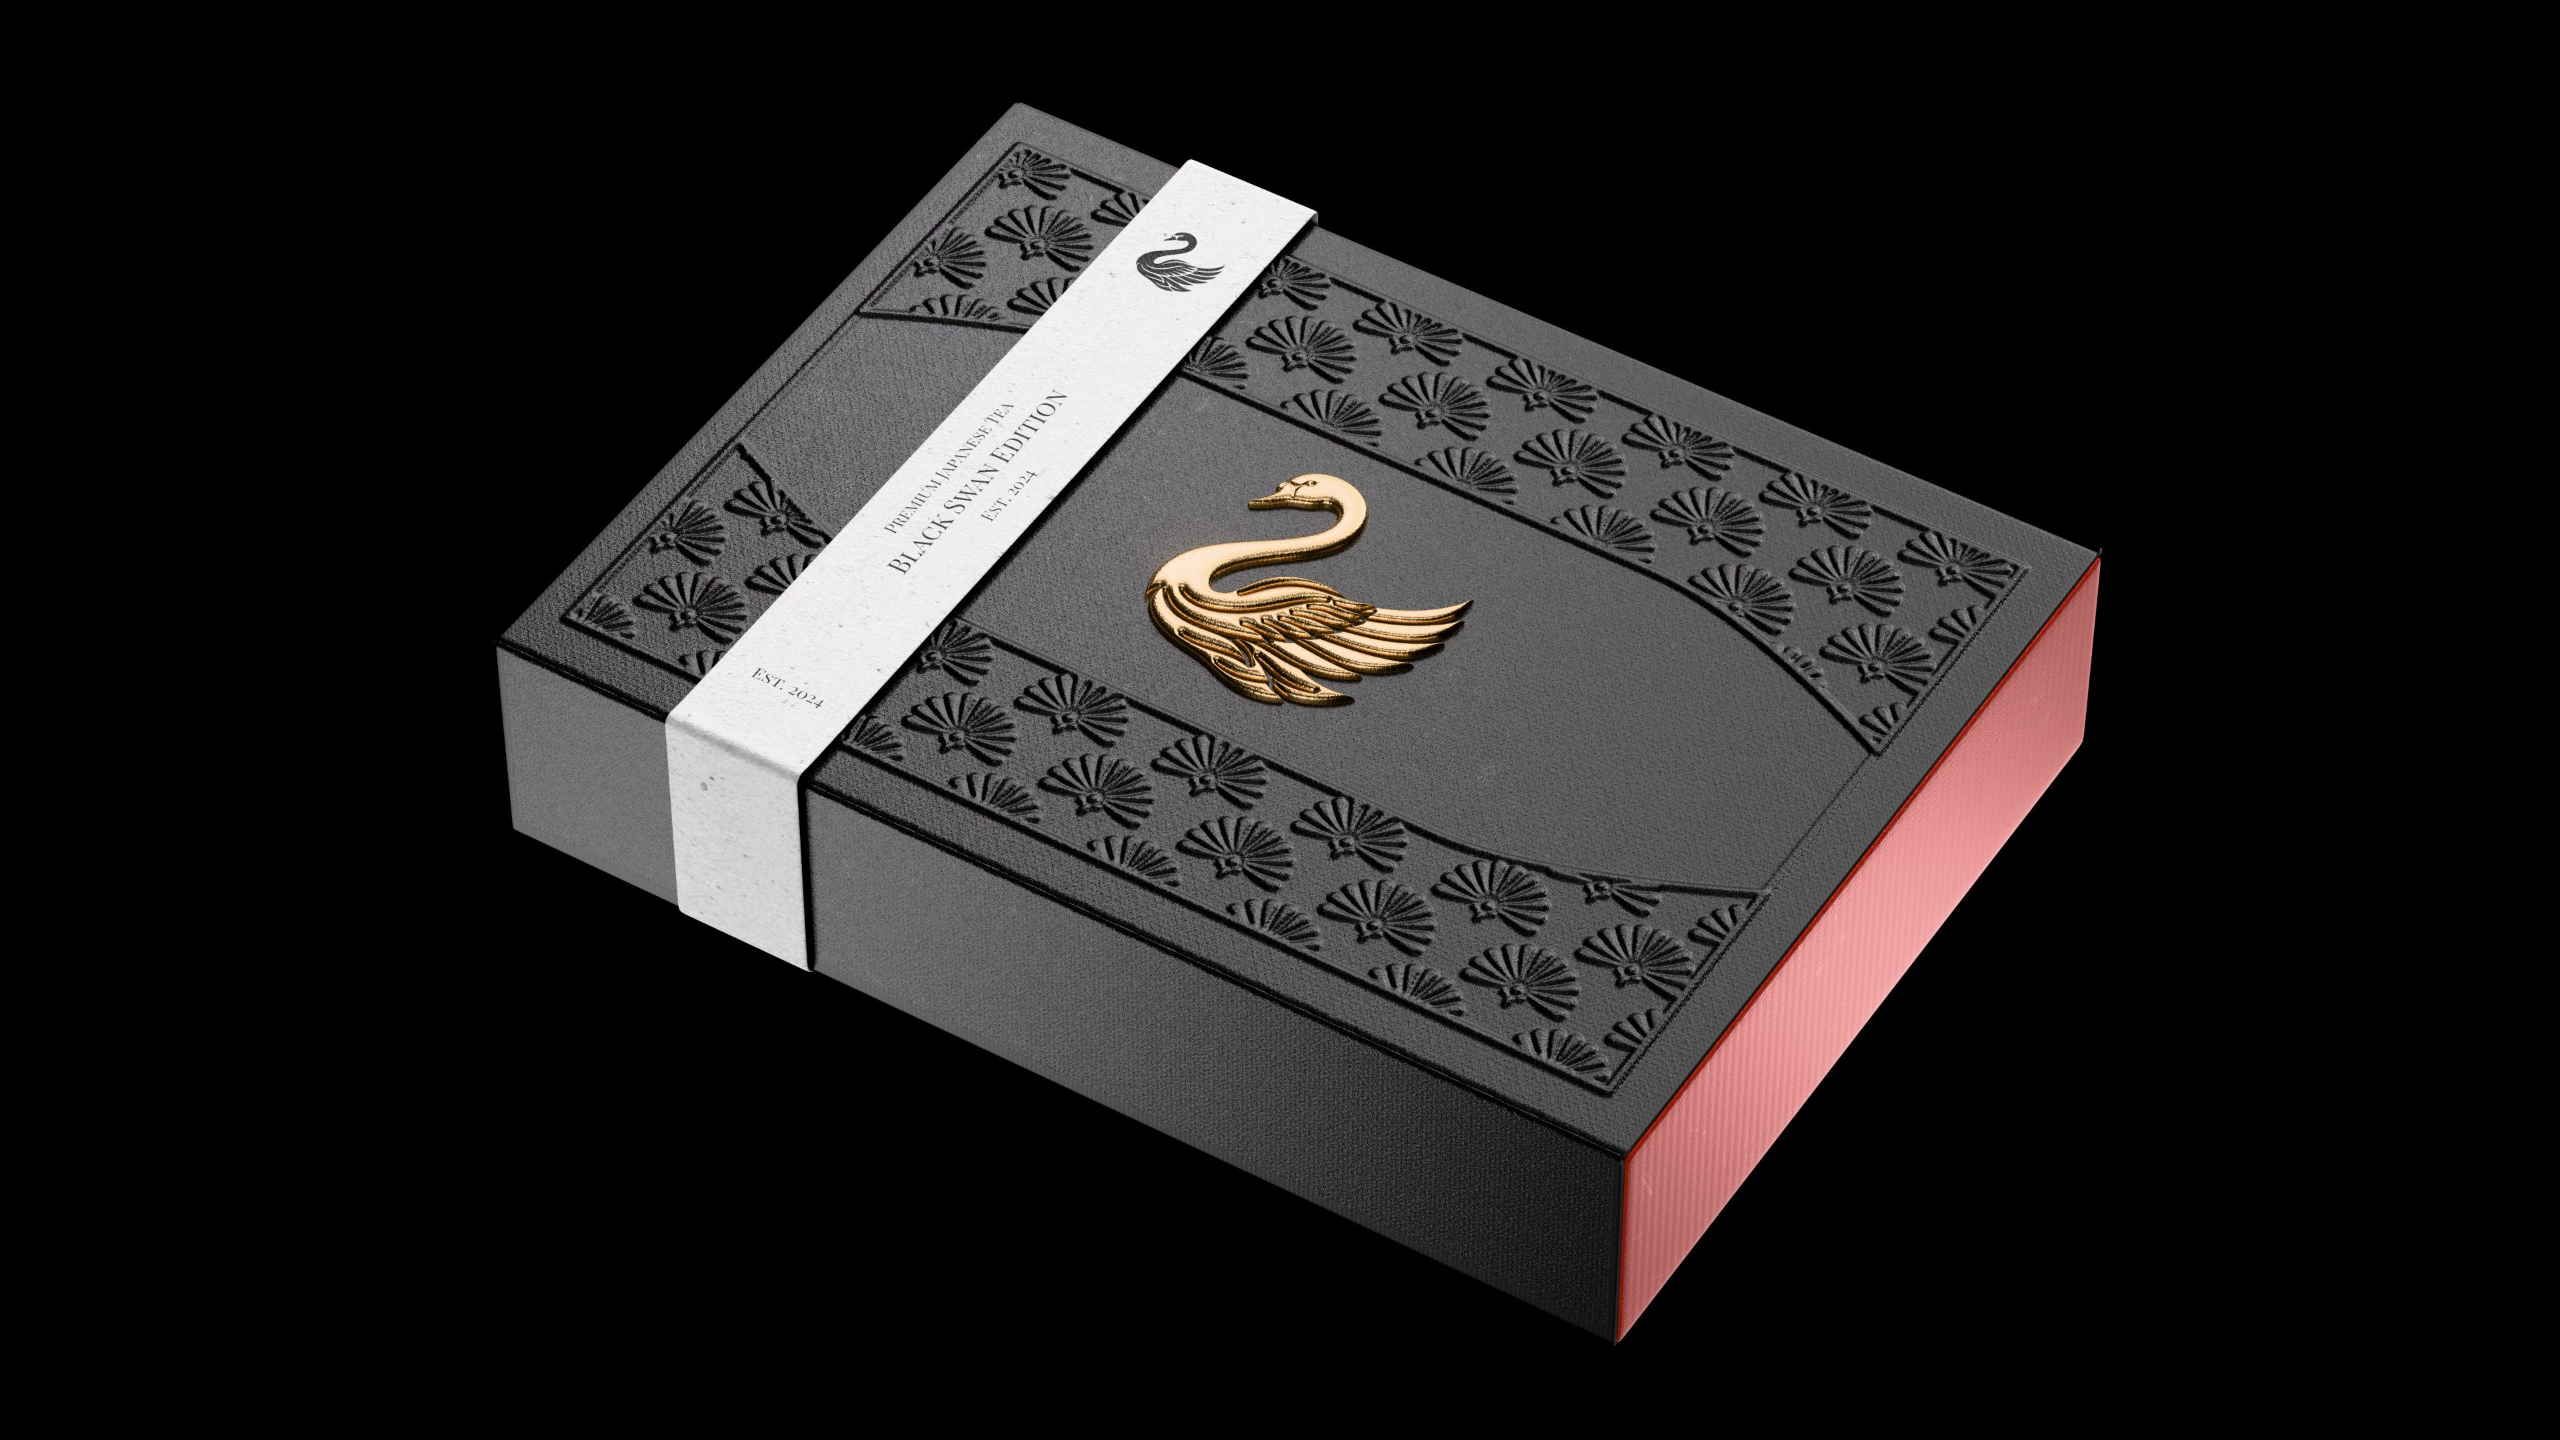
Letterpress dents the paper a fraction of a millimetre. Hot foil presses into the paper before it rises up — that tiny dip at the edge is what catches the highlight in the right place. UV spot varnish has a wet edge. Embossing throws a shadow at a specific angle, and that shadow is the thing that tells you it's real.
Most renders look fake because they're missing one of these. Most generic Blender courses won't teach you any of them.
01 · TEXTURE
The surface beneath the design. How paper takes ink. How foil layers over emboss. How varnish sits wet on top of matte. It's the start of everything that makes a render feel printed.
02 · LIGHTING
80% of your render is in the lighting. Where it comes from. What it bounces off. What it leaves in shadow. Without this, the best textures in the world still look CG.
03 · COMPOSITION
Where the eye goes first. What the frame includes. What it leaves out. The element that pushes a render from "real" to "shelf-worthy."
These aren't tricks. They're how you build an image that doesn't need a "this is just a mockup" caveat. The 3 Elements Method is the spine of the entire course.
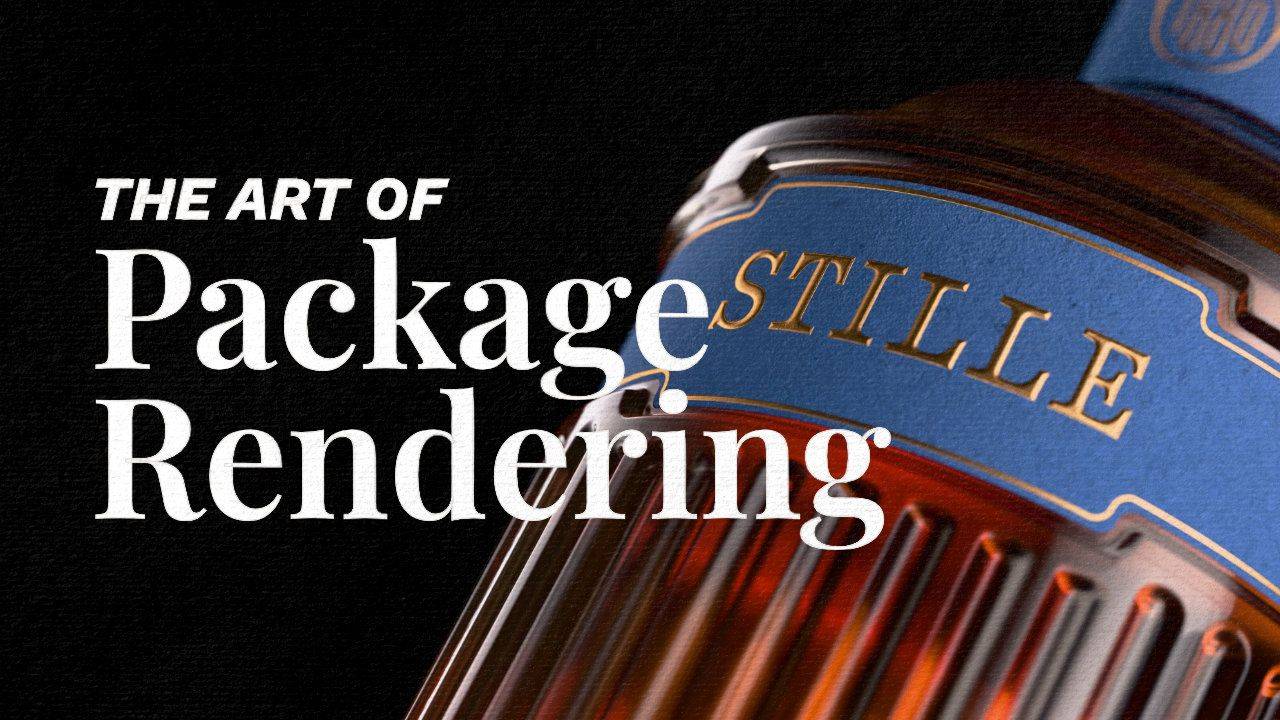
introducing
The Art of Package Rendering
A practical, step-by-step course built for graphic designers who want to render packaging that looks real.
Not vaguely 3D.
Not "decent for a mockup."
Real.
You don't learn everything in Blender. You don't need to. You learn the fifteen things that make a label feel printed — and how to charge for the render, not just the label.
By the end of this course, you take any packaging design and render it until it stops looking like CGI. And you walk away with a portfolio you can put in front of clients on Monday.
One project pays the course back. Everything after that is profit.
This isn't a course you watch. It's a process you go through.
Days 1–7 — Your first usable render.
Open the .blend file library. Drop your label onto a pre-modelled wine bottle. Three lights. You render. By Friday you have an image you couldn't have made on Monday.
Days 7–21 — Build the skill.
Add foil. Add emboss. Add UV spot varnish. Add the wrinkled paper wrap. By day 21 you can take a flat label file you couldn't render last month and produce something a client would put on their website.
Days 22–30 — Build the offer.
Use the Base Rate Calculator™ to set your floor. Use the Content-to-Client Planner™ to map who you pitch first. Write your first outreach. Send it.
Days 30–33 — Hand it over.
You send a client a render that doesn't need a "this is just a mockup" caveat. The client puts it on their site. You quote them for it. The course is paid for in full.
Days 33–60 — Build the second one.
This is where it stops being a course and starts being a service line.
60 days. One client. Course paid back.
What's inside the course.
Everything you need to render packaging that looks photographed, and the toolkit to price and pitch the work like it belongs in your studio.
Foundations
The fastest path through Blender that doesn't waste a single lesson on a thing you'll never use for packaging. Refined over five iterations on real student feedback.
36 short lessons.
Beverage Rendering
Glass that bends light. Foil that catches it. Paper that has grain. The wine-bottle build, end to end — modelling, UV unwrapping, glass and cork and copper materials, label texturing, the "book" displacement effect, three-point lighting, view layers, compositing.
104 lessons.
Box Rendering
The pasta box with the window. You see the foil on the front. You see the pasta through the clear plastic cutout. You see the corner crease where the cardboard folds.
You learn to build a die-line from a clean mesh — not an imported SVG — so subdivision behaves. Then rig it with an armature with a named bone for every face and tab, so the box folds the way real cardboard folds. Pose it for any shot. Reuse the rig on the next box.
Then the printing effects nobody else teaches on a folded surface:
- Foil that sits in a dip and rises into highlight — the way a real foil stamp presses into paper before raising back up.
- Embossing as a 32-bit displacement map, with the bit-depth and dicing-rate workflow to stop the stair-stepping that wrecks most box renders.
- A clear plastic window with a Voronoi ripple so it reads as plastic, not polished glass.
You'll drop bounce-spline spaghetti through the top — no physics simulation, no two-hour bake. Just a curve that bounces inside a cube, converted to mesh, subsurface scatter dialled in.
And the part that pays the chapter back twice: the asset browser library — papers, foils, varnishes, all named and catalogued. The second box takes a third of the time.
19 lessons.
Flexible Packaging
Coffee bags. Pouches. Snack bars. The pliable side of packaging that nobody else teaches.
Cosmetic Renders
The composition rules that move a render from real to shelf-worthy. Hierarchy. Framing. Where the eye goes first. How to push detail into a low-res mesh without remodelling it.
The First-Client System
Price your floor. Pick who to pitch. Send the outreach. Includes the Base Rate Calculator™ and Content-to-Client Planner™. Built specifically for designers who haven't landed a packaging client yet.
Workflow Optimizer
The systems, templates, and asset libraries I use to take an 8-hour render down to 3. Without sacrificing the realism.
The Breakdown Room
Every month the community votes on the next printing effect, animation, or product. I build the full tutorial. The library grows.
Most courses end where the lesson ends. This one keeps going.
The reason most people don't finish a Blender course isn't that the lessons are bad. It's that they have to model the bottle before they get to light it. They quit somewhere around the third hour of UV unwrapping.
Here's what you get alongside the lessons, so that doesn't happen.
The Packaging .blend Library
Pre-modelled, pre-rigged, pre-unwrapped. Wine, whisky, perfume, jar, box, pouch, tube. You don't learn to model bottles before you learn to light them. You start with the bottle. Your first render happens in hour one, not week three.
The Material Library — 50 named materials
Hot foil (gold, copper, silver, holographic). UV spot varnish. Letterpress paper. Linen stock. Soft-touch matte. Each one labelled the way a designer would search for it. Drag, drop, render.
Render Critique Friday
Live, weekly. Send your render in. I crit 5–8 on camera. You see exactly what'd push it over the line. Nobody else's course gives you ongoing eyes from the person who built it.
One 1:1 first-pitch review
When you write your first quote, send it to me — render, brief, and proposal. I send back a Loom walking through what to tighten, what to charge, and where you've left money on the table. One per student.
Pocket Hunter
A custom GPT trained on every lesson, every Render Critique Friday, every breakdown video, and my own teaching notes. Stuck at 11pm on why your foil looks flat? Ask Pocket Hunter. It answers in my voice, with my workflow, on your schedule. Always on. Always there.
The "Rendered by AOPR" Directory
A public page on interactiv.studio listing every student who's finished Chapter 2 — name, location, best render, contact button. Search-indexed. You don't just walk away with a skill. You walk away with a marketing page that didn't exist before you enrolled.
The Founding-Member Print Drop
Once or twice a year, I mail you a printed sample book — actual letterpress, real hot foil, real emboss, real varnish. Physical reference for the renders you're building. It lives on your desk.
Lifetime Updates — The Library Grows
Every new printing effect I learn becomes a lesson in the course. You're not buying a finished thing. You're buying a library as it expands.
See the system actually work.
"How I render a real client brief in 3 hours." A behind-the-scenes walkthrough — real wine label, real workflow, real shortcuts.
This is the workflow that's inside the course. No "magic." No edits between steps. Just the same .blend library, the same material library, the same three-point lighting setup you'll be using by day 14.
If you've ever wondered whether a real photoreal packaging render fits inside a designer's working day — watch this.
Why this, instead of…
AI mockup tools
AI gives you something close. It can't give you anisotropic foil at a 47-degree key light. It can't render the wrinkle pattern on a paper wrap. You can't art-direct what isn't a parameter. This gives you full control over every material, every finish, every detail — consistently, every time.
Free YouTube tutorials
They taught you to model a bottle. They didn't teach you why your bottle still looks like a render. The gap between "I followed the tutorial" and "I can show this to a client" is what this course is about.
Generic Blender courses
Built for game artists and environment generalists. You don't need 14 hours on rigging a character. You need the wine, the whisky, the box, the pouch — taught by someone who's billed for each one.
Hiring a 3D artist
You become the 3D artist for your existing clients. Same relationship. Higher invoice. The render upgrades the design service you're already selling.
2,700+ designers have already made the shift.
"As a packaging designer, I found this course invaluable. I went from zero Blender knowledge to presenting photorealistic packaging designs to clients within a few weeks. This was a massive boost to my business."
Aaron Rudd
"Putting the displacement after the subdivisions is rad! That detail jump is huge. I highly recommend trying to create your own textures."
Drew Lundquist
"INTERACTIV Studio's course was an incredible learning experience. The structured approach made complex techniques feel approachable — from modelling simple packaging shapes to mastering embossing and debossing."
Muhammad Abubakar, freelancer
"As most of my work is in spirits and wine, having the skills Hunter is teaching brilliantly is beyond valuable. A worthwhile investment indeed."
Tom Collins, creative director
"Easy to follow and well explained. This course has helped me grasp Blender modelling and texturing so I can eventually add this as a service I offer to clients."
Haley Shane, brand designer
"I'm a self-taught designer from South Africa. Education costs are quite high where I'm from, but courses like these help me refine my abilities and secure more freelance opportunities."
Michelle
"Master Product Visualization courses helped me solve many technical issues, make my renders better, and find new ideas to enhance my portfolio. Thank you Hunter."
Sara Couignoux, French 3D designer
"I am a graphic designer in search of new ways to upgrade my skills. Always wanted to upgrade my 3D skills so I could create product mock-ups."
Dušan
Student renders.
Add 12–20 student render images here, captioned with name · project · country. Link below points to the "Rendered by AOPR" directory once built.
Hunter Wearne
Graphic Designer · Founder of Interactiv
I left school at 16 to pursue graphic design.
Did a photography degree alongside it — that's where my love of packaging and photography combined. Living in a country town full of farmers, with not many designers around, I picked up freelance work where I could.
I messaged a design agency for some unpaid work experience and ended up rendering a wine label in Blender. Got paid $400. Fourth render I ever made.
I've spent six years drilling Blender since. Thousands of hours, mostly off random YouTube tutorials, mostly wrong the first time. Somewhere around year three I realised most of what I was getting wrong was about light, not about Blender. Once I understood how light moves over a real foil seal or a letterpress dent, everything sped up. Three years of fighting the software collapsed into a workflow.
That workflow is what's in this course.
I built Interactiv in 2022. Taught 2,700+ designers since. The focus now is to teach as many designers as I can to add 3D to their arsenal — and to charge properly for the work they do.
Still figuring it out alongside you.
The 60-Day "You Can't Lose" Guarantee.
Here's the deal.
Go through the course. Learn to create realistic renders. Build the work. Then take it to the market using the pricing and pitching tools inside the First-Client System — to at least one real client, existing or new.
If you do all of that and still don't land a single client within 60 days, show me the proof and I'll refund every dollar.
Why is that the requirement? Because one pitch is the bare minimum it takes to know if this works for you. If you can produce a render that looks this good and still can't convert a single client, either I didn't teach it well enough or this isn't the right fit. Either way, you shouldn't be paying for it.
Here's why I can make this offer with confidence.
This isn't a creative hobby course. It's a step-by-step system for producing photorealistic packaging renders and a repeatable process for selling them at $500 or more per project. The renders do the selling. Once a client sees what you can produce, the conversation changes completely.
The only thing I can't do is have that conversation for you.
Which means the guarantee has one requirement: you actually have to go for it. Finish the course. Build the work. Make the pitch. Designers who do that sell 3D services.
So here's where you land:
You join, land one client at $500, and you've already made your investment back with money to spare. Or you join, do everything asked, pitch a real client, and it doesn't convert — and you get every dollar back.
The only outcome that doesn't exist is: you do the work and lose.
One packaging project pays the course back. Everything after that is profit.
Guaranteed safe & secure checkout with Stripe or PayPal.
60-day money-back guarantee · instant access · payment plan available
But what if…
…I've never opened Blender?
…I don't have packaging clients yet?
…AI is already good enough?
…I don't have time?
…I'm a 3D artist, not a graphic designer?
…I've tried other Blender courses and bounced?
Logistics.
How long do I have access?
What about community access?
Is there a payment plan?
What's the refund policy?
Why is this priced like a course when it's so much more than that?
Why is the price still $299?
When does the pre-launch price close?
What software do I need?
You've got the eye. Let's get you the skill — and the income to match.
If you're a graphic designer who wants to add 3D rendering to your packaging design projects, and actually charge for the work — this is for you.
You didn't end up on this page by accident. You're here because you can already see what your work is going to look like once the render is real. You just need someone to walk you the rest of the way.
That's what this is.
60-day guarantee · instant access · pay in full or split into three